Skip to search Skip to navigation menu Skip to main content Selecting option will reload page

Clothespin People

Clothespin_People
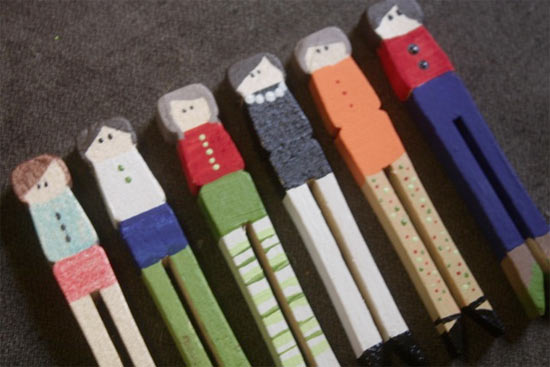
In my experience, little girls love dolls. All dolls. Any dolls. As many dolls as they can get their little fingers onto. So this is a perfect quiet afternoon project to do for, or with, the little doll lover in your life. For a less messy/paint free version, follow the same steps with markers.

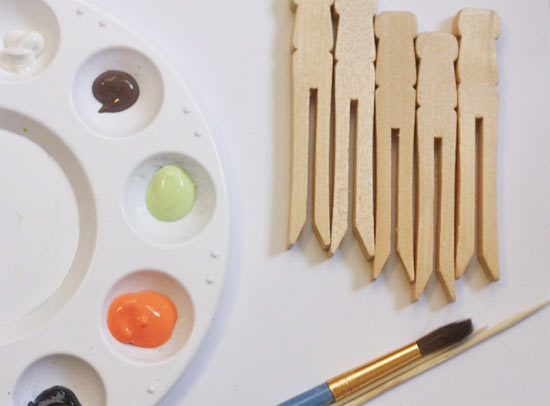
Things you’ll need:
Clothespins
Acrylic paints in a variety of colors
Small paintbrush
Skewer or toothpick

Things to do:
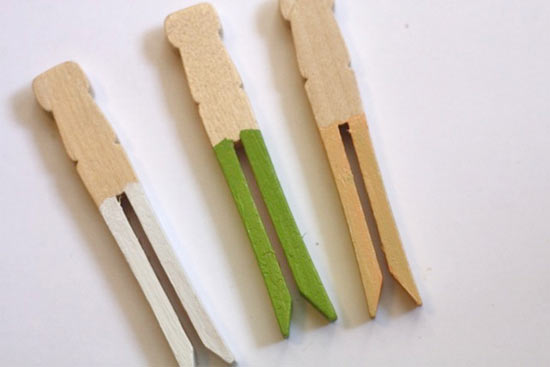
1. On a covered work surface, spread out the dolls and get your paints ready to use. Start with the legs of the dolls, which are also the legs of the clothespins. Paint these with two coats of paint. Think tights, pants or just bare” legs when choosing your colors here.
Clothespin_People2
Clothespin_People3
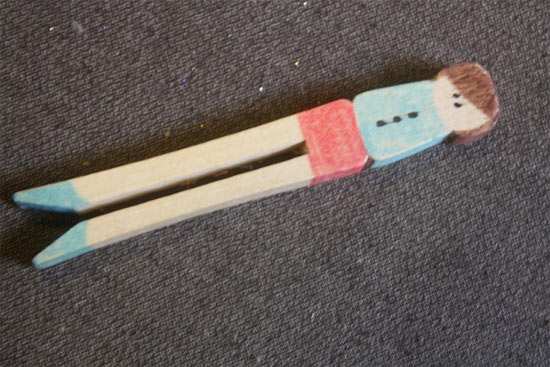
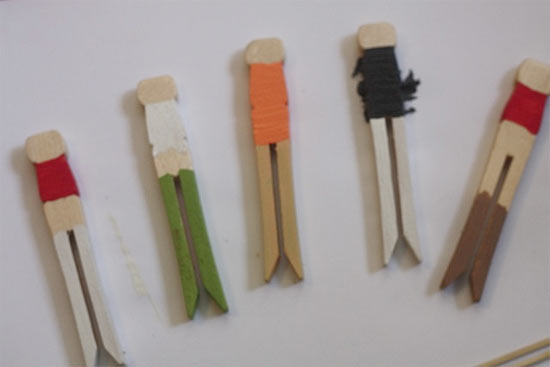
2. Next tackle the shirts” of the doll, painting the second bump down from the top all the way around with another color, be careful to keep the paint neat around the neck”.
Clothespin_People4
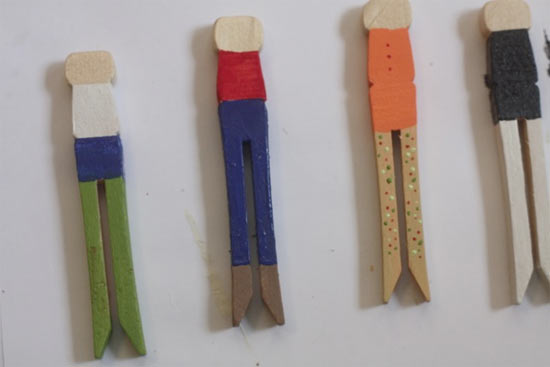
3. Using the same color as the shirt to make a dress, or a different color for a skirt or pants, paint the top of the legs (or the legs to the ankles if you are doing pants) with another color.
Clothespin_People5
4. Once the paint is dry, it’s time to add details. Use the toothpick to add jewelry, buttons and buckles to the clothes and paint the tips of the legs” to create shoes.
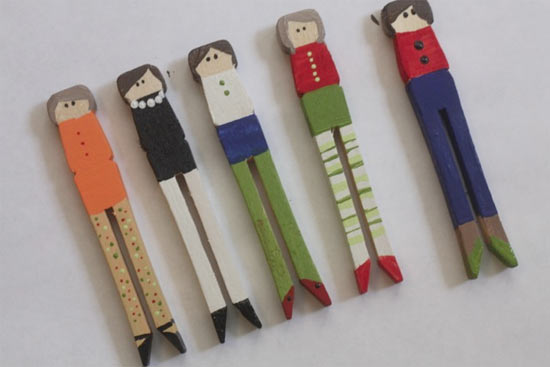
Clothespin_People6
5. Finally add a face to your dolls, first by dotting on eyes with the tip of the toothpick and then by sweeping paint on for the hair. Allow the dolls to dry before playing.
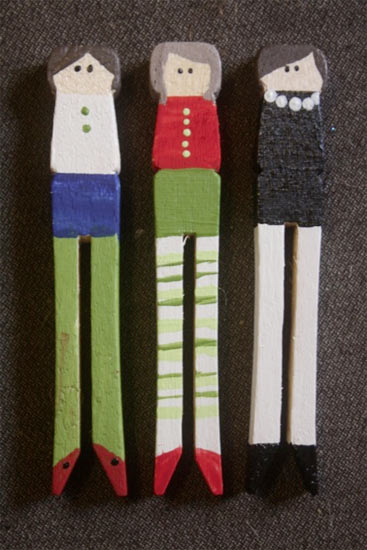
Clothespin_People7
Clothespin_People8

Continue Reading

DIY Vintage Button Collar

DIY_Vintage_Button_Collar
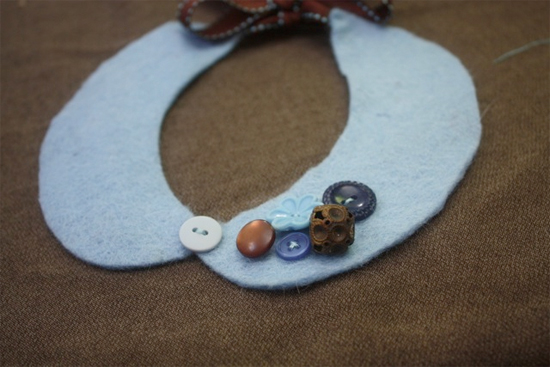
A few months ago, my favorite aunt sent be a box full of hundreds and hundreds of buttons, and ever since I’ve been putting them to good use whenever I can. This little felt collar is the perfect way to show off a few of my favorites while dressing up some of my simpler t-shirts and sweaters.

Things you’ll need:
Felt
Ribbon
Sewing pins
Collared shirt
Buttons
Thread and needle
Paper and pencil

Things to do:
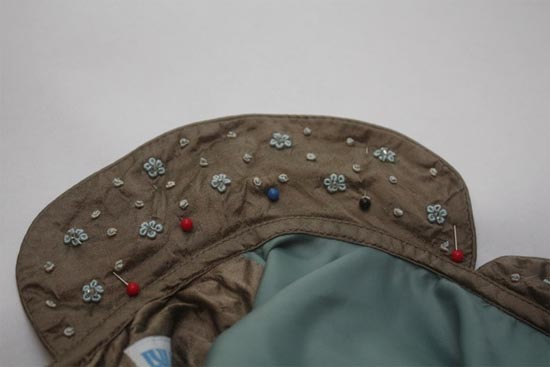
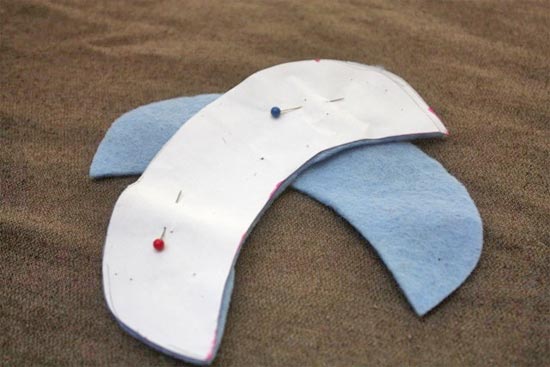
1. Pin the collar of your shirt to the paper and trace around the outer edge. Push the pin through along the rounded inner edge. Unpin and connect the pin pricks to finish the pattern.
DIY_Vintage_Button_Collar2
2. Cut out and pin your pattern to the felt, cutting two identical pieces.
DIY_Vintage_Button_Collar3
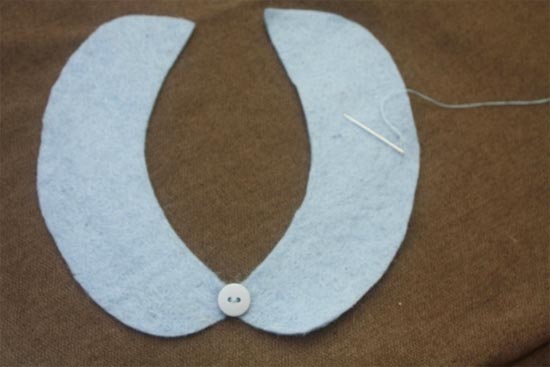
3. Overlap the front edge by 1/4 of an inch. Stitch together firmly and then sew a button over the stitches at the join.
DIY_Vintage_Button_Collar4
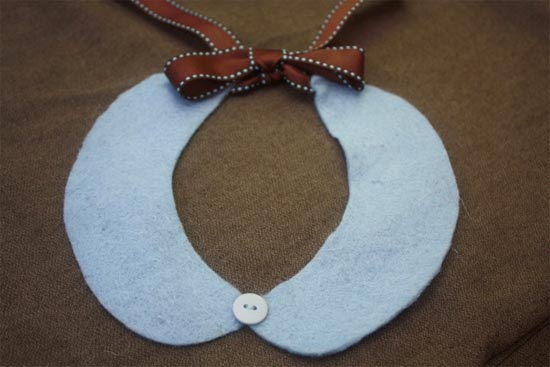
4. Cut the ribbon into two 12-inch pieces, mitering one end of each piece.
DIY_Vintage_Button_Collar5
5. Stitch the un-mitered ends of the ribbon to the back of the rear end on the collar pieces, making the stitches as invisible as possible.
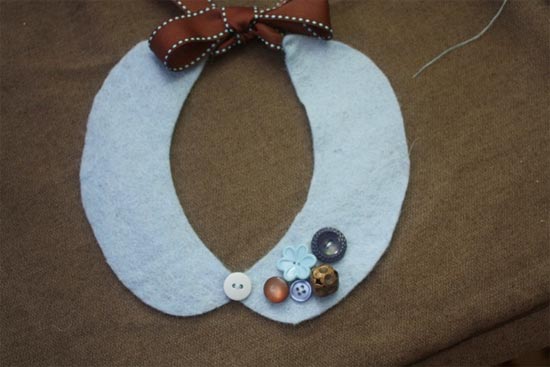
6. Test the placement of your buttons along one side until you like the placement and then stitch into place tightly.
DIY_Vintage_Button_Collar6

Continue Reading
Change Your Country
Please select your country, this will change the site to your country's currency:

Cancel