Skip to search Skip to navigation menu Skip to main content Selecting option will reload page

Guest Blog: DIY Butterfly Bouquet


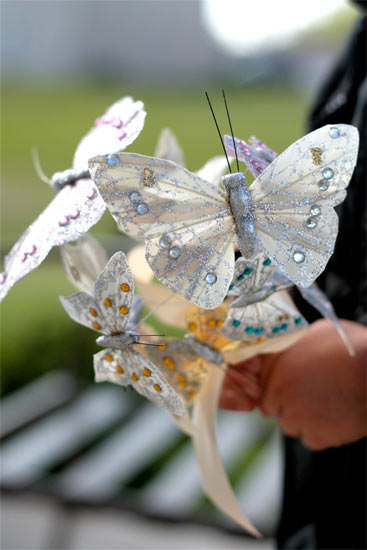
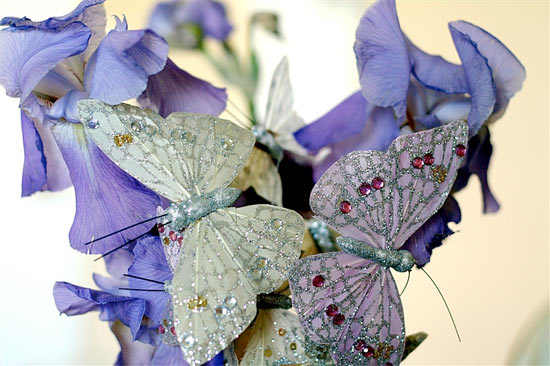
Hello! I’m so excited to share an alternative to a floral bouquet, by showing a super simple and elegant butterfly bouquet that you can make at home! These bouquets are perfect for summer/spring weddings… think flower girls, bridesmaids, even for the bride herself (get creative!), or for table decor (even at home!).

Things you’ll need:
Butterflies (there are so many options to choose from on the website, I went with these)
Floral Wire
Ribbon

Things to do:
1. I used my floral wire to extend the height of the butterflies by clipping it at various lengths and winding it tight to the wire that is already on the butterflies themselves.
2. Pull them into a tight bunch and wrap with Ribbon in a criss-cross pattern all the way down and up the wire stems tiding a bow at the top.
3. Bend the top of the wires in various directions spacing the butterflies out as you like. Voila!

If you still want the floral look before you tie your ribbon on you can add flowers in with the butterflies, now you have whimsy and tradition!

Hope you’ve enjoyed today’s project, and link us up with your projects on here or face book!
Happy Crafting!
Lisa from Lisa’s Creative Niche
Continue Reading

Upcycle: Decoupage Jars


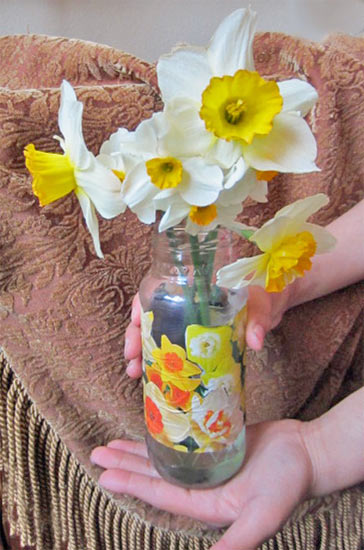
I remember my cousin and I making these jars all summer. We had family and friends for miles saving every glass jar and magazine! With these simple items and some imagination, we created masterpieces to be given as gifts and used to store trinkets. We even made bug-themed jars to hold our grasshoppers and other creepy-crawlies.

It’s with some hesitation that we introduce our daughters to these jars. This might be their Summer of Decoupage” and we’ll inflict these jars on a whole new set of neighbors!

Age range: 5 and up (must use scissors!)
Approximate time: 30 minutes to a whole summer
Difficulty Level: Beginner Crafter

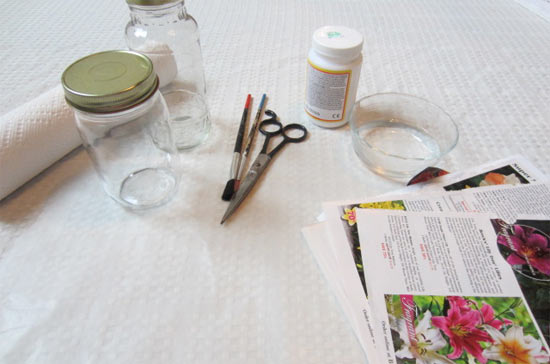
Things you’ll need:
Empty, clean jars; lids optional
Mod Podge
Dish of water, paper towels, work surface that can get sticky
Foam brush
Scissors
Magazines, pictures, colored artwork, anything printed

Things to do:
1. Determine a “theme’ for your jar. Ideas include a specific flower, bugs, buttons. Anything you might store inside your jar makes a good theme for the outside.
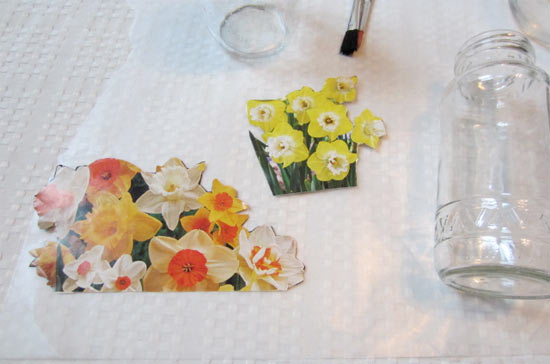
2. Find pictures or words that relate to the theme and cut them out.

3. Lay out your design on the jar to get an idea of placement.
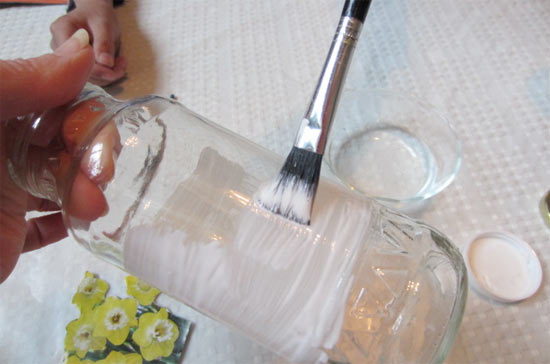
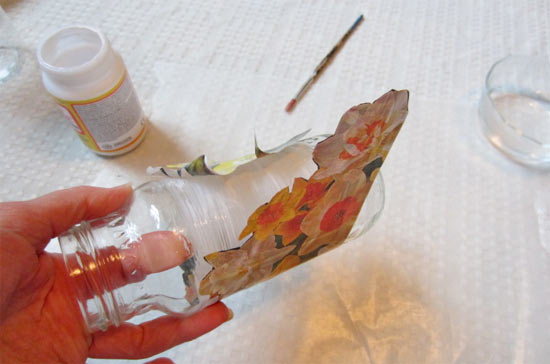
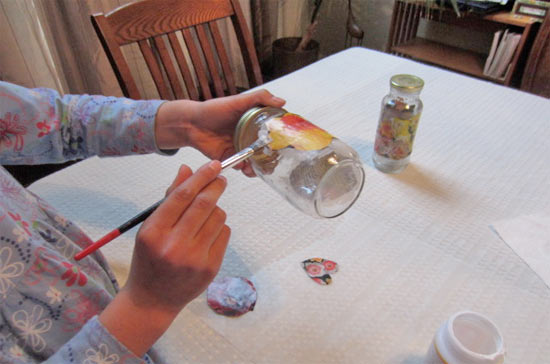
4. When you’re ready, brush a thin layer of Mod Podge on the jar where you want to place your first picture.

5. Lay the picture over the Mod Podge, starting at one end and “rolling’ to the other. Try to keep wrinkles and bubbles to a minimum.

6. Brush more Mod Podge over the picture to seal it to the jar.
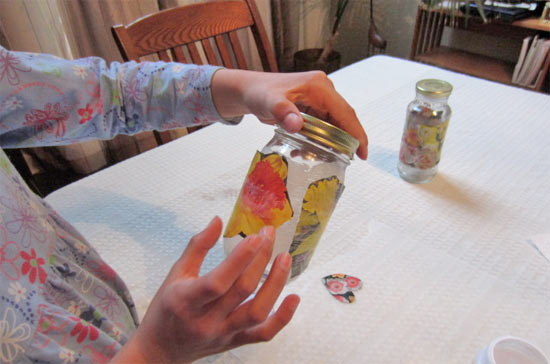
7. Continue gluing and placing pictures around the jar.

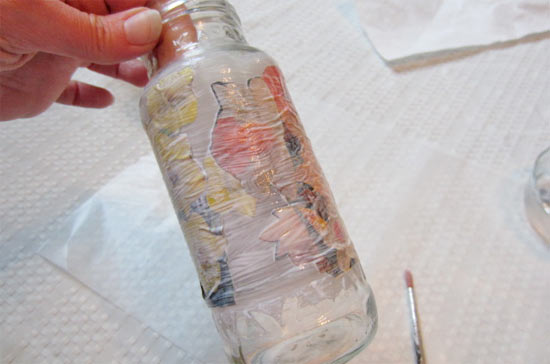
8. Check that all artwork is covered with a thin layer of Mod Podge.


9. Allow jar to dry overnight. Enjoy!

Continue Reading
Change Your Country
Please select your country, this will change the site to your country's currency:

Cancel