Difficulty level: Intermediate
Time required: 45 minutes including baking time
Age range: 8 and up, with adult supervision for oven
Things you’ll need:
Steel fish hook earring wires
Sewing pin or other sharp object like an awl
Flat-nosed jewelry pliers
Jump rings
Clay
Clay tools
Oven and baking sheet
Things to do:
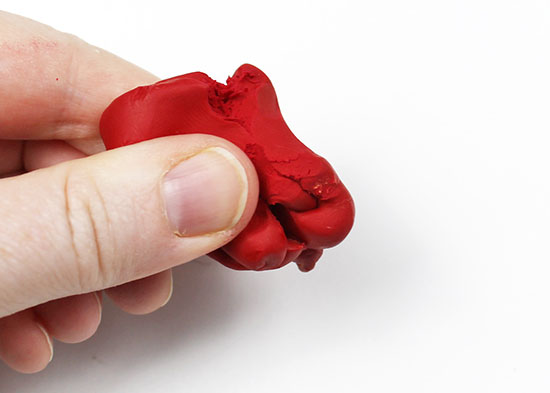
- Pinch off a small amount of clay. Roll it around in your hand to soften it.
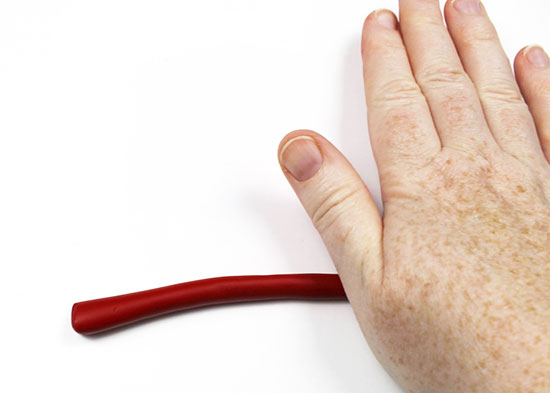
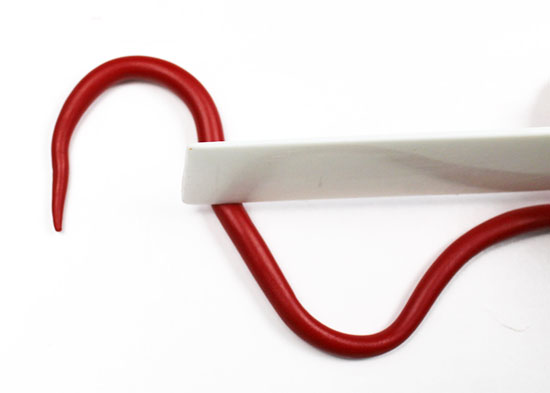
- Roll the clay out into a thin tube that’s about 1/4 ” thick, rolling the tube as evenly as possible.
- Bend the tube into the approximate size you’d like your earring to be. Using a clay tool, cut the clay.
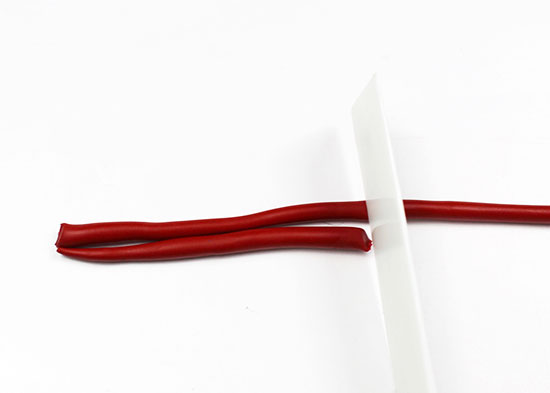
- Cut a second identical tube in the same color.
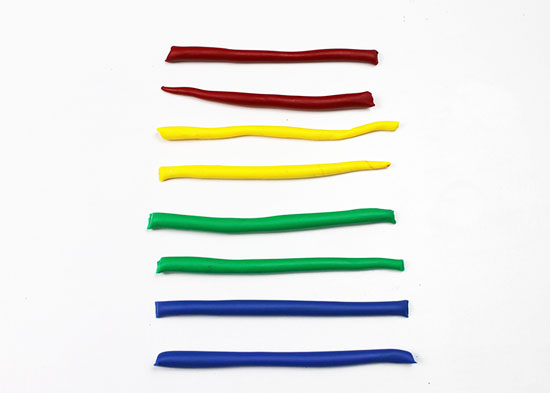
- Repeat steps 1-4 with up to a total of four colors. Tip: The earrings can be heavy, so the less colors you use, the lighter the earrings. Earrings that are too heavy might break off the earring wire.
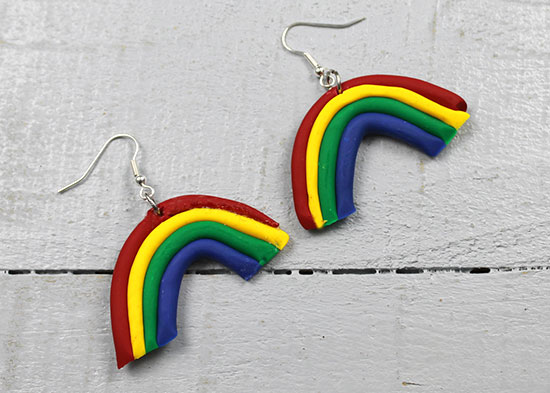
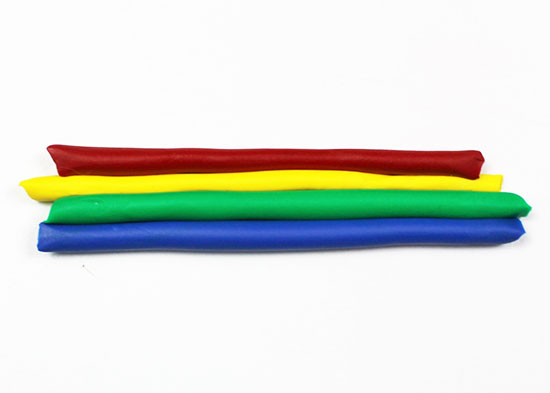
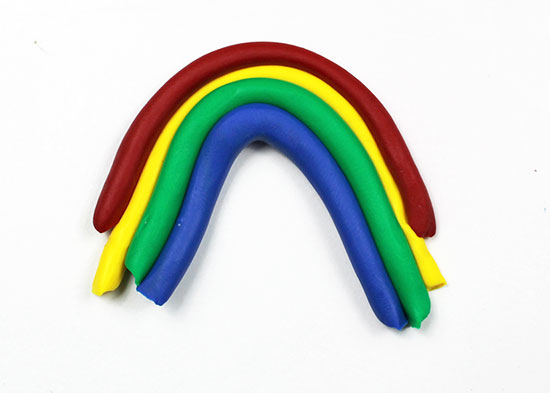
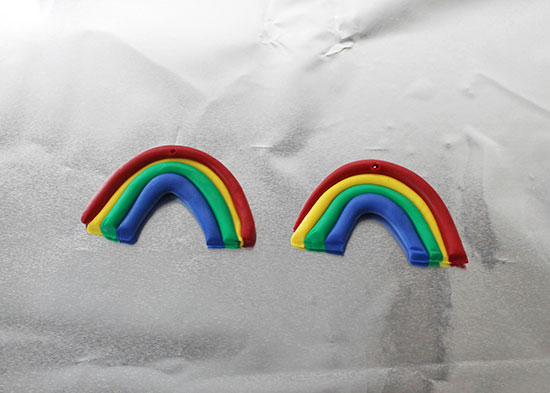
- Create two stacks of tubes, one for each earring, lining up the colors in whatever order you’d like. We stuck as close to the ROYGBIV order as possible.
- Bend the tubes into an arched rainbow shape, trying not to handle the clay too much.
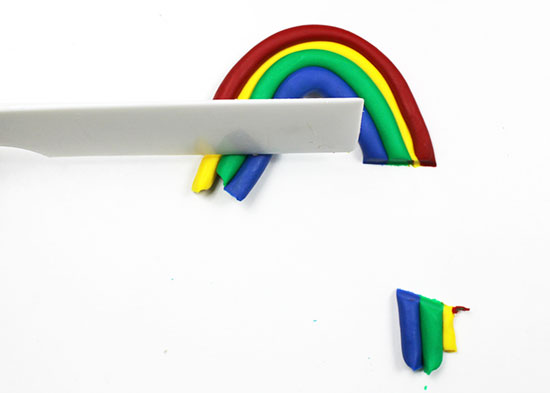
- Using a clay tool, cut a straight edge on both sides of the rainbow.
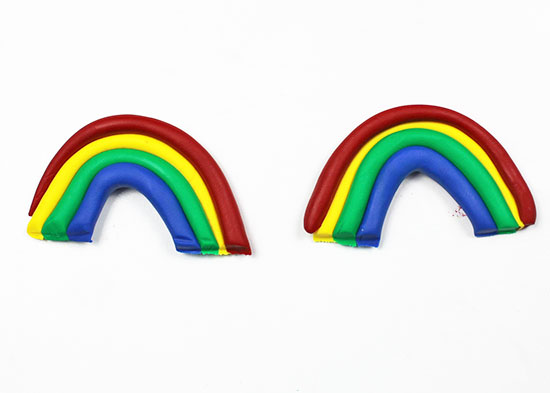
- Repeat steps 7 and 8 to make a second identical earring.
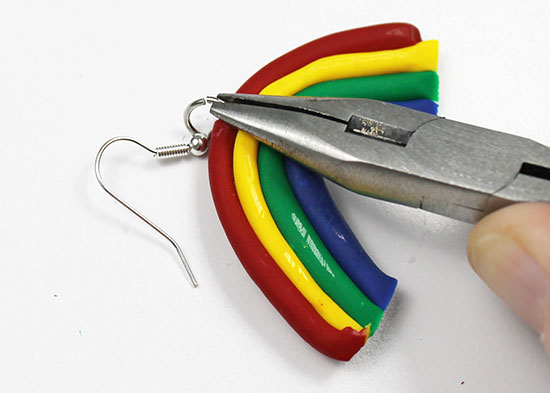
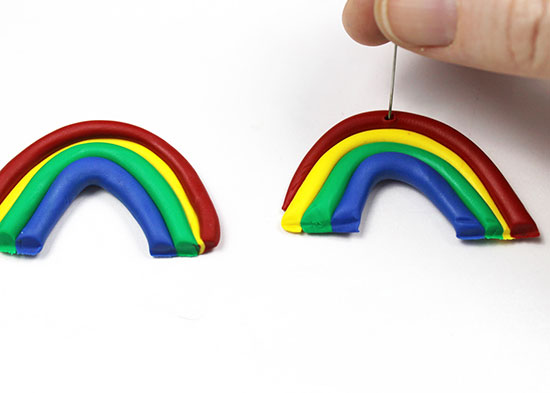
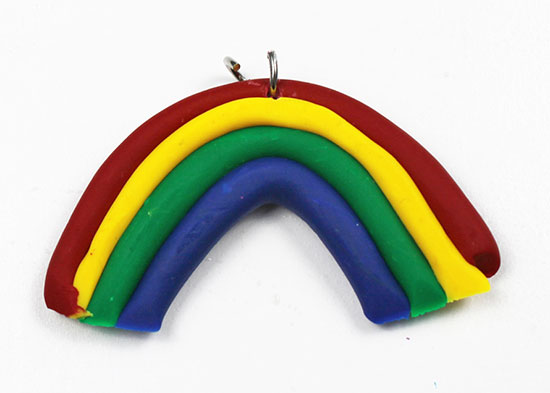
- Using a sewing pin or other sharp object, poke a hole in the top center of the rainbow. Be sure the hole is large enough for the jump ring to slide through.
- Bake the earrings at 275 degrees for 30 minutes. Remove them from the oven and allow them to cool with the oven door open.
- Using the flat-nose pliers, open a jump ring out to the side. Do not pull the ring apart at the center as this will weaken the ring.
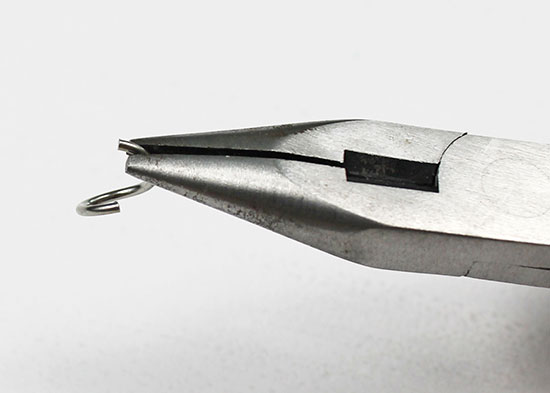
- Slide the jump ring through the hole in the center of the rainbow.
- Slide the earring wire onto the jump ring.
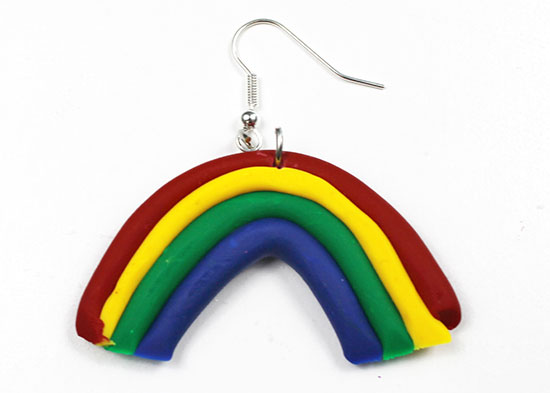
- Close the jump ring with the flat-nosed pliers.