
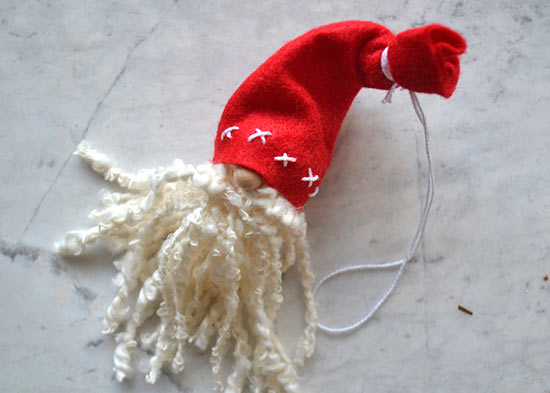
Santa Claus is coming to town! Prep your house with these spirited ornaments and you’re sure to make the nice list! This is a great project for kids – they’ll love cutting and gluing to create a darling Christmas ornament.
Difficulty level: Beginner
Time to complete: 20 minutes
Age range: 8 and up
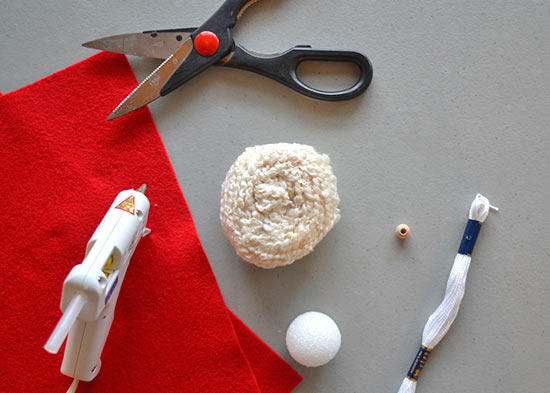
Things you’ll need:
Styrofoam ball
White yarn
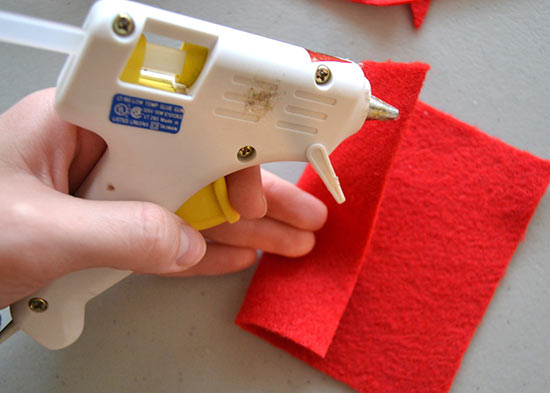
Hot glue gun
Glue sticks
Red felt
White embroidery floss
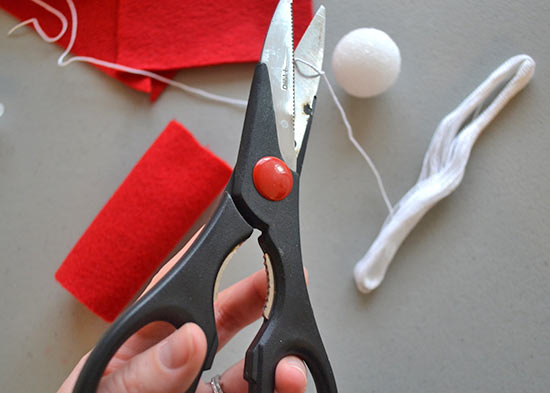
Scissors
Yarn needle
Wooden bead
Things to do:
1. The first step is making a hat for your Santa Claus. Roll your Styrofoam ball in felt and cut a rectangle that’s large enough to wrap around it.
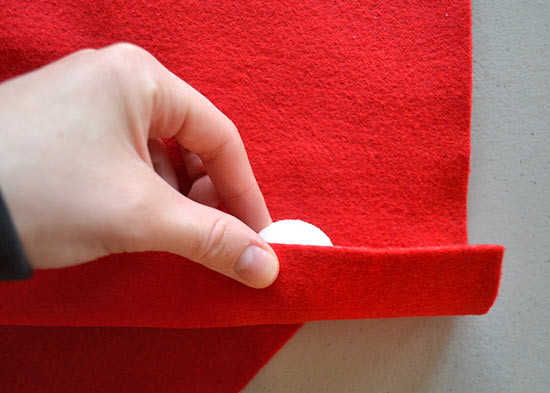
2. Run a line of hot glue down the edge of your rectangle and fold it over, creating a tube.
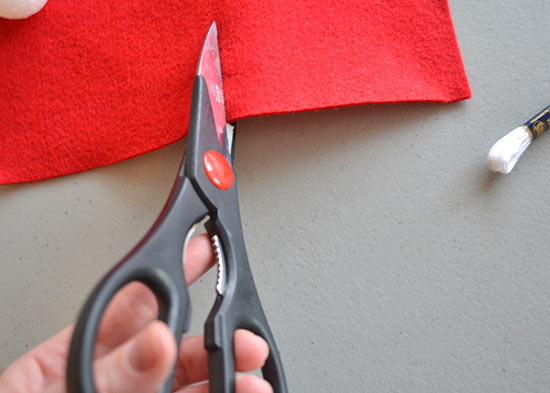
3. Trim the top of the rectangle so it’s even.
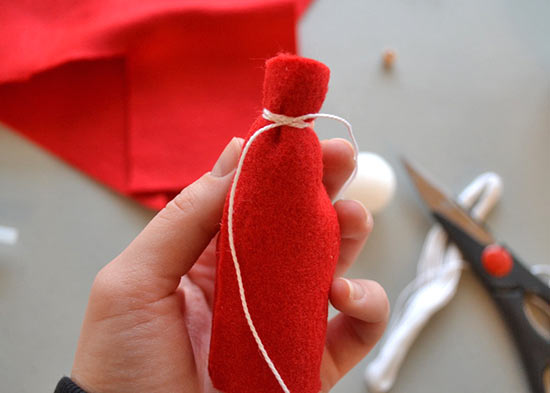
4. Cut a 12-inch piece of embroidery floss and wrap it tightly 1/2 inch from the top of the felt tube, creating the top of your hat. Knot the ends tightly and trim with scissors.
5. Add stitching details to the brim of your hat with embroidery floss.
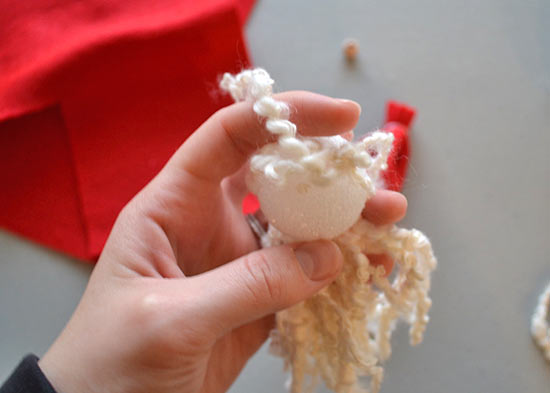
6. Next, we’re going to make Santa’s beard. Wrap the yarn around your hand several times, until you reach a thickness that you’re happy with. Tie a piece around the center of the loop and knot it, holding the pieces in place.
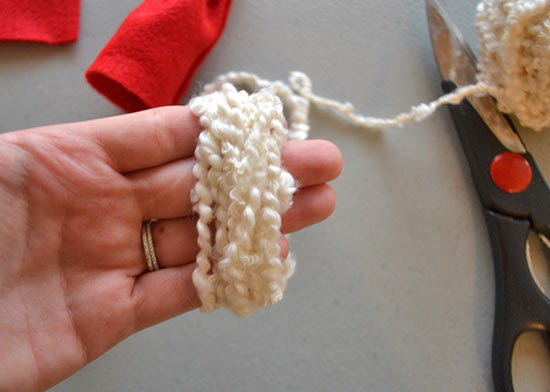
7. Slide scissors through the loop and cut the yarn.

8. Tie the beard around the Styrofoam ball. Secure with hot glue if needed.
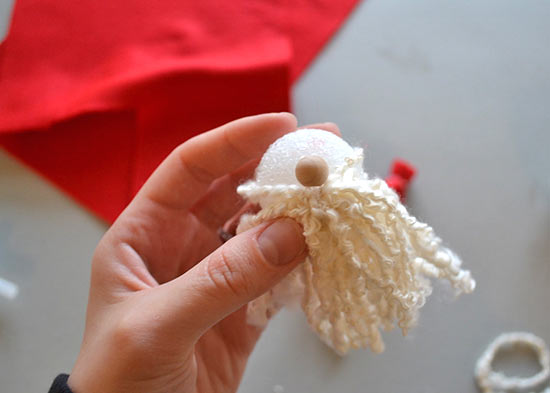
9. Use hot glue to add a little wooden bead just above the beard to make Santa’s nose.
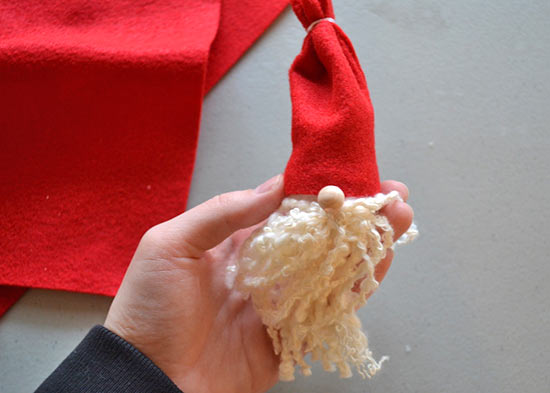
10. Draw a line of hot glue around the top of the beard and slide the hat down in place, finishing your Santa ornament.
11. Finally, cut a piece of embroidery floss, knot it at the end, and use hot glue to secure it to the top of the hat.