Difficulty level: Beginner
Time required: 20 minutes, plus 48 hours for glue to dry
Age range: 12 and up
Things you’ll need:
Soft Iridescent Fake Snow
Artificial Snow
Bottle brush tree
E6000 glue
Sandpaper
Clear acrylic snow globe jar
Water
Things to do:
1. Using sandpaper, sand the bottom of the bottle brush tree and the base sealer surface you’re going to attach it to. (The sealer is the plastic piece that fits just inside the jar opening.)
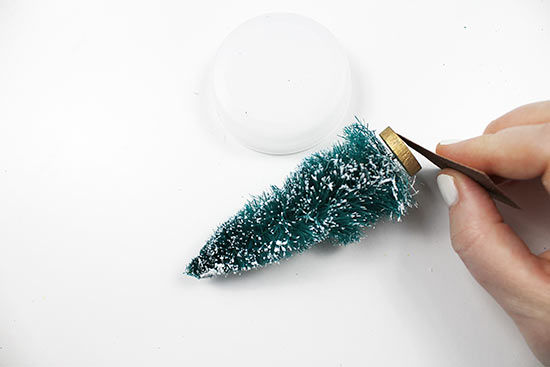
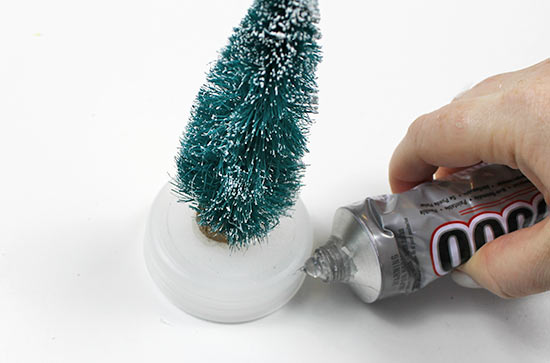
2. Place E6000 glue on the bottom of the bottle brush tree.

3. Attach the tree to the base, centering it as best you can. Allow it to dry for 24 hours.

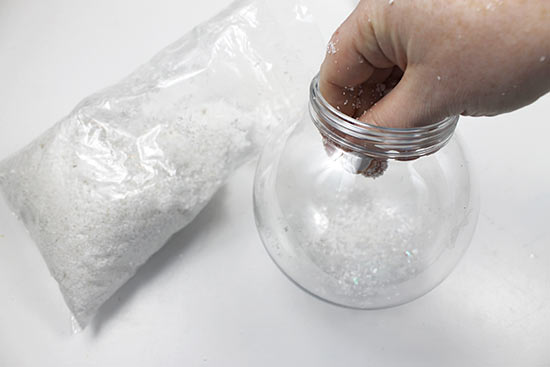
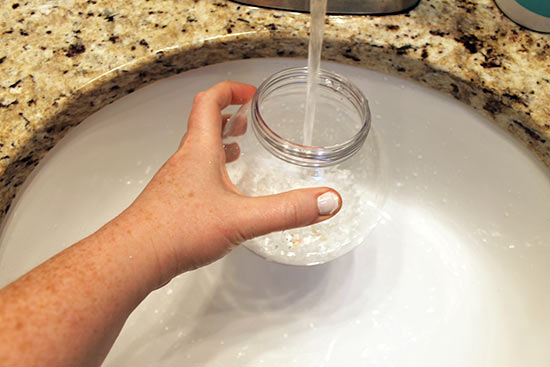
4. Add a few pinches of iridescent snow to the globe jar.

5. Add a few pinches of artificial snow to the globe jar. (Be careful, as the snow can get quite messy!)
6. Add water to the globe jar, filling it to the top. Note that if you’re using a bottle brush tree, the green of the tree may turn the water a bit green.
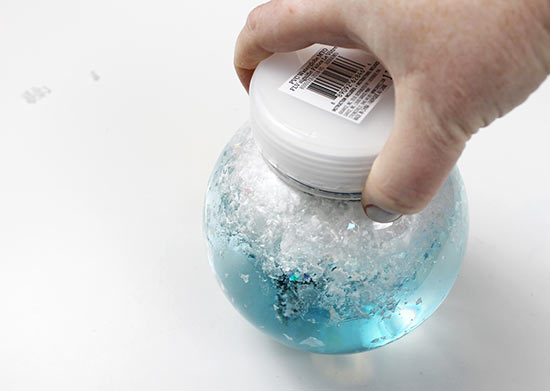
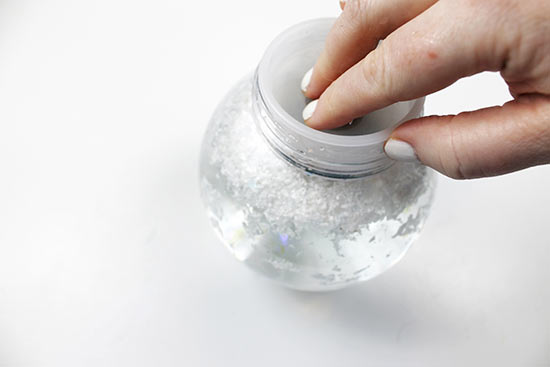
7. Add a layer of E6000 glue around the sealer.
8. Place the sealer inside the water-filled globe jar. Tip: We rested the globe jar on the lid while we completed this step so that the globe jar did not tip over. Allow the lid to dry for 24 hours.
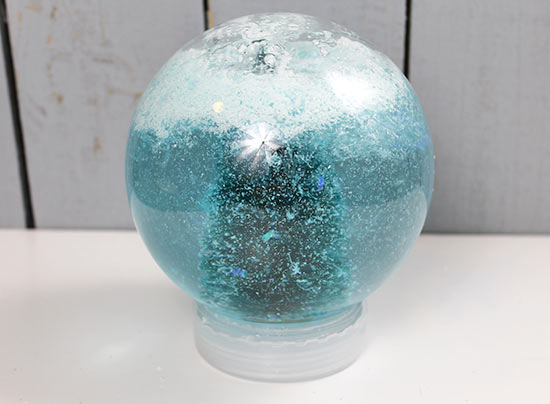
9. Once the glue is dry, screw the jar lid onto the jar. Place the jar upright, resting on the lid. Tip: You may need to remove excess glue from the outside of the sealer in order to screw on the lid.