Difficulty level: Intermediate
Time required: 3-4 hours, depending on the number of pompoms.
Age range: 8 and up, with adult supervision using hot glue gun
Things you’ll need:
12″ Styrofoam wreath
Miniature foxes
Bottle brush tree
Yarn in white and various shades of blue such as Red Heart Light Blue Super Saver
Large 85 mm pompom maker
Scissors
Yarn needle
Things to do:
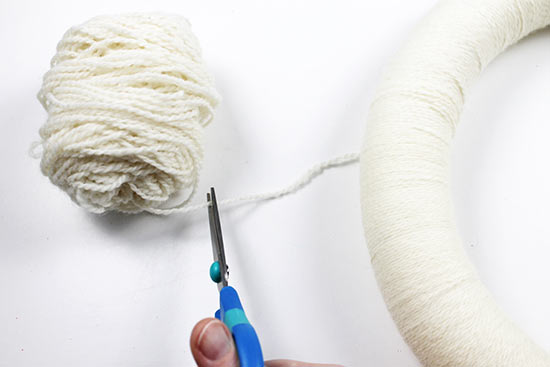
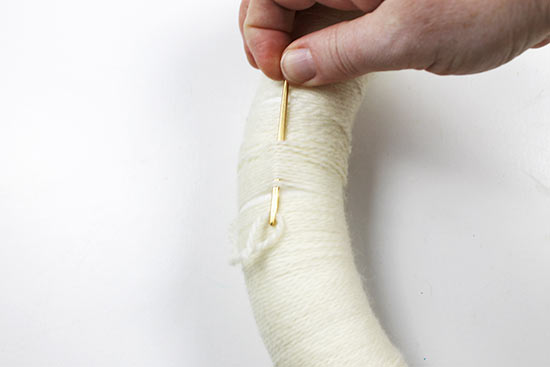
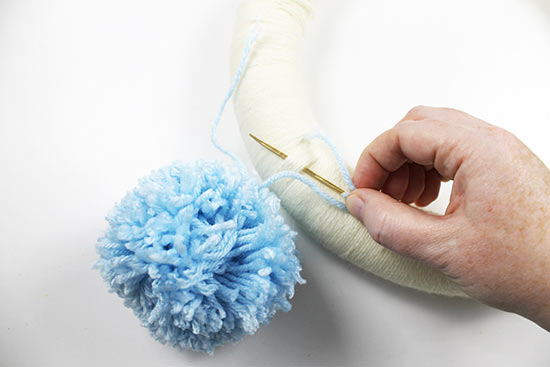
1. Begin wrapping the white yarn around the Styrofoam wreath, tucking the yarn tail as you wrap.

2. Continue wrapping around the entire wreath, trying to keep the yarn as neat as possible as you wrap. When you finish wrapping, cut the yarn.
3. Thread the tail through a yarn needle, then insert the yarn needle into the wraps to tuck the tail.
4. Grab the pompom maker. Using any color of yarn, begin wrapping the yarn around the half circle.
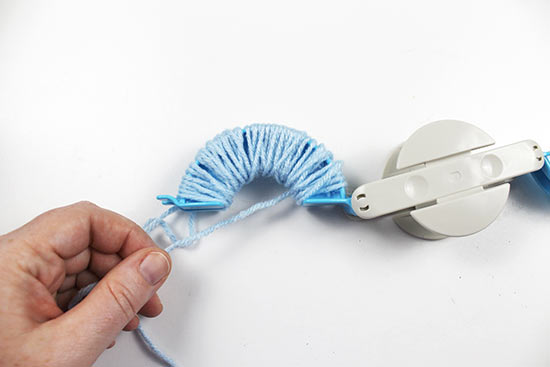
5. Wrap the yarn until the pompom is thick, ending the pompom at the open edge of the half circle.
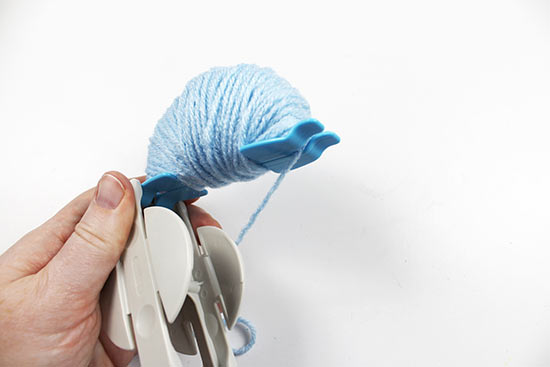
6. Close the first half circle into the pompom maker. Move to the opposite half circle, then continue wrapping the yarn around.
7. When the second half circle is equally thick to the first half circle, you’re finished wrapping.
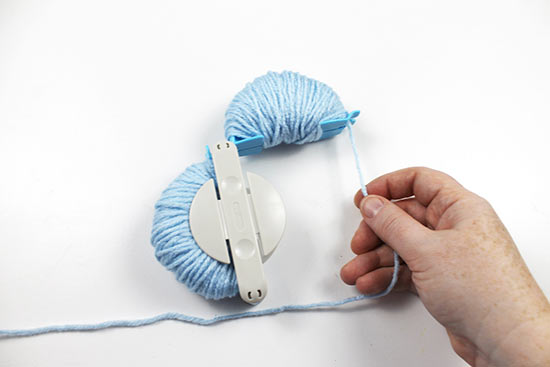
8. Close the second half circle, then cut the yarn tail close to the pompom maker.
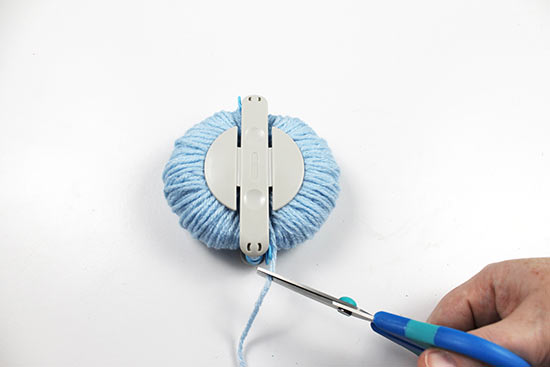
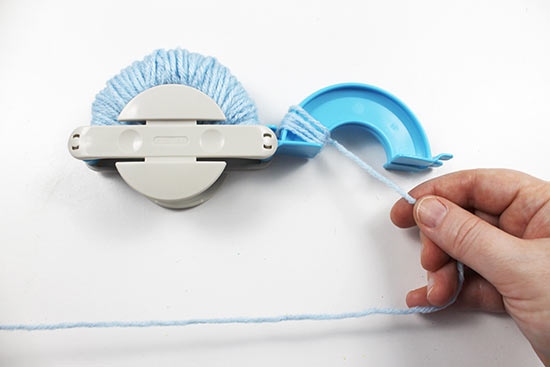
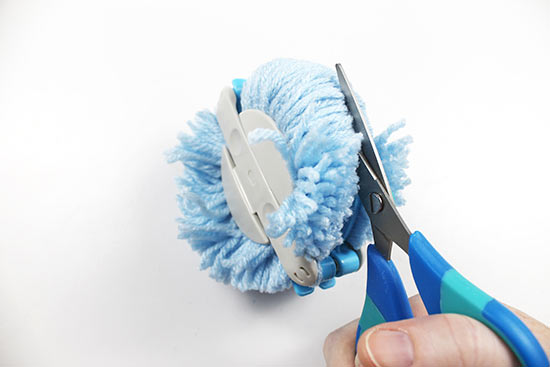
9. Holding the circle in place, use scissors to cut the pompom loops in half on one side of the pompom maker.

10. Repeat on the opposite side of the pompom maker.
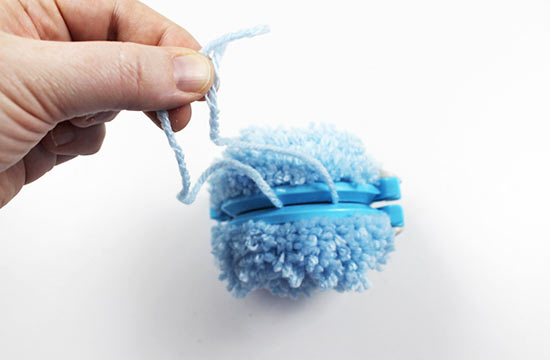
11. Using the same yarn color you used for the pompom, cut a long strand of yarn about 8″ long.
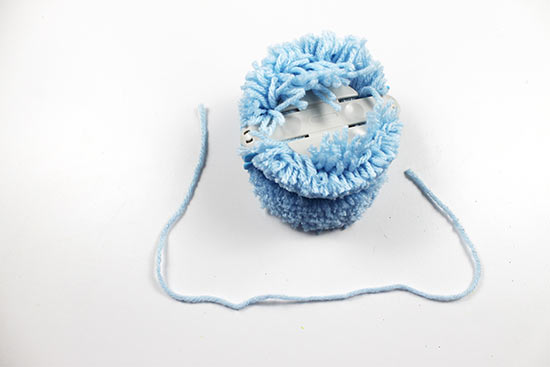
12. Wrap the strand around the pompom maker. You may have to pull tightly to make sure the strand goes all the way between the two pompom maker pieces. Tie a double knot to secure the pompom.
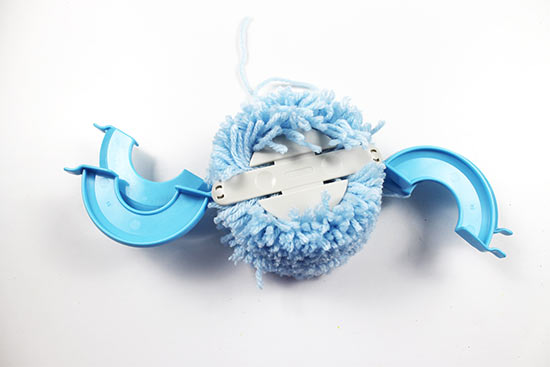
13. Pull the half circles away from the pompom on both sides.
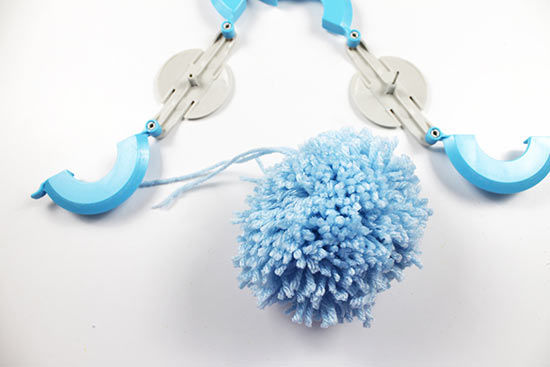
14. Pull the pompom maker apart in the center to release the pompom.
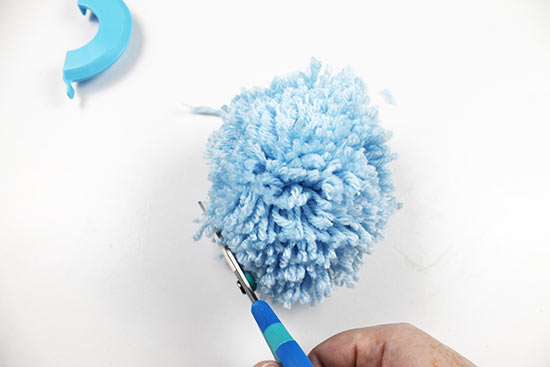
15. Give your pompom a haircut, trimming around it to make the edges even.
16. Thread the long pompom tail through the tapestry needle, then insert the needle through the wraps in the wreath. Tie a knot with the long pompom tails to secure the pompom.
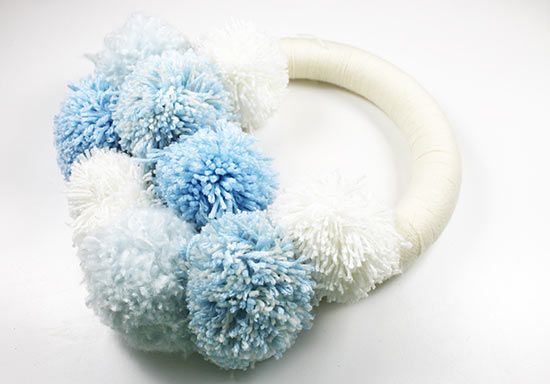
17. Repeat steps 4-16 to add more pompoms to the wreath. As you create pompoms, remember that you can wrap two strands at a time and even combine colors to make multicolored pompoms.

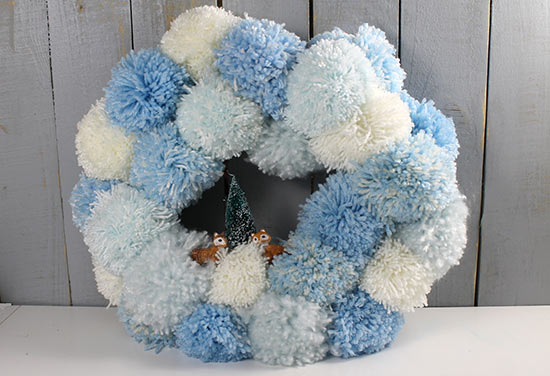
18. Continue to add pompoms until the entire wreath is full.
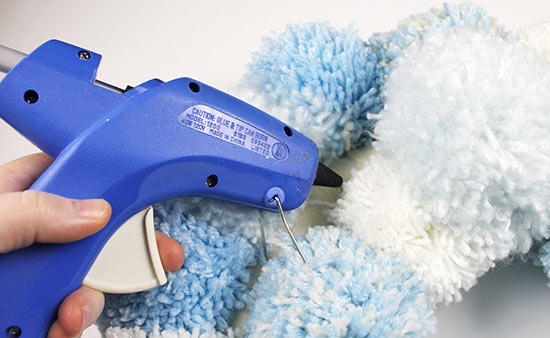
19. If there are any gaps between pompoms, use a hot glue gun to add a dot of hot glue and push the pompoms together.
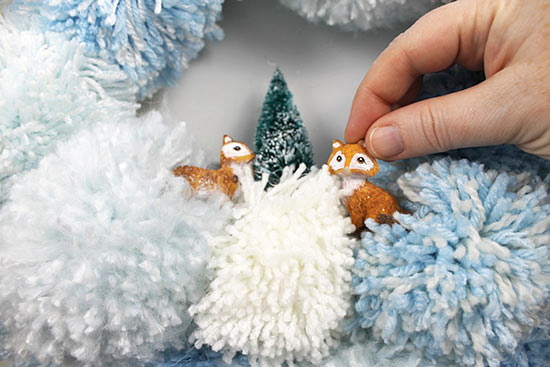
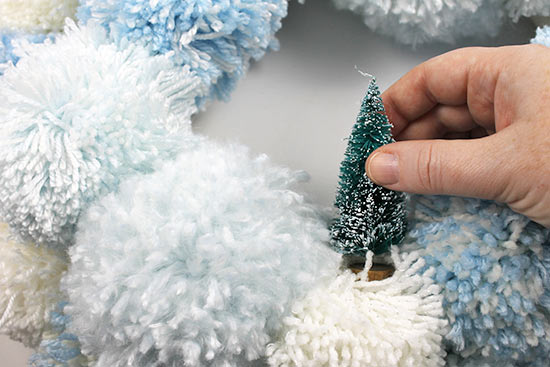
20. Add hot glue to the bottom of a bottle brush tree, then place the tree onto the center of the wreath. When you’re placing the tree, be sure you’re placing it so that it stands straight up when the wreath is against a flat surface. If you place it too far back, it will tilt backwards and not be as visible.
21. Add hot glue to the bottoms of the two foxes, then add a fox on each side of the tree.