Skip to search Skip to navigation menu Skip to main content Selecting option will reload page

Upcycling: Paint Swatch to Bookmarks

Paint_Swatch_Bookmark
If you’ve ever painted so much as a room in your house, you’re bound to have a few paint swatches hanging around. I have a hard time leaving the hardware store without them even though I’ve already painted every room in my house. There’s just something fun about all those colors. Well put those strips to good use as bookmarks!

Things you’ll need:
Paint swatch
Grommet kit
Ribbon
Scissors
Corner punch
Hole Punch

Optional:
Digital cutter
Sketch pens
Scrap cardstock

Things to do:
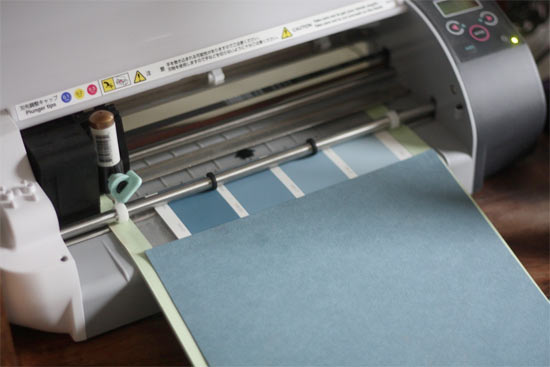
If you are planning on adding an illustration using the plotting technique with a digital cutter, press the paint chip onto the cutting mat at the leading edge and then but the card stock up against the opposite edge to catch any pen marks that go over the edge. You’ll want to do this before starting the rest of the project.
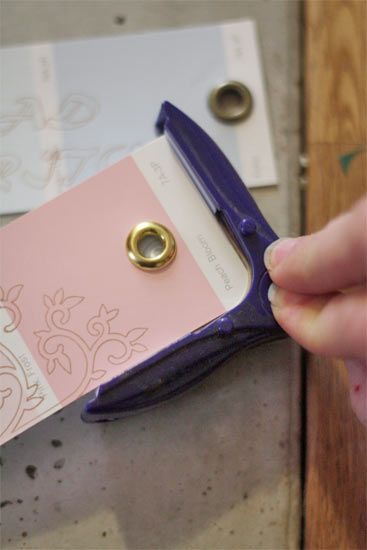
1. Punch a hole into the center top of the paint strip and press the grommet through so that the smoother edge will be on the paint side of the strip. This will mean that the strip will be white side up when you insert the grommet into the punch mold.
Paint_Swatch_Bookmark2
Paint_Swatch_Bookmark3
Paint_Swatch_Bookmark4
Paint_Swatch_Bookmark5
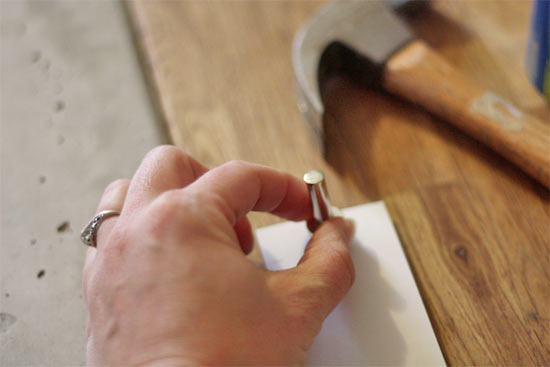
2. Hammer the grommet together tightly.
3. Thread a ribbon through the grommet, tie off and trim.
4. Trim the corners with the corner punch.
Continue Reading

Upcycling: Seed Catalog Wreath

Seed_Catalog_Wreath
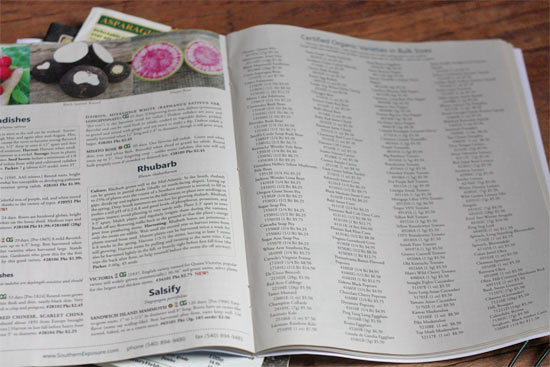
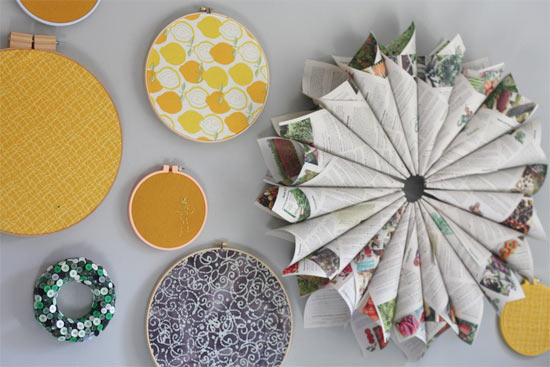
This time of year I end up with seed catalogs stacked on my desk. I like looking through the descriptions of all of the vegetables, flowers and plants that could grow in my garden. But after the seeds have been ordered, I have a hard time getting rid of all those lovely pictures of green growing things. If you, like me, are loathe to just toss your see catalogs, why not turn them into an unusual wreath?

Things you’ll need:
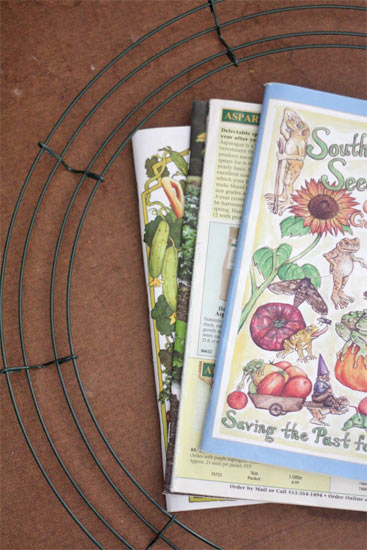
12 inch wire wreath form
Seed catalogs
Hot glue gun and glue sticks

Things to do:
1. Open the catalog to the very center and carefully remove the staples holding the pages together. You’ll want to use double pages to make this wreath so you don’t want to tear the staples free leaving holes in the paper.
Seed_Catalog_Wreath2
Seed_Catalog_Wreath3
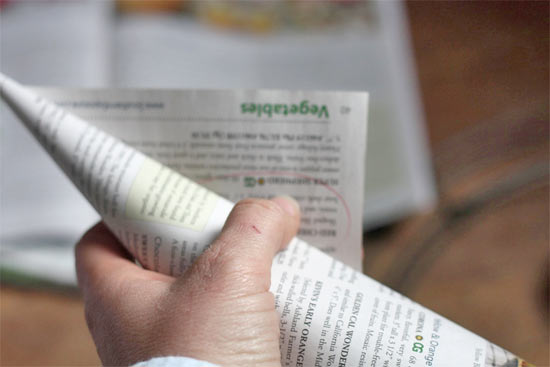
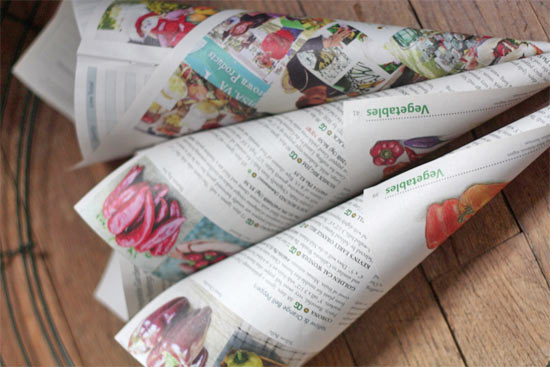
2. Starting at one corner, roll each page into a long cone, securing the edge with a dot of glue. Continue to roll and glue until you have about 24 cones.
Seed_Catalog_Wreath4
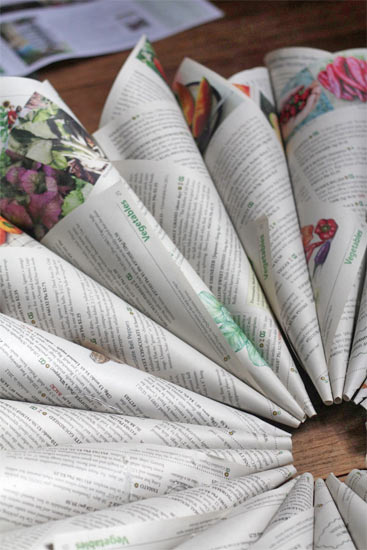
3. Run a bead of glue along the side of each cone and press it to another, making sure that the tips line up. Continue to do this until you’ve completed a circle (this is an easier way of doing it than trying to make the circle on the wreath as you go!)
Seed_Catalog_Wreath6
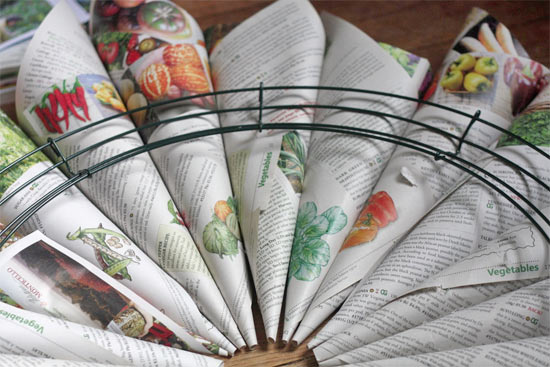
4. Once you have the circle put together, carefully flip the paper over and lay the wreath (curved side down) onto the paper. Center and glue into place.
Seed_Catalog_Wreath7
Seed_Catalog_Wreath8
5. Allow the glue to dry and hang. This wreath is an indoor only piece as the paper wouldn’t hold up in the elements.

Continue Reading
Change Your Country
Please select your country, this will change the site to your country's currency:

Cancel