Skip to search Skip to navigation menu Skip to main content Selecting option will reload page

Mini Spool Tree


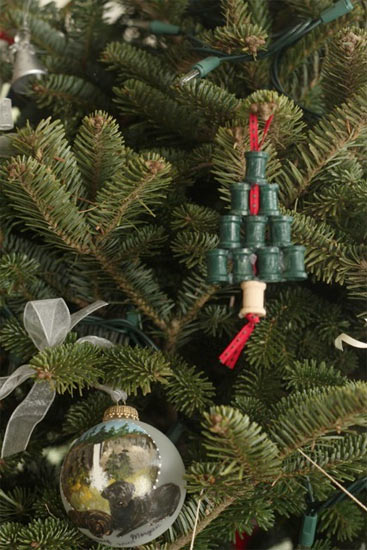
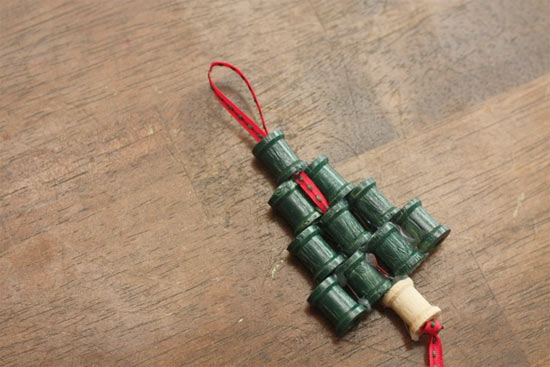
Here’s a Christmas ornament for the crafty person in your life, a mini spool tree! While we painted our spools green, you can easily adjust the colors of this tree to suit your holiday decor, or make a year round version to decorate your craft space by wrapping the spools in patterned paper!

Things you’ll need:
Mini spools
Green acrylic paint
Paintbrush
Narrow ribbon
Craft glue or hot glue gun and glue stick

Things to do:
1. Depending on the size of the tree you want, set out your spools, making sure you have one more (for the trunk!) than you’ll need for the tree. Paint the tree” spools green and allow them to dry. Leave the final spool unpainted.
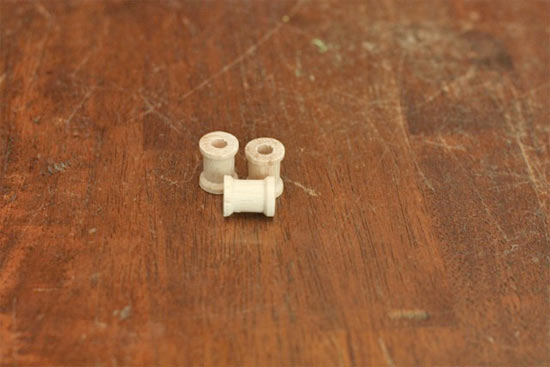
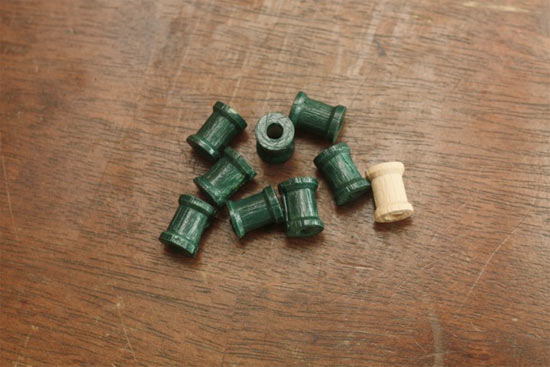
2. Thread your ribbon through the trunk spool and though the center spool on every row with an odd number of spools. Thread back through again, leaving a loop at the top and tying a knot at the bottom.
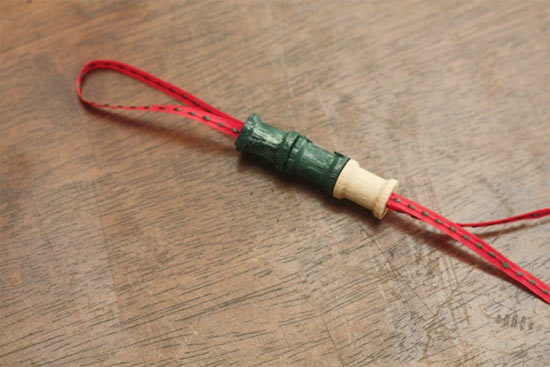
3. Between the trunk and the first threaded spool, sandwich two spools, gluing them to each other, the ribbon and the spools below and above it. Add enough spools on either side to make the bottom row.
4. Add spools to the next (odd numbered) row as well to finish the row, gluing them to their neighbors as well as the ones below.
5. Repeat this process until you reach the top. Allow the glue to dry and then hang it up and enjoy!
Continue Reading

Mini Spool Ornament


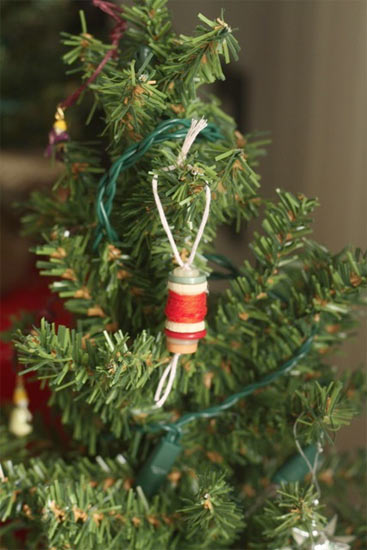
This is the perfect little ornament for the crafter on your list. For me, (although I’m a crafter myself if you hadn’t guessed) that’s my daughter, who has recently dived into sewing, gluing and painting with both feet. So this year I’ve made her a special little sewing themed ornament for her little bedroom tree. If you have a little (or big) crafter that needs something special for their tree, look no further.

Things you’ll need:
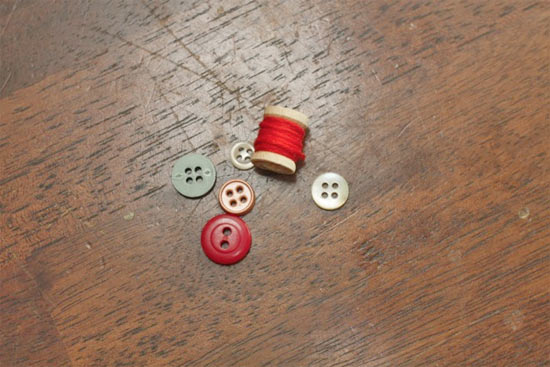
Wooden spool
Buttons
Embroidery thread
Embroidery needle

Things to do:
1. Wrap thread around the spool until it looks nice and full. Tie off or glue the end in place.

2. Thread the needle with about a 12-inch piece of embroidery thread.
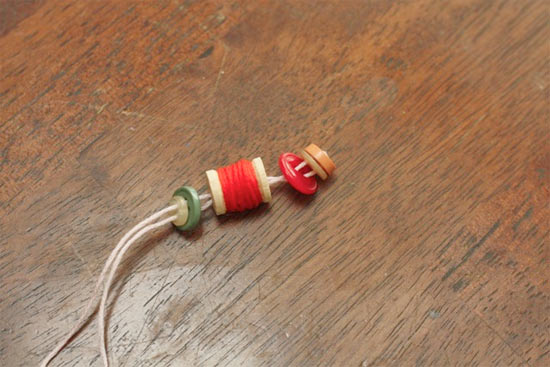
3. Stack your buttons and spool and more buttons in the order you want them to hang.
4. Draw the needle and thread through the button you want on the top and then through the rest of the stack. When you get to the bottom, leave a generous loop and draw the thread back up in the opposite order.

5. Tie a knot at the bottom and the top, creating a loop at the top for hanging and trim the bottom loop into tails for decoration.

Continue Reading
Change Your Country
Please select your country, this will change the site to your country's currency:

Cancel