

Here is how to make your own adorable Wood Slice Snowman Ornament:
Difficulty level: Beginner
Time required: 2 hours plus paint drying time.
Age range: 5+ (if you use kids glue)
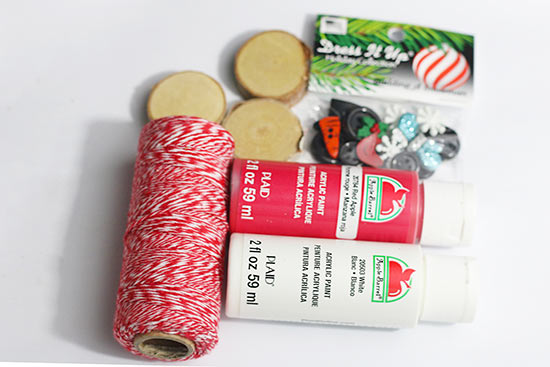
Things you will need:
Small Birch Wood Slices
“Building a Snowman” Buttons
Red and White Baker’s Twine
White Apple Barrel Acrylic Paint
Bright Red Apple Barrel Acrylic Paint
Things to do:
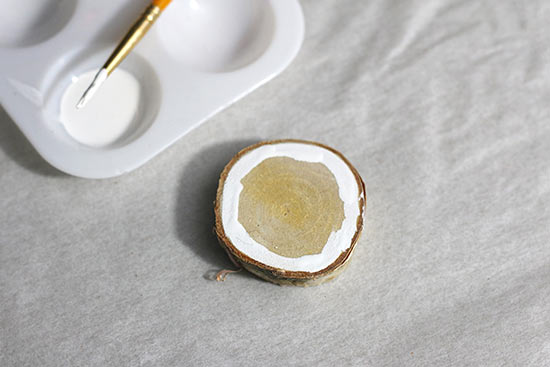
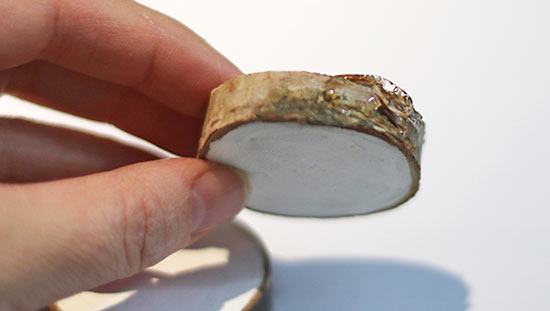
1. Paint the outside edge of the small birch wood slice with the white Apple Barrel acrylic paint. Then continue painting towards the center until the circle is filled with paint. Repeat with the remaining two wood slices. Allow the paint to dry.
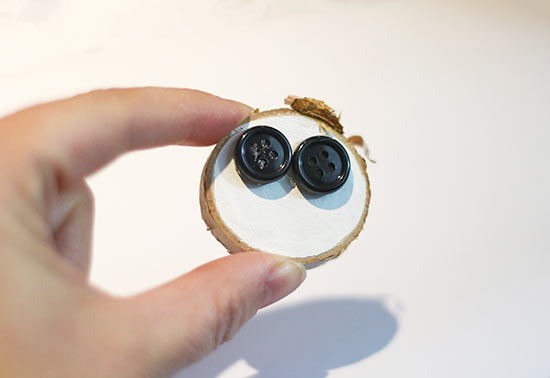
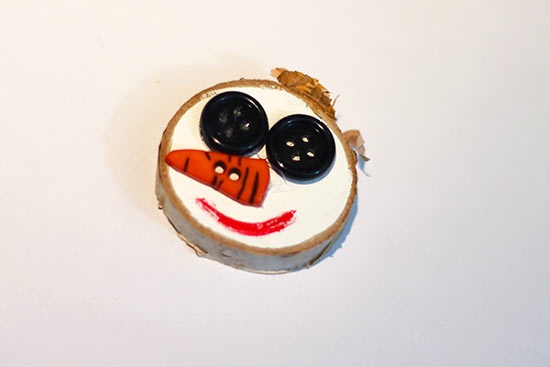
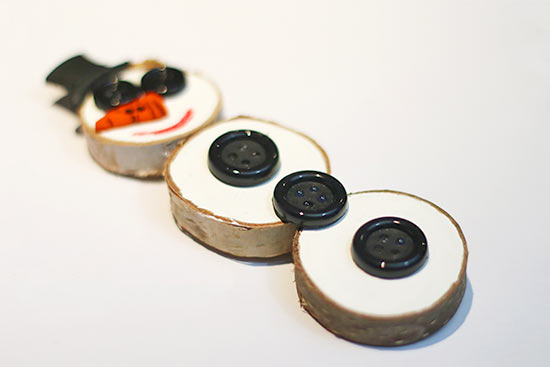
2. Glue two smaller buttons from the Holiday Collection “Building a Snowman” Buttons set onto the front of the smallest wood slice. I used hot glue for this tutorial, however for children under 10, Elmer’s glue would also work, however drying time would be increased.
3. Glue on the carrot button onto the middle of the wood slice, centered between the button eyes.
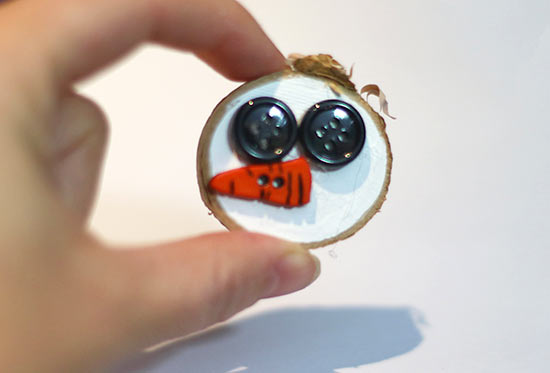
4. With the Bright Red Apple Barrel Acrylic Paint, paint a smile onto the wood slice, under the carrot nose.
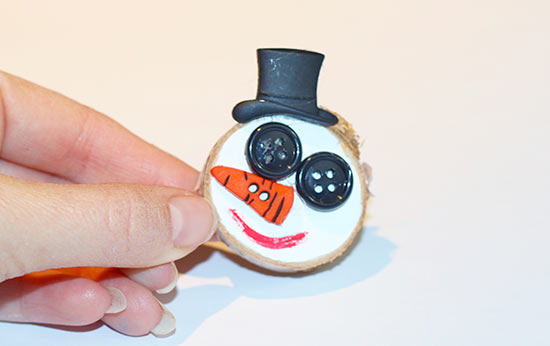
5. Glue on top hat button onto the top of the wood slice. Since the top hat button has a curve, the hat fit best on the left side on the wood slice.
6. Place a drop of glue on one end of the middle sized wood slice.
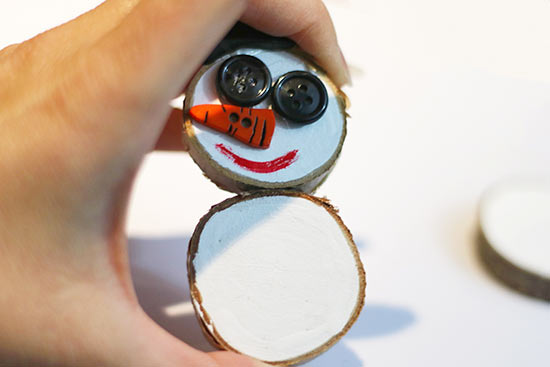
7. Press the middle sized wood slice to the bottom of the smallest wood slice. Hold together for about a minute. Repeat with third (largest) wood slice and middle wood slice.
8. Place a large drop of glue on the back of the snowman ornament where the wood slices meet. For extra security, you could also glue on a popsicle stick to the back of the snowman ornament. Allow glue to dry completely.

9. Glue three larger buttons from the Holiday Collection “Building a Snowman” Buttons set to the front of the bottom two wood slices. Glue one button on where the two bottom slices meet for extra security.
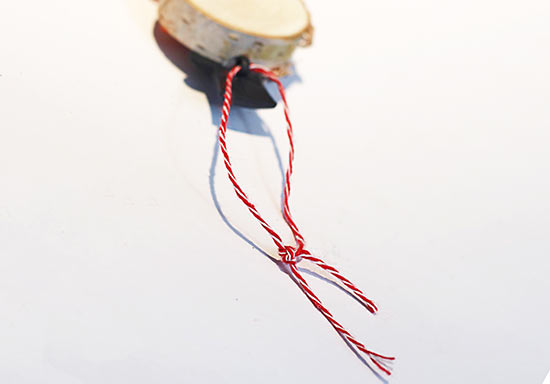
10. Tie some red and white baker’s twine around the the neck of the snowman ornament. Before tying the twine in a bow, place a drop of glue in the middle of the tie. Allow to dry. This will help keep the bow twine in place and give a little extra security to the ornament.

11. Tie the red and white baker’s twine into a bow. Place another drop of glue in the middle of the bow, to keep the bow from coming undone. Trim the length of the excess twine. Allow glue to dry.

12. Thread some red and white baker’s twine through the top hat button hole. Then tie the string into a secure knot.
13. Trim down the edges of the excess string, then move the knot inside the button hole of the top hot button. Then, place a drop of glue onto of the knot inside the button hole.
Voila! You now have you own DIY Wood Slice Snowman Ornament.