
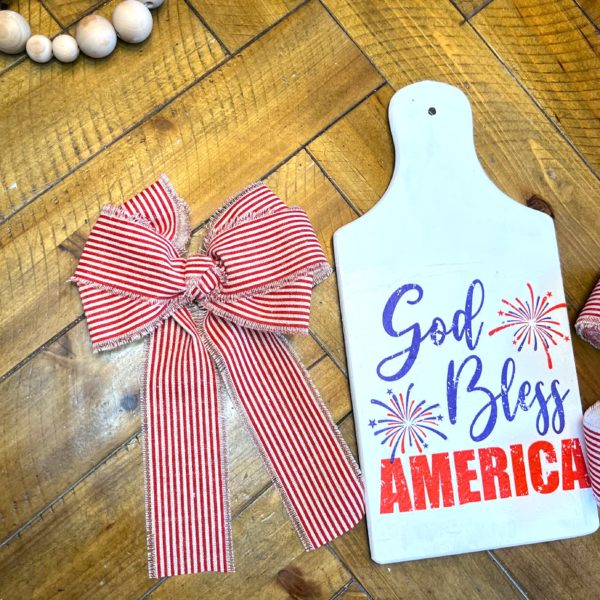
This EASY project designed to up your patriotic decor with charm! Whether you’re celebrating 4th of July celebration, Memorial Day, or simply want to show your patriotic spirit – Our Americana Cutting Board is a great summer project!
Difficulty level:Beginner
Time to complete: 30 minutes
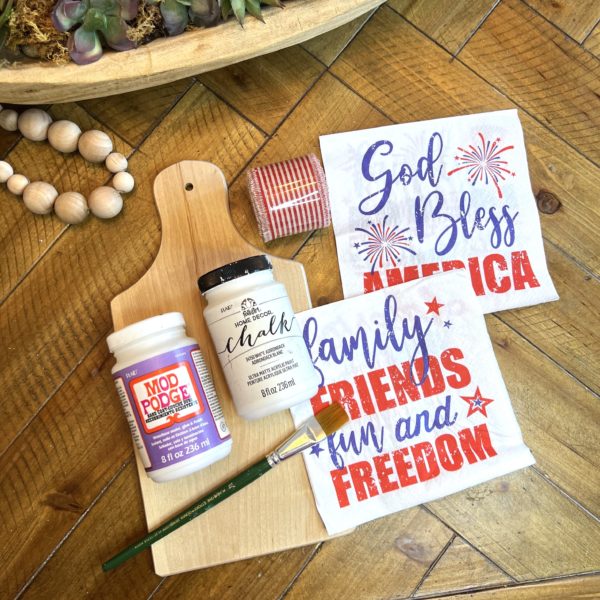
What is needed:
- Unfinished Wood Cutting Board
- 2″ Red and White Striped Linen Ribbon
- Mod Podge Hard Coat
- FolkArt Home Decor White Adirondack Chalk Paint
- Napkin of your choice
- Hot Glue gun
- Paint brushes
- Pipe Cleaner
- Scissors
Let’s grab your paintbrushes, channel your inner artist, and let get crafting!
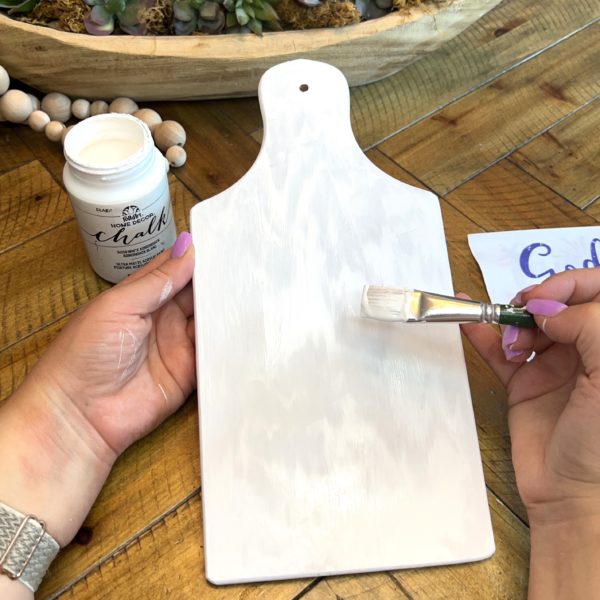
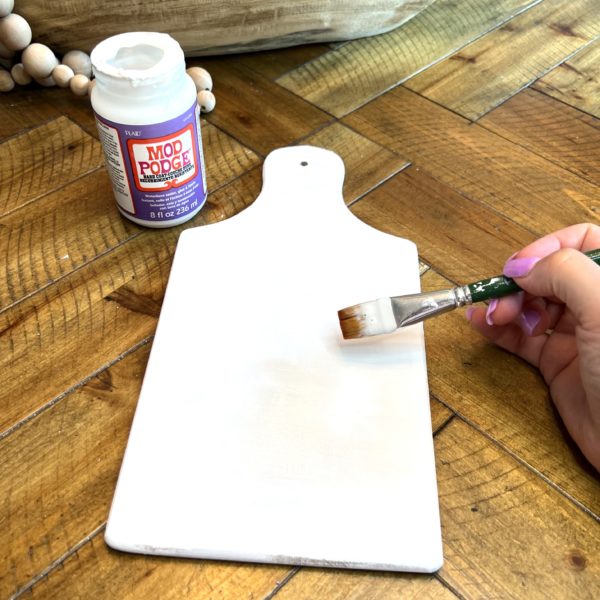
Step One – Painting
- Here you will grab your desired paint color. I chose white paint to help blend the napkin.
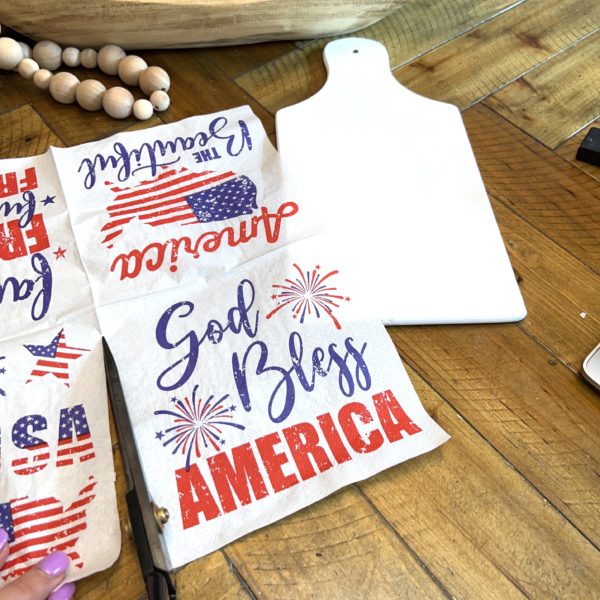
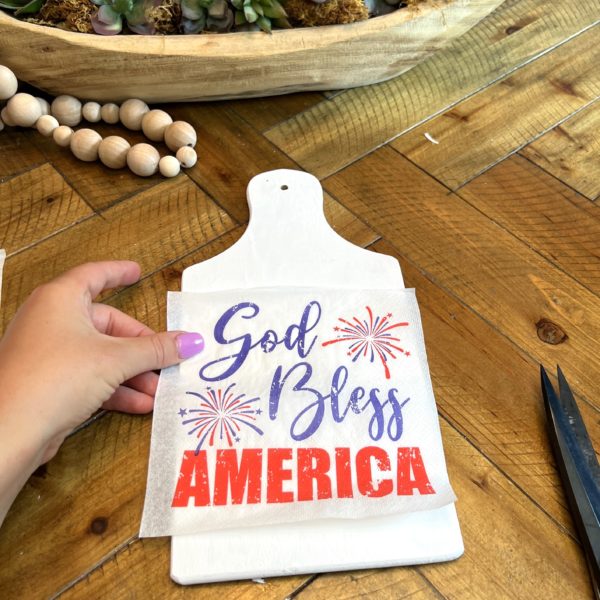
Step Two – Pick your Design
- I found these cute napkins on amazon. Soon as i came a crossed them, i knew they would be perfect for crafting and decoupaging.
- On each napkin there are 4 different pictures. I chose my design, cut along the folded lines.

Here i separated the back layering of the napkin. This will leave you with a thin layer of the napkin with your chosen design.
Step Three – Decoupage
- Take your Mod podge and brush on a thin layer to help adhere the napkin that you have prepared.
Take that napkin and lay on top carefully where you have painted the Mod Podge on.
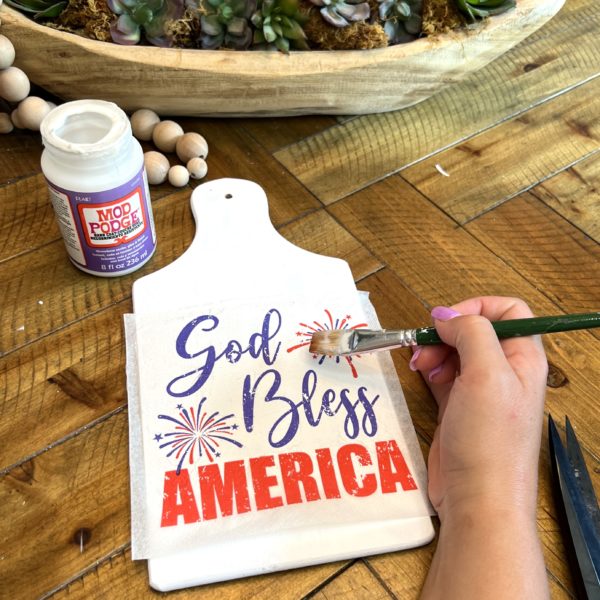
Step Three- Sealing the decoupage
- Once that napkin is in the desired place, you will then take more mod podge to help seal and protect the napkin. (Be sure to apply carefully and softly. A good artist brush will be fine or you can use a foam brush.)
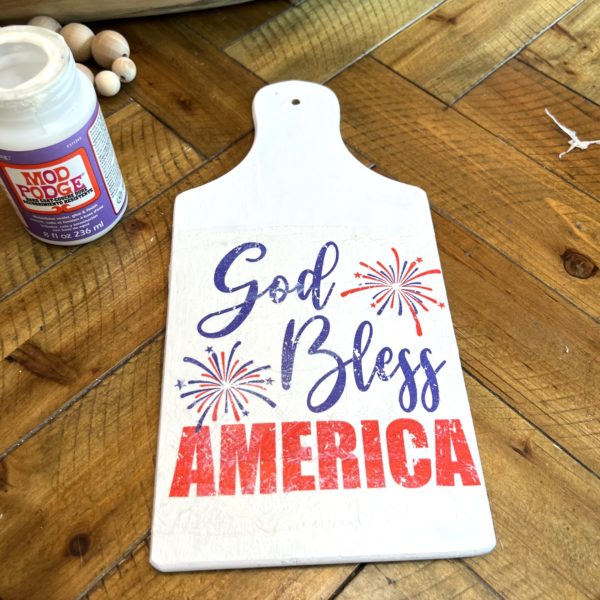
- Once dry, You will then carefully take a damp Q-tip and get the edges wet that are hanging over the cutting board. This will help get a clean edge and clear off the
Step Four – Creating the Bow
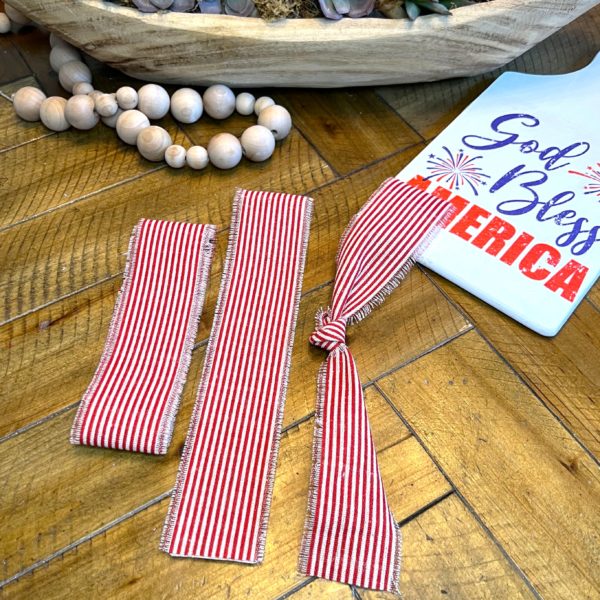
- Create 3 different sections.
- One section (the bow), you will have the ribbon folded 3 times measuring 6-1/2 inches. The wrapping it 3 times will allow the bow to have three loops on each side that you can fan out at the end.
- Second section (tail), you will fold it once over to have the front and back measuring about 8 inches.
- Lastly, the third section will be a 5 inch ribbon that you will tie in a knot. This will be the middle of the bow.
Step Five – Painting
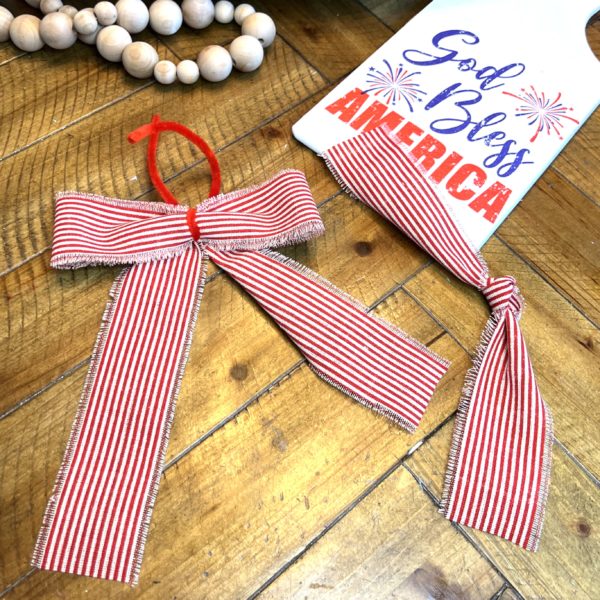
- Here you will take section 1 and section 2 together. You will take your pipe cleaner and twist them together in the center. This will connect the top of the bow and the tail together.
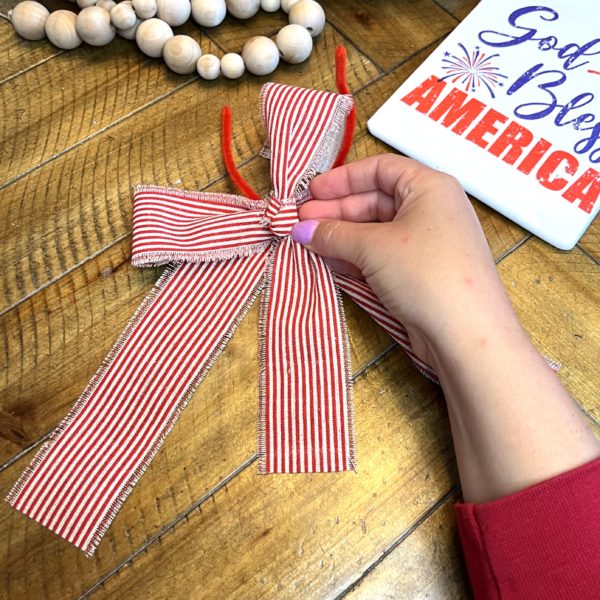
Take your third section (the knot) and you will simply tie this around the middle of the bow. This will help create a nice look and hide the pip cleaner. Then you will simply take the pipe cleaner and twist all the pieces together. Trim your pipe cleaner.
Step Six- Fan it out
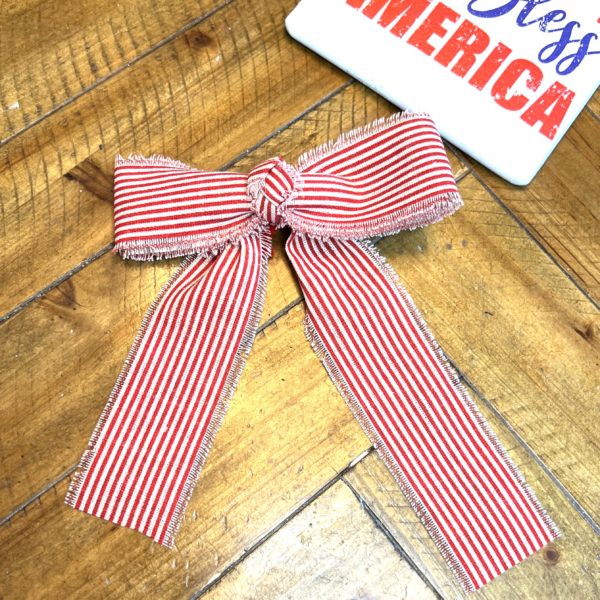
- Once this bow is all twisted together. You will take your bow portion and fan out the extra loops that are inside. Then hot glue it in place.
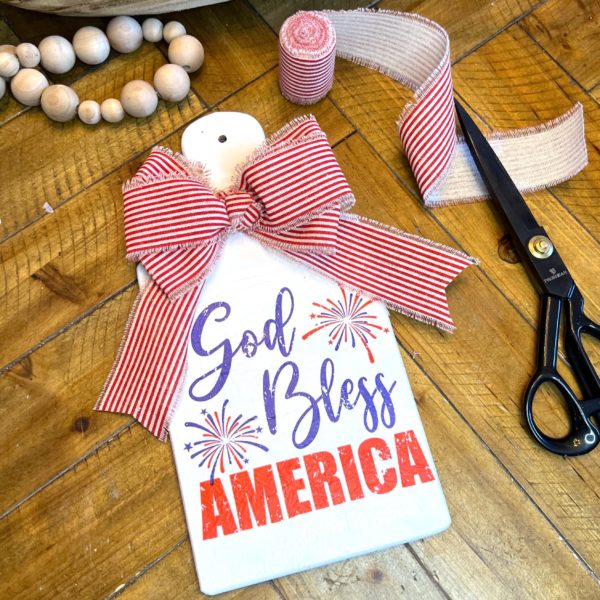
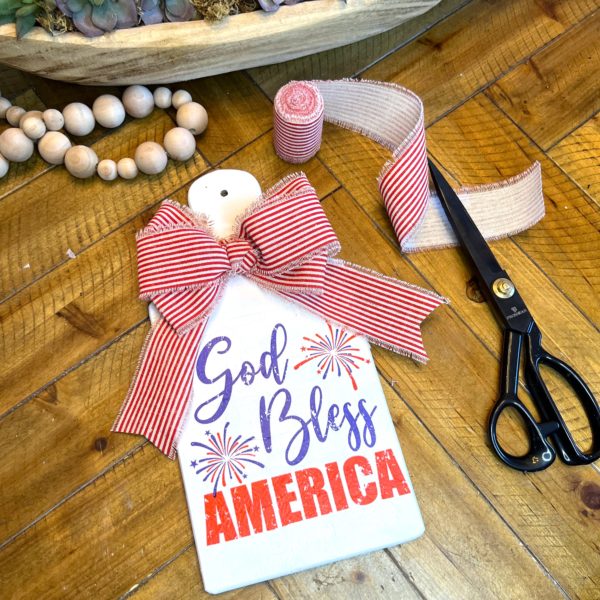
Now it is ready to display for all your loved ones to see!
How to video
Want to see more? Find more beautiful and unique projects by subscribing to our YouTube Channel here
- https://www.youtube.com/@FactoryDirectCraft