
Skip to search Skip to navigation menu Skip to main content Selecting option will reload page

Category: Seasonal Crafts

Create Ornaments from Old Shirts and Styrofoam Balls – As seen on HGTV

HGTV_fabric_ornaments
We were contacted by HGTV in September for a few basic craft supplies for their holiday special that would be aired in December.
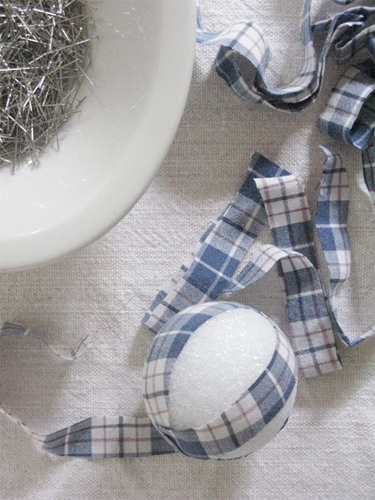
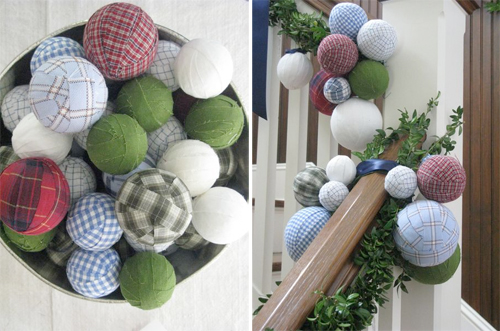
December 6, 2009 8:00 pm EST HGTV aired Celebrity Holiday Homes featuring Kathie Lee Gifford and her style-wise designer Eddie Ross. His fresh and festive ideas transformed Kathie Lee’s house into a holiday wonderland with simple handmade ornaments. Eddie Ross saves consumers a trip to the fabric store with his simple no-sew ornaments from old shirts.
shirt_balls_blog
Things you will need:
Old shirts (go ahead… clean out that closet!)
Styrofoam Balls (whatever size you have in mind)
Straight Pins
Floral Wire
Scissors

Instructions:
fabric_balls_HGTV
1. Sort through your closet and find the patterns that will best with your holiday theme.

fabric_ornaments_HGTV
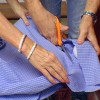
2. To guarantee that you get the most fabric out of you old shirt be sure to cut off all the seams, including the collar and cuffs.
fabric_ornaments3
3. After cutting off the seams, lay out the remaining fabric and place one of the styrofoam balls on it (whichever size you decided on) to see how big of a strip you will need to cover the ball. Cut the fabric this length so that you have a big strip.
fabric_ornaments_hgtv4
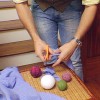
4. Next, take your strip that you just cut, fold the strip lengthwise four times and cut different widths.
fabric_ornaments_hgtv5
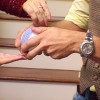
5. Take one strip and pin it to the styrofoam ball using one of the straight pins to ensure that it stays in place. Pull the fabric strip tightly and pin the other end using another straight pin. Repeat this process until your styrofoam ball is covered.
fabric_ornaments_hgtv6
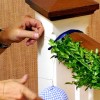
6. Finally, use the floral wire so that you can hang your fabric ornaments to a garland, wreath, or even your tree!
shirt_balls_blog2

Photo Credits:
HGTV Celebrity Homes: Holiday Decorating From the Stars
Eddie Ross

Ps. You can see the show again
December 13, 2009 5:00 PM EST
December 24, 2009 6:00 PM EST
December 25, 2009 11:00 AM EST
Continue Reading

Ice Cube Snowman Holiday Craft Project

ice_snowman_project

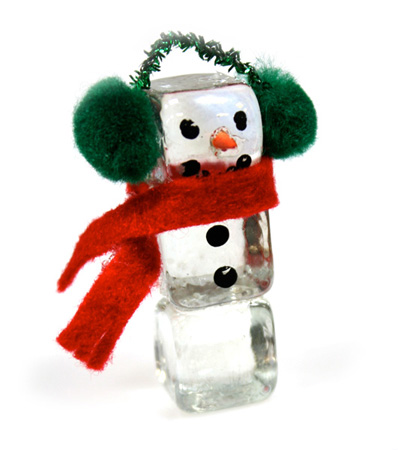
I just love fun easy to do projects. And this glass ice cube snowman is definitely fun and easy!

Things you need:
3 – Glass Ice Cube Gems
1 – Tinsel Stem
1 – 1/4″ Craft Pom Poms
1 – Red Craft Felt Square
E6000 Glue
Black Apple Barrel Acrylic Paint
Harvest Orange Apple Barrel Acrylic Paint
Paint Brush
Toothpick

Things to do:
1. Take three of the glass ice cube gems and glue them together using the E6000 glue to form the snowman’s body and let dry. Be sure to have the rounded side of the glass ice cube gems all facing in the same direction when you are gluing them together.
2. To make the snowman’s carrot nose, take your paintbrush and Harvest Orange Apple Barrel acrylic paint and paint your toothpick. Set aside to let dry.
3. Cut a 1-1/2″ piece from the tinsel stem of your choice. This will form the top of the ear muffs.
4. Cut the pom pom in half. Glue the two pom poms and the tinsel stem to the sides of the top glass ice cube gem to form the ear muffs.
5. Using the end of your paint brush or dip your brush into the black Apple Barrel acrylic paint and dot on the eyes, mouth, and coal buttons down the front. Set aside to let dry.
6. Cut off a 1/4″ off of the orange painted toothpick and glue onto the snowman for his nose.
7. Take your felt and trim 4″ long x 1/4″ wide piece. Cut small slits in each end of the felt scarf to form “fringe.” To ensure that the scarf stays on your little snowman, glue at the side of your snowman.

Continue Reading
Change Your Country
Please select your country, this will change the site to your country's currency:

Cancel