If you’ve ever made t-shirt yarn, (and if you haven’t you really should, it’s so fun!) you know that the one problem, with it, if it can be called a problem, is that you can really only use the part of the t-shirt under the armpits. Sure, you’re still recycling, and you get fun (free!) yarn, but what about the rest of the shirt? I generally cut the front and back into rough squares for cleaning but the sleeves? I save those for yet another craft. Those sleeves are gold when it comes to loop weaving. Remember weaving with loops on a square loom? I think I spent hours making potholders with one as a kid and I know my kids love it too since I’m the proud owner of several colorful loop potholders. Now a days there are more things to be done with those loops but before you get started on any of those projects, you can DIY your own loops out of leftover t-shirt sleeves. Hooray for craftiness!
Difficulty level: Beginner
Time required: Just a minute or two per sleeve
Things you’ll need:
T-shirt sleeves
Ruler
Pencil or sewing pencil
Scissors
Things to do:
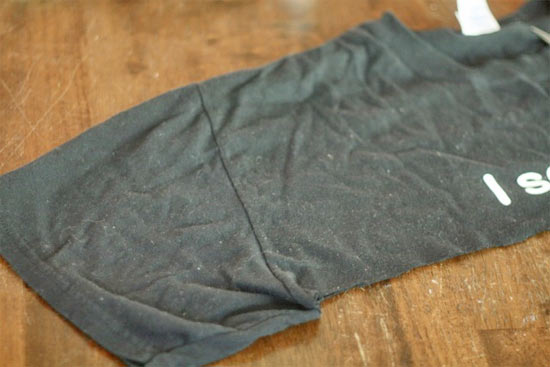
1. Take the leftover parts of your t-shirt and trim away the back and chest so you have only the sleeves.

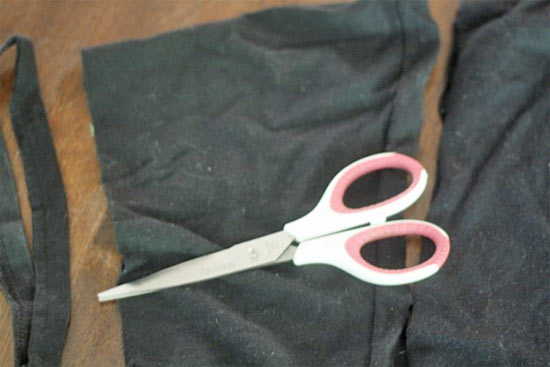
2. Cut off the hemmed edge of the sleeve as closely to the edge of the hem (where the fabric is doubled) as you can.
3. Using your ruler and pencil, mark the rest of the sleeve in one-inch increments until you reach the far edge, squeezing as many in as you can.

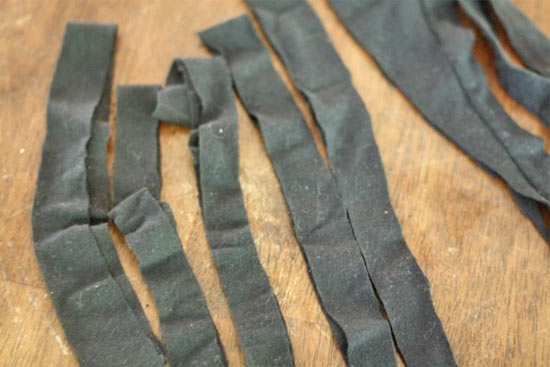
4. Following the lines, cut out your loops and discard the scraps that are left.

* This same technique can be used with thick tights that have gotten holes in the knees, use the calf and thigh section of each leg for the loops.
