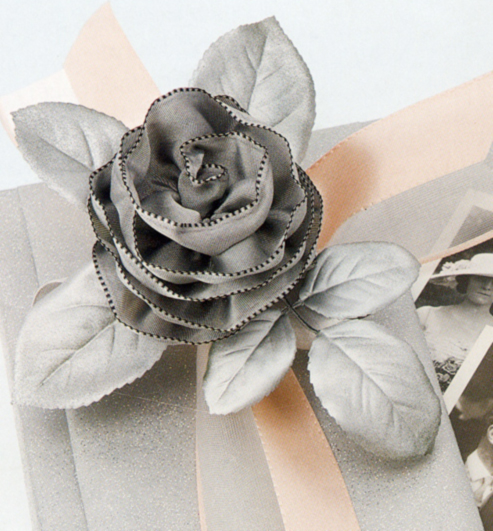
Ribbon roses are very easy to make once you learn the technique. Ribbon roses can be used for a variety of things such as gift wrapping, and to embellish hats. You can also add ribbon roses to wedding bouquets, chair backs, and party favors for your special event. They make pretty clothing accessories and perfect embellishments for hairpieces.
Instructions:
1. To begin making your ribbon rose, select a wire-edged ribbon of your choice. Cut off approximately 22″ in length from your ribbon. You can cut more off to make a bigger and fuller rose or use less for smaller and petite roses. Knot one end of your ribbon strip.
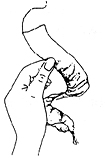 2. Next, grab one of the wires edge at the opposite end of the knot and slowly pull the wire out, creating loose ruffles and gathering the ribbon down to the knot.
3. Keep gathering the entire ribbons edge until it is ruffled and curly in nature. Remember to leave the loose wire end free and do not cut off.
 4. To start shaping your rose, begin wrapping the ruffled ribbon around the knot. Make sure that you wrap the ruffled ribbon tighter at the beginning to create a “bud.” As you continue wrapping the ruffled ribbon around the knot and have create your bud, begin wrapping more loosely so that you create your open rose shape. Tip*** Wrap the ruffles loosely for an open rose and tightly for a rose bud.
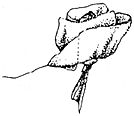 5. Once you are finished wrapping the ribbon around creating your rose shape, fold the loose end down and pull it towards the gathered part of the rose (the bottom of the rose). Take the loose wire and wrap it around the bottom of the rose very tightly. Cut off the excess wire when you are finished. Finally, play around with the rose, adjusting the “petals” by ruffling and scrunching until you are satisfied.
