Skip to search Skip to navigation menu Skip to main content Selecting option will reload page

Free Form Sculpture Paperweights


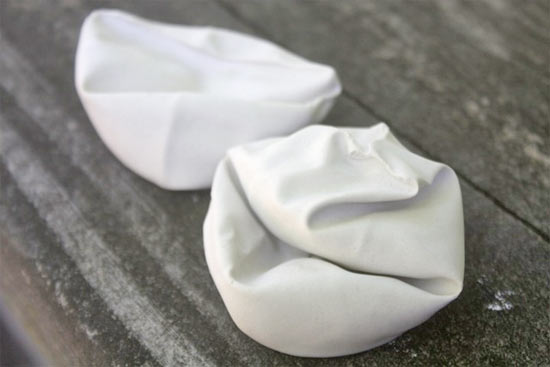
The perfect project for using up that last but of Plaster of Paris, these free form sculptures are fun, stress relieving (lots of squishing involved!) and make excellent and interesting gifts. A word of warning, they can be a little messy and are best done in a well covered work area or outside.

Things you’ll need:
Latex balloons
Plaster of Paris
Water
Plastic waterbottle or empty squeeze bottle with small mouth.

Things to do:
1. Pour about 1/2 cup of plaster into the bottle and add enough water to produce a slightly thick consistency.
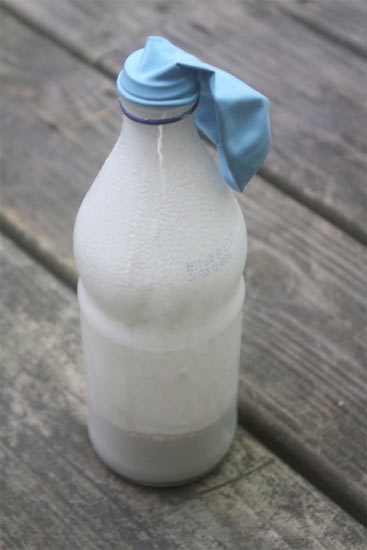
2. Fit the balloon over the mouth of the balloon and, holding the edges firm, pour the plaster into the balloon. You may need to pull slightly at the edge of the balloon to allow air to escape, but be careful not to spill plaster out when you do it.
3. Pull the balloon off of the bottle. DO NOT TIE. Holding the narrow part of the balloon up and pinching it off, form your shape. Allow the neck of the balloon to flop over the shape once you’ve made it so that plaster doesn’t drip out.
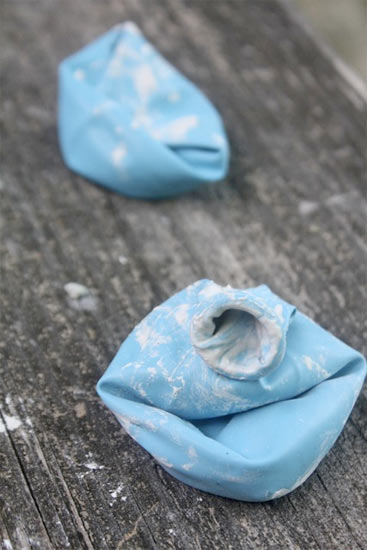
4. Let the plaster harden for about an hour before peeling or cutting away the balloon.
5. Using your thumb, rub away any rough edges and allow the plaster to continue to harden overnight.
Continue Reading

Simple Mailbox-Inspired Card


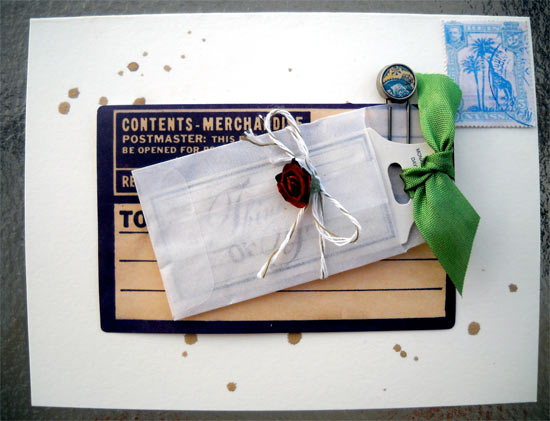
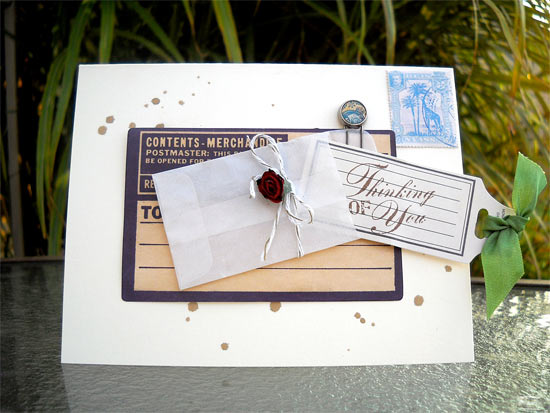
The other day I found myself going to the mailbox expecting the always boring pile of bills, junk mail, and who knows what else thrown inside. What I found was a personal addressed envelope with my name on it! I was so excited! I’m going to share a quick and simple card you can recreate to make someone’s day special, and don’t be afraid to add your own personal touches too!

Things you’ll need:
Making Memories Travel Collection Findings
Pink Je t’Adore Embellishment Heart Box from Making Memories
6″ Plastic Bone Folder Tool
Permanent Double Sided Glue Dots
Paper Trimmer
Cardstock
Sentiment Stamp
Ink
Spray Ink (if desired)

Things to do:
1. Create your card base using your paper trimmer to 5 1/2″ x 8 1/2″, and fold in half creasing with a plastic bone folder.

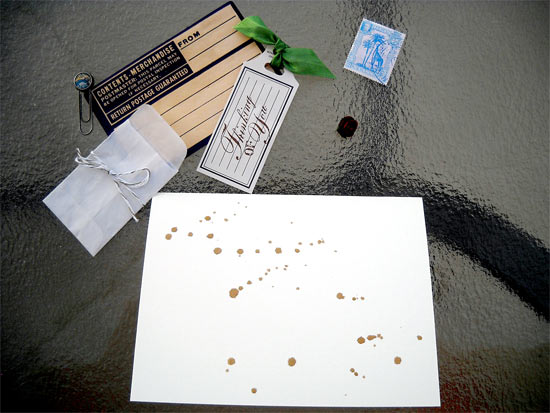
2. Unscrew the nozzle to your spray ink and dab the bottom onto front of card as desired.
3. Open your Making Memories Travel Collection to locate the purple merchandise tag, a stamp, mini vellum bag, lined tag, paperclip, green ribbon, and twine. Using your glue dots adhere the purple tag to the center of your card and your chosen stamp in the upper right hand corner.
4. Tie twine around the mini vellum bag and attach the bag to the center of the purple tag with paper clip. You might want to adhere a glue dot to the back of the bag for extra support.
5. Stamp a sentiment onto the lined tag and tie green ribbon as desired. Place this sentiment inside the vellum bag for the receiver to find and pull out themselves!
6. Take a rose stem in your Pink Je t’Adore embellishment box, trim one rosebud off and attach it to the center of the twine bow with a glue dot. Feel free to add more embellishments as you wish!!!

Continue Reading
Change Your Country
Please select your country, this will change the site to your country's currency:

Cancel