Skip to search Skip to navigation menu Skip to main content Selecting option will reload page

Push Pin Clothespins


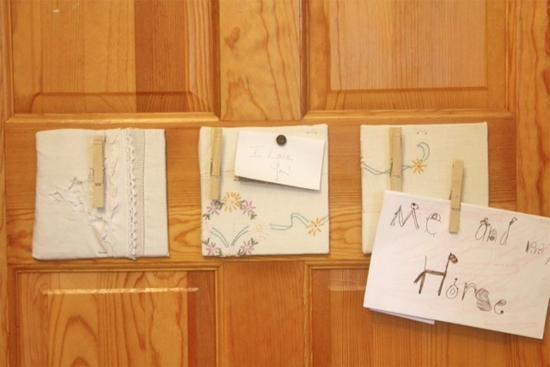
We are always hanging up kid art in our house. I love to see the creativity of my kids decorating walls and doors and appliances (of course) and my kids get all excited when they see the pieces they’ve worked so hard on hanging up for our family and friends to see. And while magnets are great for the fridge and pins hold them up well on cork boards, sometimes I don’t want holes in their art, especially when I’m going to put it in the special “save” box in our attic, so in those cases, I turn to pin clips. Simple to make and oh so handy, they are one of my mom must haves.

Difficulty level: Beginner
Time to complete: Less than 5 minutes

Thing you’ll need:
Pushpins (look for pins with totally flat tops)
Craft glue
Clothespins

Things to do:
1. Line your clothespins up on your work surface.
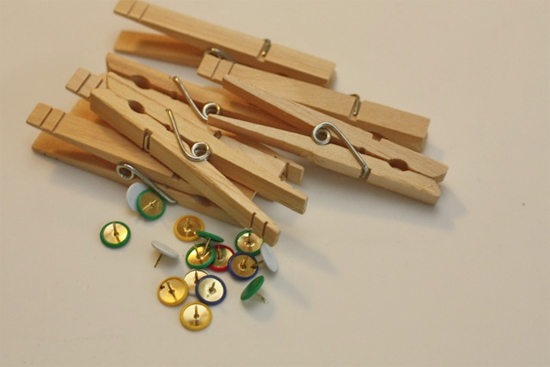
2. Apply a dollop of glue near the top of the clothespins on top of the grooves. This helps the glue hold tight to the pin.
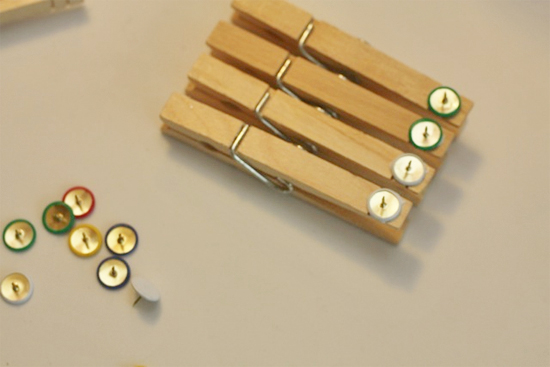
3. Press the top of a pin into the glue and allow it to dry completely before pressing the pins into a corkboard for use.
Continue Reading

DIY Jar Soap Dispenser


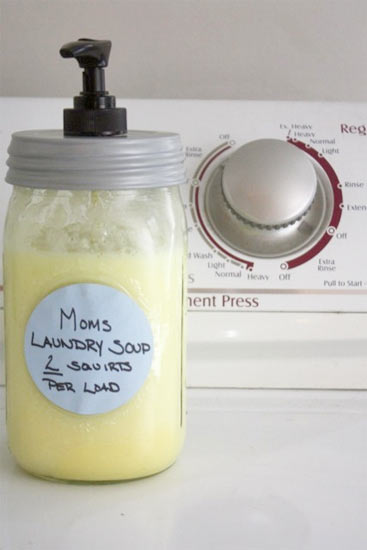
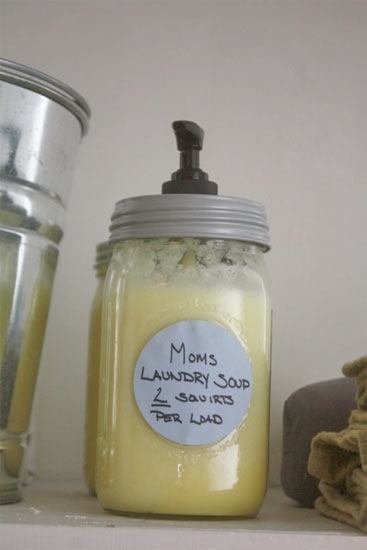
Like many people, I’ve been working hard to replace most of the factory made cleaners out of my house. All-purpose sprays have been replaced with vinegar solutions, tougher stains are fought with ammonia and the laundry detergent has been thrown out in favor of a gentler home made version. The only problem with this tactic is, of course, where to put my homemade cleaners. Laundry soap, in particular is a problem, but these pump jars are perfect. So perfect, in fact, that we’re using them for hand soap and dish soap as well. Easy to refill when empty, they save the planet by reducing the amount of plastic we go through and help make using DIY cleaners just a little bit easier.

Things you’ll need:
1- make your own soap dispenser kit
Mason jar
Soap (try our DIY laundry soap recipe)

Things to do:
1. Fill the jar with soap, leaving about 1/2 inch below the threads of space.
2. Assemble the dispenser kit.

3. Screw the lid onto the jar and attach a label if desired.

Continue Reading
Change Your Country
Please select your country, this will change the site to your country's currency:

Cancel