
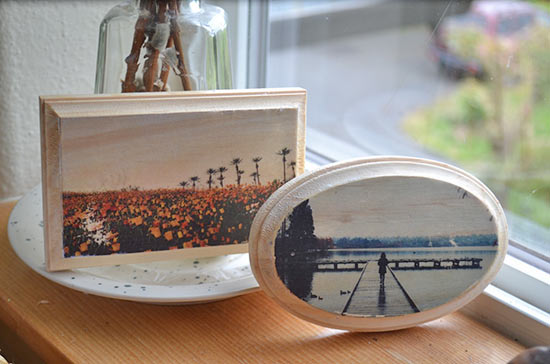
This technique tutorial will teach you how to transfer your favorite photographs to any wooden surface. Grab your Mod Podge and let’s get started!
Difficulty level: Intermediate
Time to complete: 1 Hour
Age range: 12 and Up
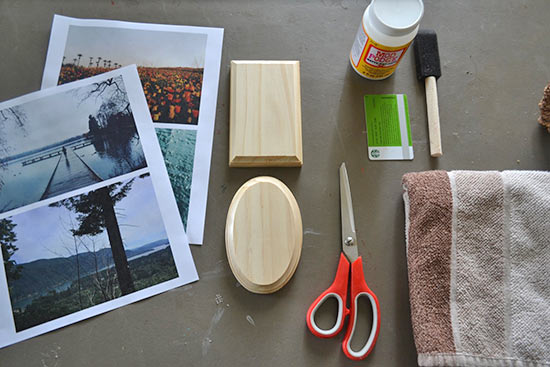
Things you’ll need:
Photo **printed on a laser printer
Wooden plaque
Scissors
Mod Podge
Foam brush
Rag
Pencil
Plastic card
Things to do:
1. The first step is printing your photos. You’ll need to take your images to an office supply store and have them printed by a laser printer on regular computer paper (Your ink jet at home won’t transfer!) If you have an image with text, remember to reverse the image before printing because your transfer will be a mirror reflection of the photograph.
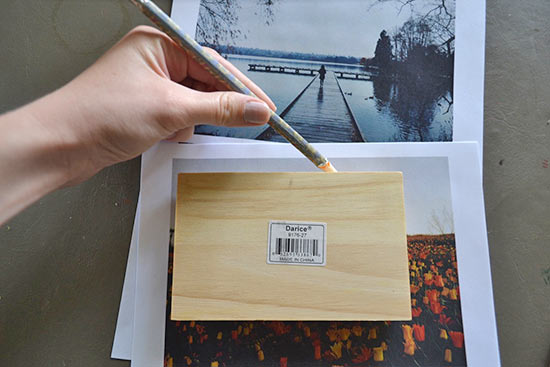
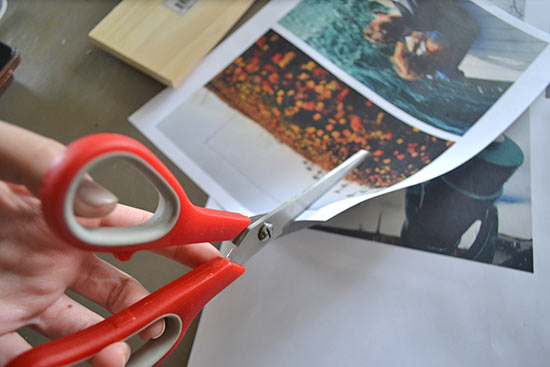
2. Next, trim your image down to size. Place your wooden plaque on top of the image and trace around the edge. Cut out the shape with scissors.
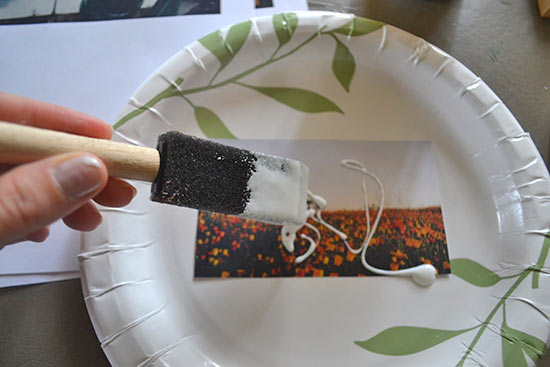
3. Use a foam brush to apply a thick, even layer of Mod Podge to the surface of the image.
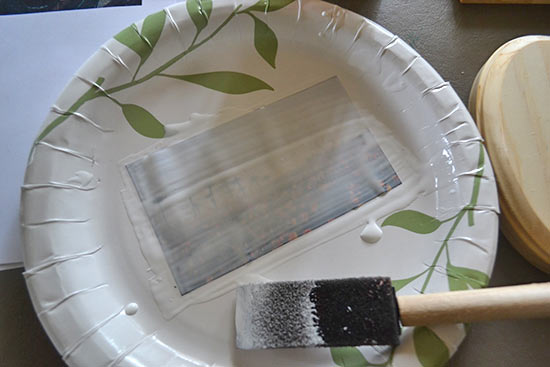
4. Place the image Mod Podge side down on your wooden plaque.
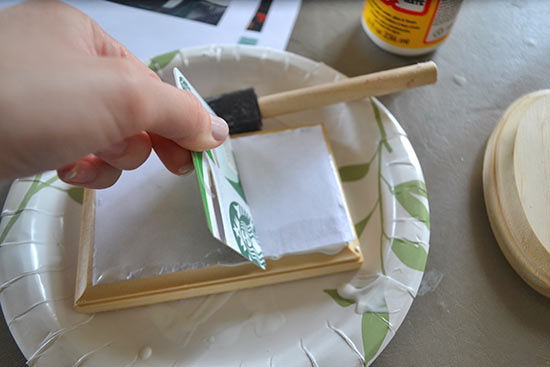
5. Run a plastic card across the surface to remove any air bubbles. Wipe up any excess Mod Podge with a rag.
6. Let the image dry for 24 hours.
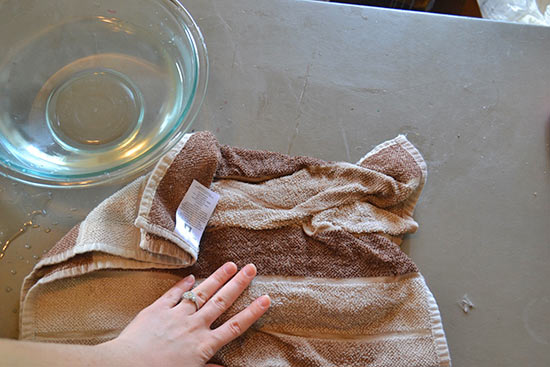
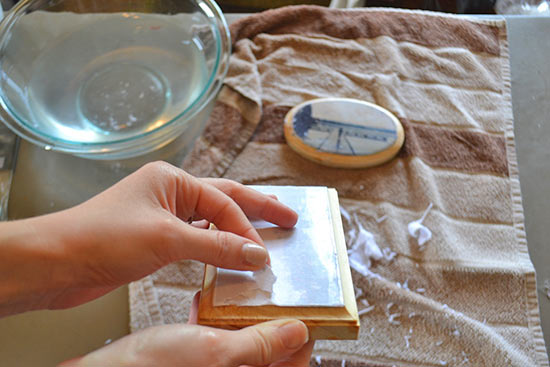
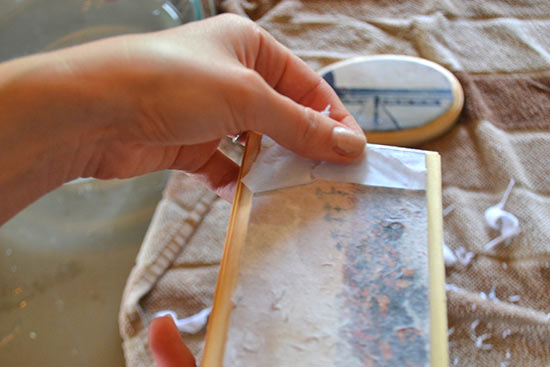
7. Soak a rag in warm water and lay it on your wooden plaques. The water will dampen the paper and make it easier to remove. Let the rag sit for 5 minutes.
8. Peel back as much of the paper as your can, revealing your transferred image! To get all of the paper off, dip your fingers in water and scrub the surface in a circular motion. Be careful not to press to hard or you’ll remove bits and pieces of your image.
9. Set your plaque aside to dry.
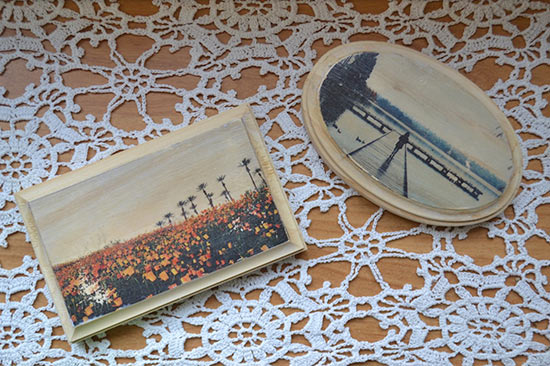
10. When the image has dried completely, apply a thin layer of Mod Podge to the surface.
1 Comment
Can you paint the wood piece and then do the transfer?