Skip to search Skip to navigation menu Skip to main content Selecting option will reload page

Poppy Hair Clips

Poppy_Hair_Clips
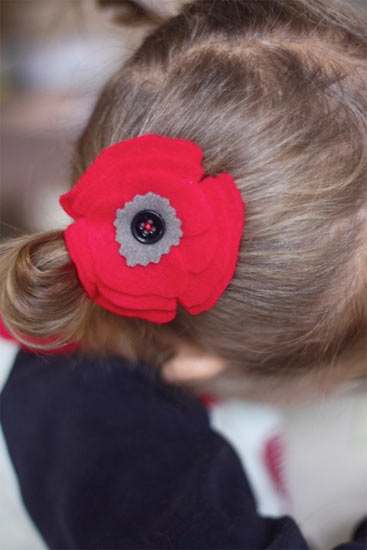
These pretty little hair clips are the perfect antidote for the winter blahs with their bright color and fun button finish. Made of of red felt, they work well for Valentines day but can also be worn year round and are a great afternoon project!

Things you need:
Flower template
1 sheet of red felt and a scrap of gray or black felt
Scissors
1 – Button
Pinking shears
Red or black thread and sewing needle
Hair clips

Things to do:
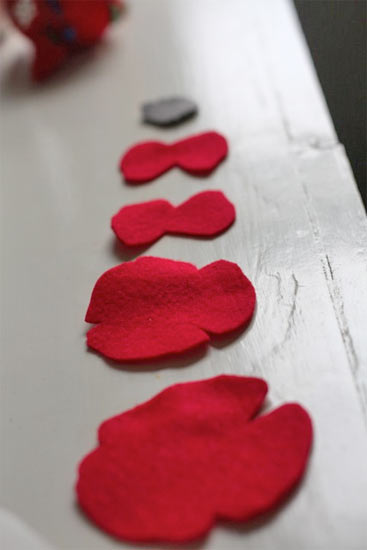
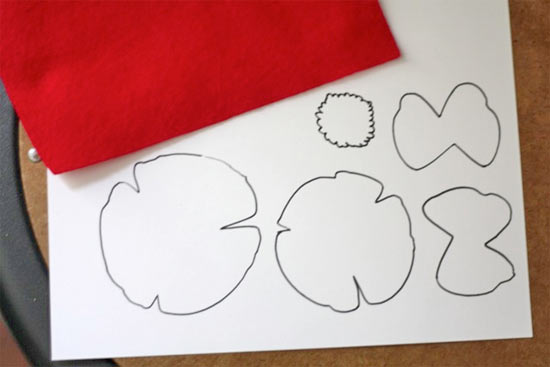
1. Cut out the template and use as a patterns to cut out the fabric pieces. The smallest piece should be cut out of the gray or black felt. Using pinking shears to cut the bumps makes this last piece easier.
Poppy_Hair_Clips2
Poppy_Hair_Clips3
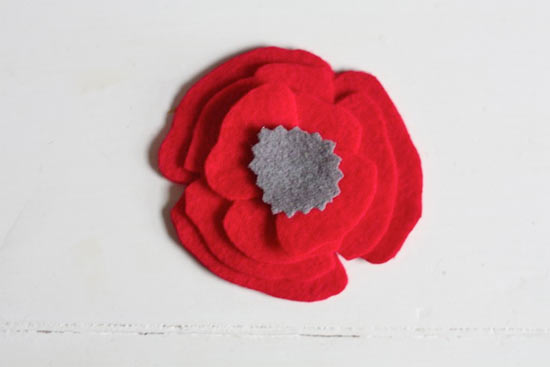
2. Layer the pieces of the flower, finishing them with the button.
Poppy_Hair_Clips4
3. Thread your needle and sew through all the layers, including the button, to secure them in place.
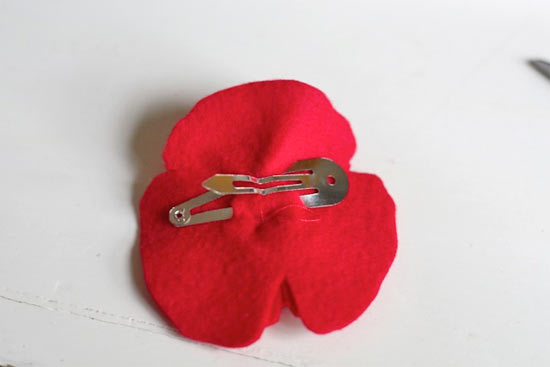
4. Cut small slits on the back and slip the top of the clip in and out of the slits to attach it to the flower. Stitch around the edges of the clip to secure it in place or add a few drops of craft of hot glue under the widest part of the clip to make sure it stays put.
Poppy_Hair_Clips5
* This flower, sized up, would also make a great pin for a Valentines function or for anytime you need a hint of color to brighten your day!
Continue Reading

The Coiling Gizmo Review

Coiling_Gizmo_Review
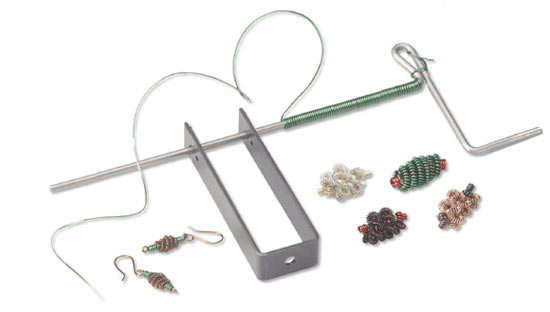
The Coiling Gizmo, really does what it says and shows. If you like the look of the jewelry shown on the front of the box then you’ll be more than satisfied when you complete one for yourself using this product. Before you begin, make sure you buy your wire (gauges can be thin to thick depending on your preference ). You will also need chain nose pliers, round nose pliers, and flush cutters.
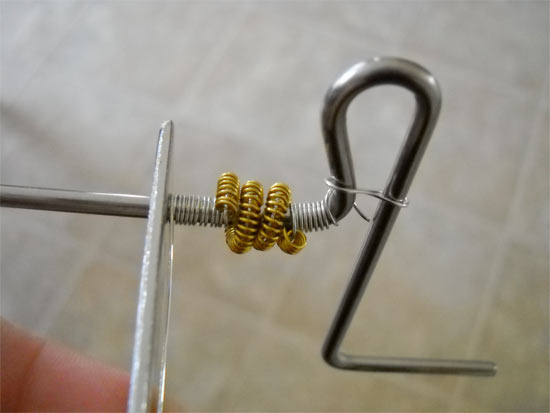
Coiling_Gizmo_Review2
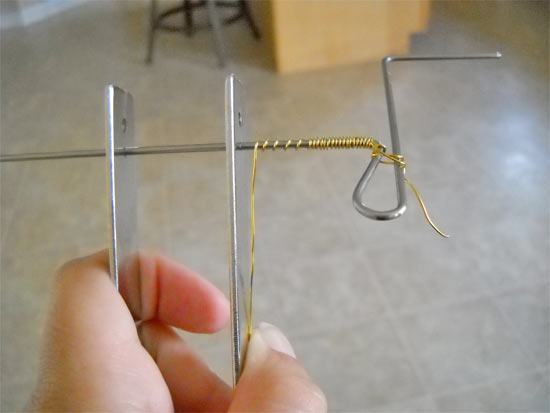
I found myself only needing the chain nose pliers and flush cutters, but if you have all three it would be better. It is important to know that when you first open the directions you might feel slightly overwhelmed with how much is there. I suggest you take the time to sit and read all of the directions once or twice thoroughly before even attempting to make anything. The directions also show various ways to set up the Coiling Gizmo, but I found it easiest and simplest to hold it in my hand. When making my first bead I used thin 12 gauge wire as a preference for myself. It was easy to work with and coiled without needing too much pressure. The pictures that you will find along with the instructions are extremely helpful. They were very detailed and made it easy to follow each step.
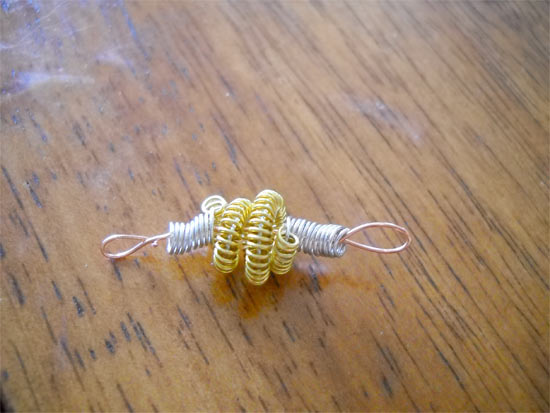
Coiling_Gizmo_Review3
Using the Coiling Gizmo I was able to make a double coiled bead my first time trying it. Now, since I used the thinner gauged wire my bead was not as sturdy as it could have been, but it looked just like it shows on the box and I was happy with the overall result. Make sure you take into consideration that the coiled beads take a nice amount of wire depending on the size and lengths you want, so you might want to stock up on the wire when you are purchasing your Coiling Gizmo. As I said before, this product works great for it’s purpose and if you like the look of the coiled beads then I would highly recommend this product for you, happy crafting!
Coiling_Gizmo_Review4

Lisa Lahiff at Lisa’s Creative Niche

Continue Reading
Change Your Country
Please select your country, this will change the site to your country's currency:

Cancel