Difficulty level: Beginner
Time required: 1 hour plus drying time.
Age range: 10+
Things you will need:
Glass Jar
Aleene’s True Glittered Snow
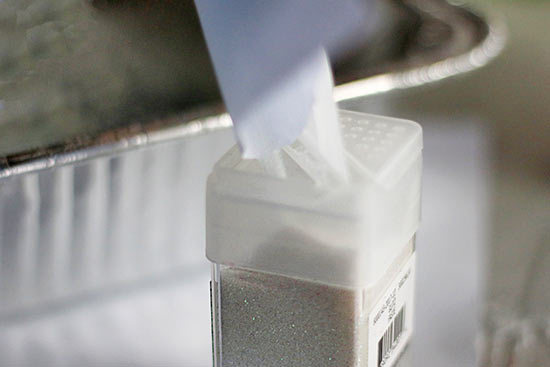
White Extra Fine Glitter
Flameless Flickering Tealights
Bottle Brush Trees
Krylon Glitter Blast Clear Sealer Spray
Epson Salt

Things to do:
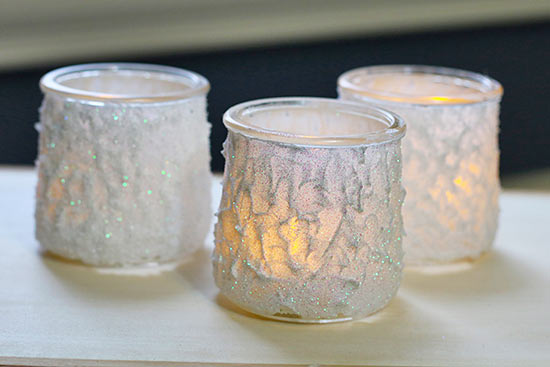
Here are a few options on how to make your own faux snow jars.
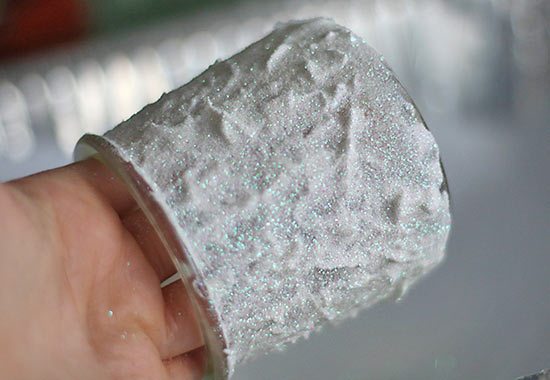
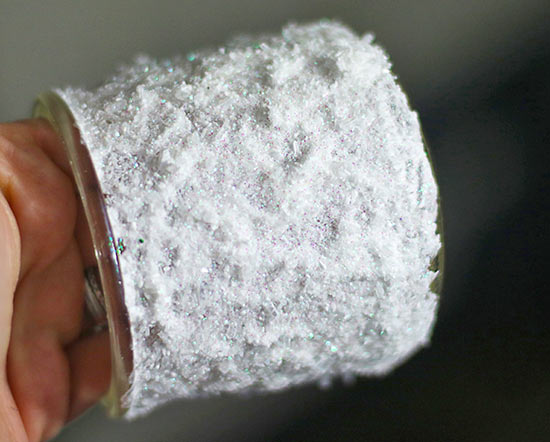
1. Brush the Aleene’s True Glittered Snow onto the glass jar.

2. First option: Before the snow dries, generously pour the white fine glitter on top of the snow glue, over a paper lined container. Shake off excess glitter.
3. Fold the paper in half and pour the excess glitter back into the container.
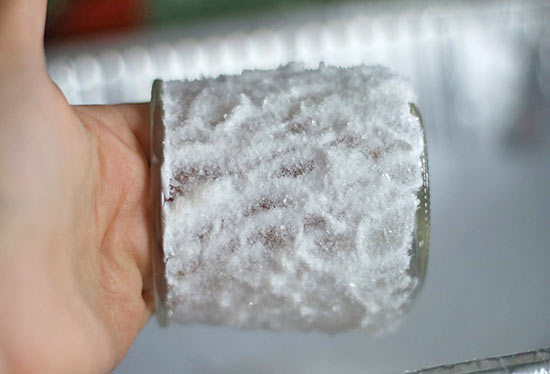
4. Second Option: Over a paper lined container pour some Epson Salt over the Aleene’s Glittered Snow. Then, shake off excess Espon Salt.
5. Fold paper in half and pour excess Epson Salt back into the container.
6. Third option: Do both. First, pour on the Epson Salt over the Aleene’s Glitter Snow. Pour excess back into container. Then, pour on some glitter on top of the Epson Salt. The third option gives the most coverage.
7. Spray glass jars with Krylon Glitter Blast Clear Sealer Spray to reduce the amount of faux snow falling off. Then set jars aside to dry.
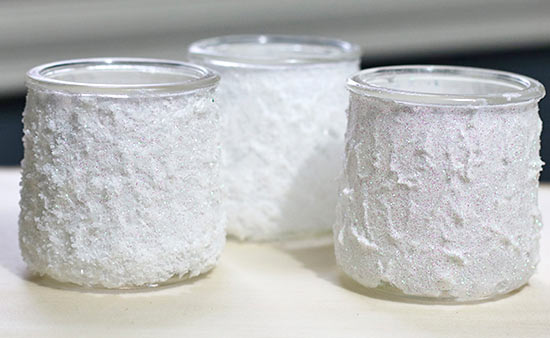
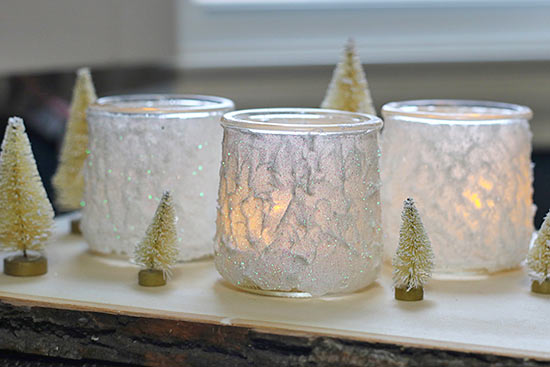
8. Add a flickering flameless tealight into each jar and Voila! You now have your own DIY Snow Jar.