Skip to search Skip to navigation menu Skip to main content Selecting option will reload page

Category: Winter Crafts

Easy How-to Bow Techniques Tutorial


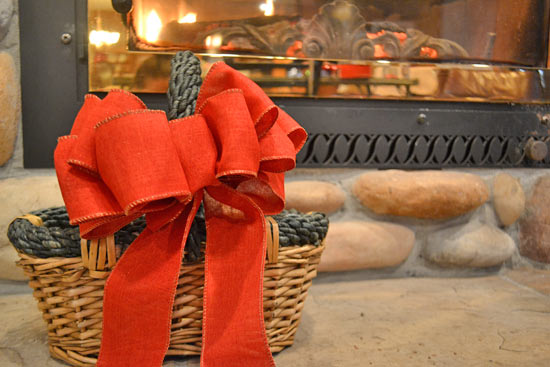
With the holiday season fast approaching, there are many presents to be wrapped. Teach yourself these quick and easy bow techniques so you can create picture perfect presents every time! Your extra efforts are sure to be a smashing success, bringing joy to every recipient.

Difficulty level: Beginner
Time to complete: 5 Minutes
Age range: 10 and Up

Things you’ll need:
Scissors
Wired Ribbon
Measuring Tape
Two Traditional Bows (One Larger, One Smaller)

Things to do:
Wire Ribbon Bow
1. Cut 3 1/2 yards of wire ribbon.
2. Create the center of your bow by folding a triangle shape towards yourself twice.
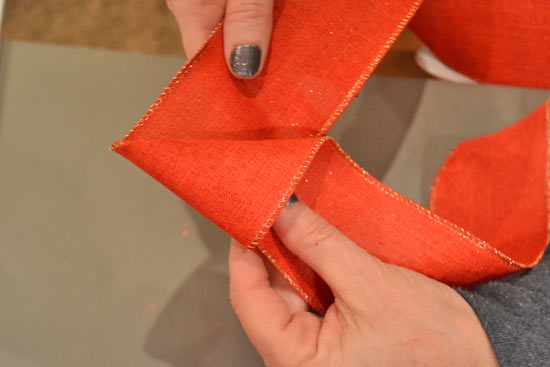
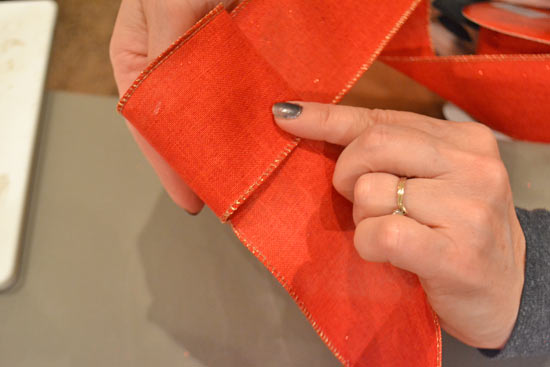
3. Begin twisting the ribbon to form the ears of the bow. Repeat until there are five loops on each side.
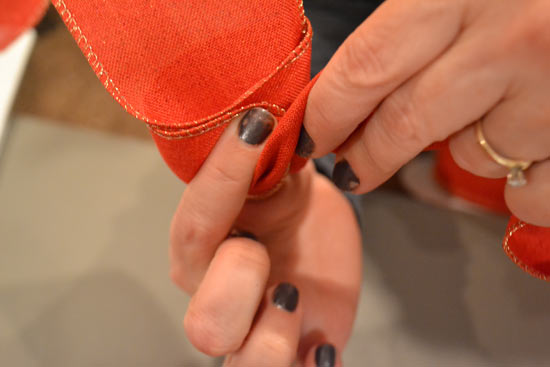
4. Cut a piece of wire and insert it through the center of your bow and twist it to secure the ears of the bow. Make sure the wire is as tight as possible to hold the bow in place.
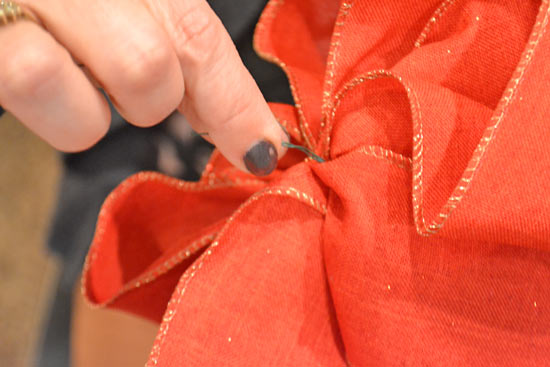
5. Arrange the ears of the bow to personal preference.

PomPom Bow
1. Take a traditional wrapping bow and cut the points of the bow at an angle and then length wise.
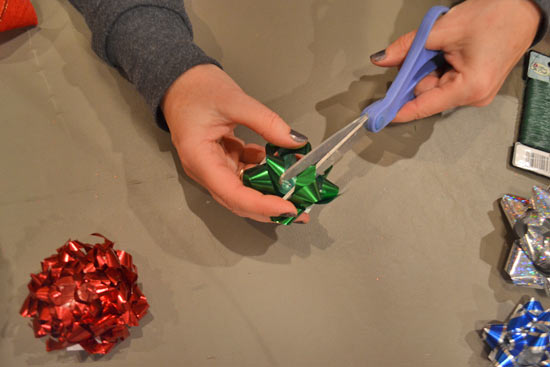
2. Repeat cutting technique on the large and small bows.
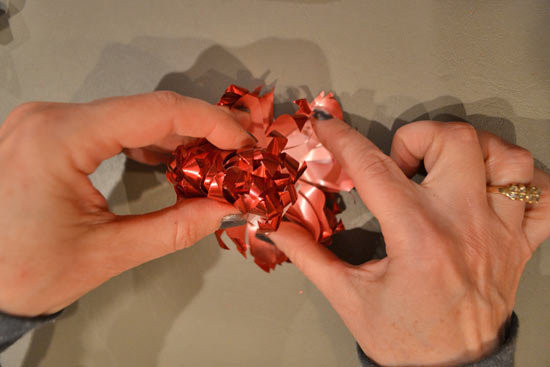
3. Insert small bow into the center of the larger bow, creating a frilly pom pom bow.

Continue Reading

DIY Paper Tree Centerpieces


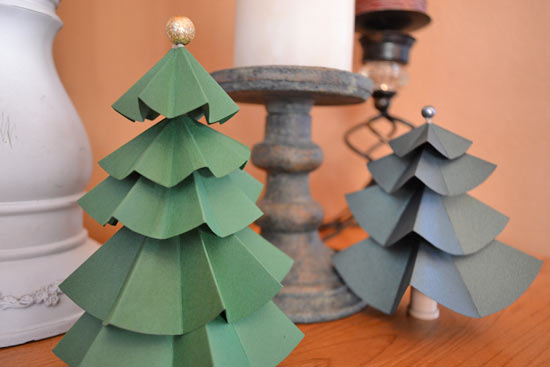
Celebrate the season with a forest of paper tree decorations. These trees look great when displayed with candles, or around a ceramic Christmas village. Get creative with sizes and shapes to create the perfect paper Christmas tree.

Difficulty level: Beginner
Time to complete: 15 Minutes
Age range: 12 and Up

Things you’ll need:
Green Paper
Bone folder tool
Scissors
Compass
Dowel rods
Wooden Spool
Gold Bead

Things to do:
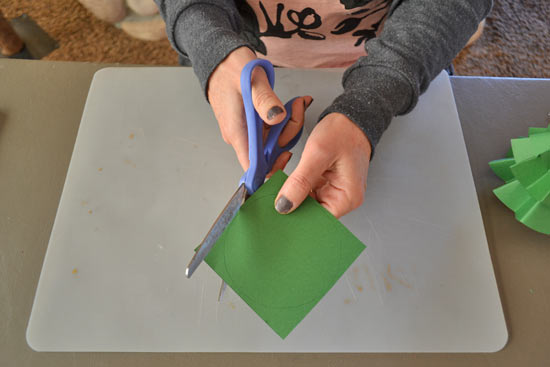
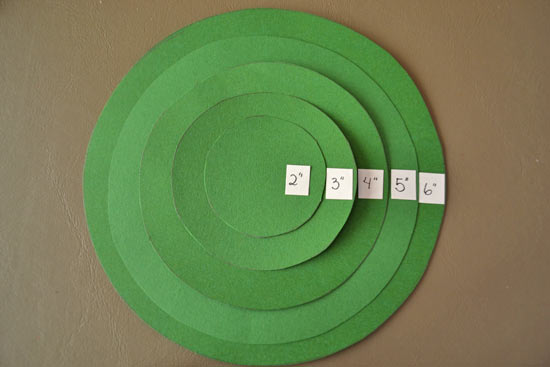
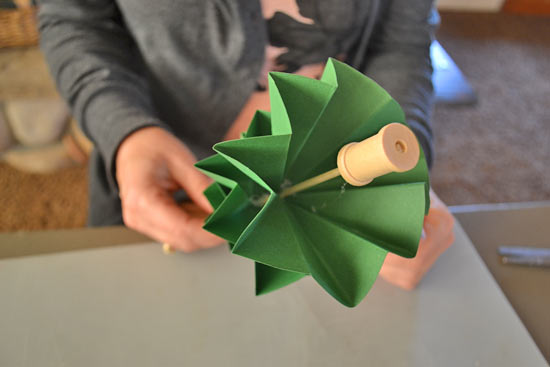
1. Trace five circles out of green paper with diameters of two, three, four, five, and six inches. Cut out the circles.


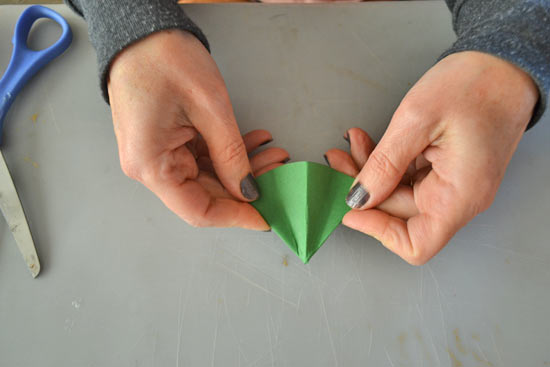
2. Fold the circle in half four times, being careful to fold tightly and make crisp lines. Repeat folding pattern on every circle.

3. Cut a small circle out of the center of each circle, providing a space for the trunk of the tree.
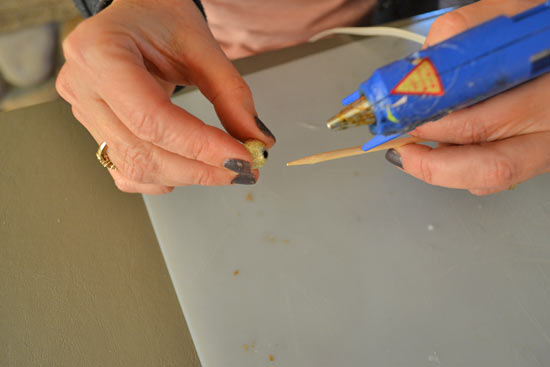
4. Secure gold bead to the end of the skewer with hot glue.

5. Inset the skewer into the middle of the folded circles and secure them with hot glue.
6. Secure wooden spool to the end of the skewer to create the base of the tree. Let pieces dry completely before use.

Continue Reading
Change Your Country
Please select your country, this will change the site to your country's currency:

Cancel