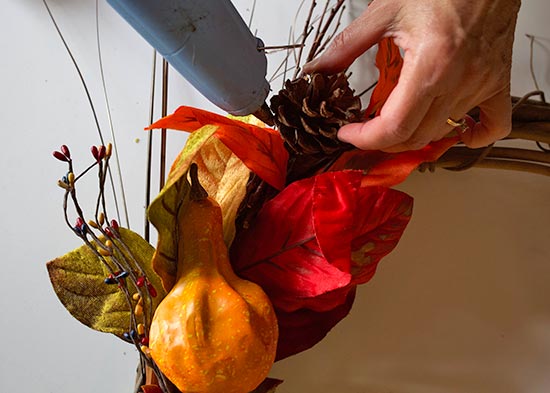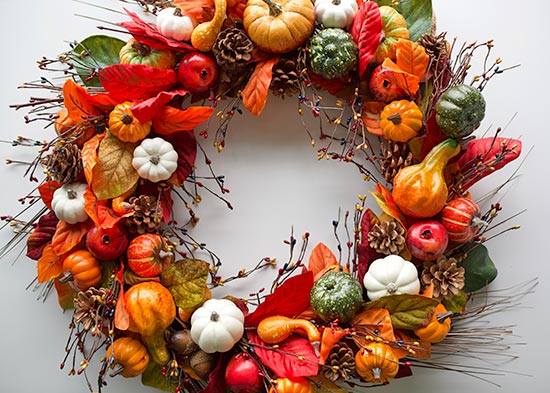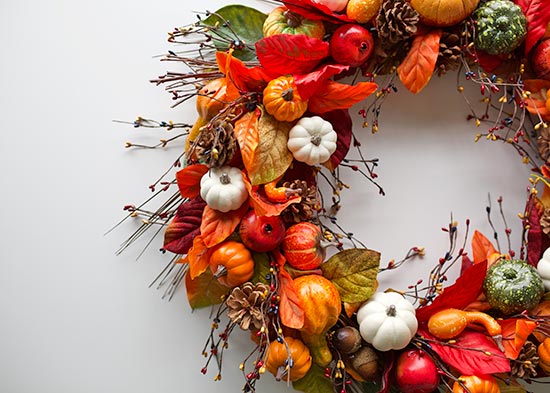
This fall wreath is overflowing and bountiful – The perfect Thanksgiving decoration! Achieving this full look is all about layering, so start with your largest elements when creating a base and fill in any empty space with smaller decor until you achieve your desired look.
Difficulty level: Intermediate
Time to complete: 2 hours
Age range: 12 and up
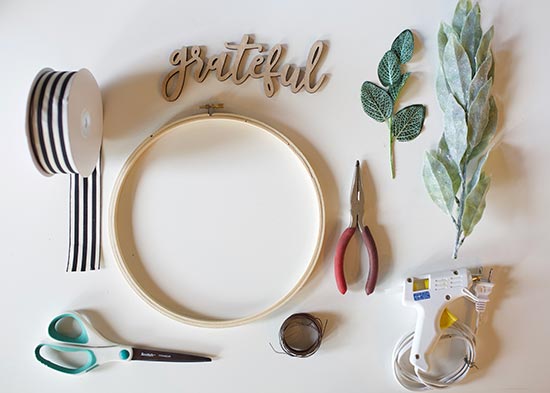
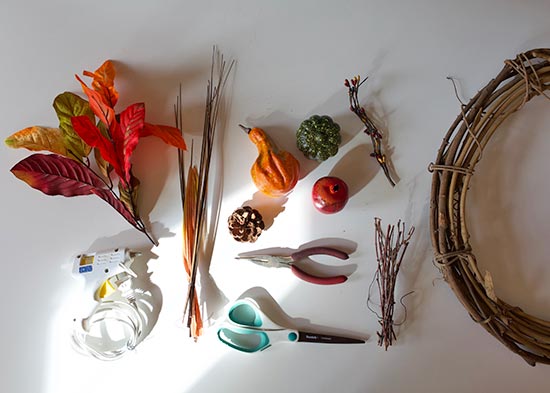
Things you’ll need:
Grapevine wreath
Gourds
Pumpkins (white, green and orange)
Pomegranates
Fall leaves
Pip berry picks
Pinecones
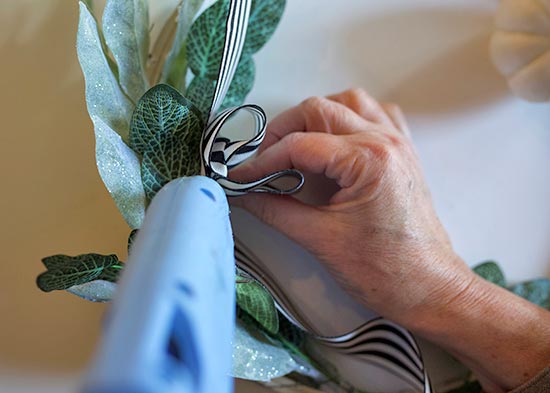
Hot glue gun and glue sticks
Scissors
Wire cutters
Things to do:
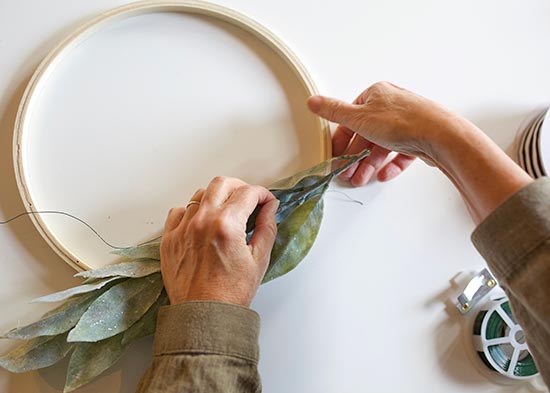
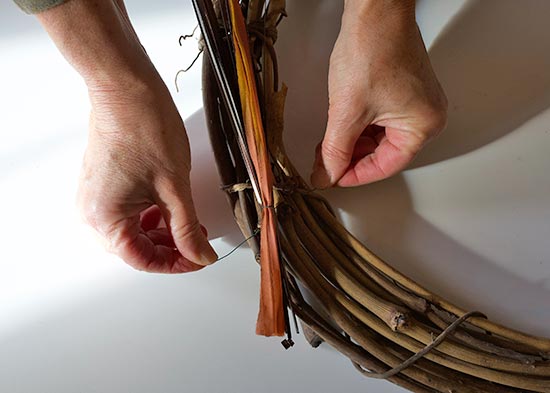
- First, create a base for your wreath decor by wiring on five twig bundles.
- Wire on five bundles of grass.
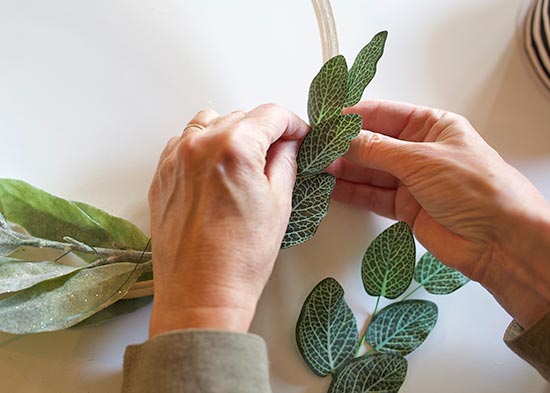
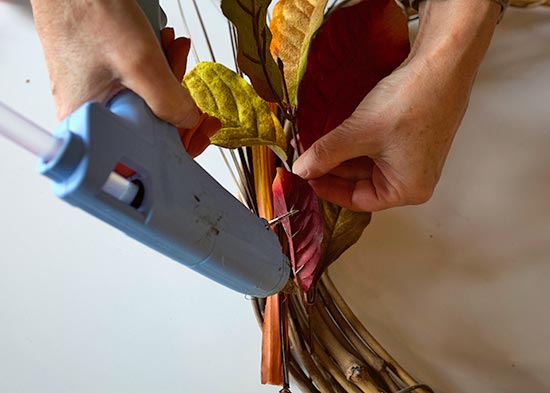
- Slide the leaves into the wreath form.
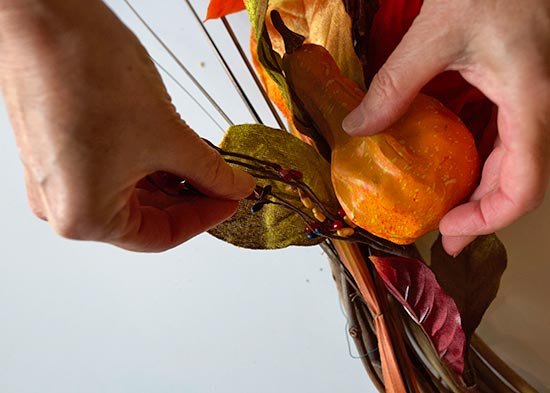
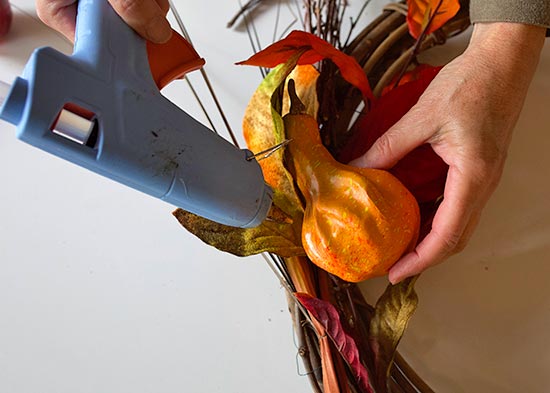
- Use hot glue to attach the pumpkins, squash and pomegranates.
- Hot glue on berries and pinecones to fill any empty spaces.