

This adorable yet simple method for creating felt fringe flowers is an easy and frugal way to create an adorable headband to match any outfit!
Difficulty level: Beginner
Time required: 10 mins+
Age range: 10+
Things you’ll need:
Felt
Ruler
Pen
Scissors
Hot glue gun and glue sticks
Headband
Things to do:
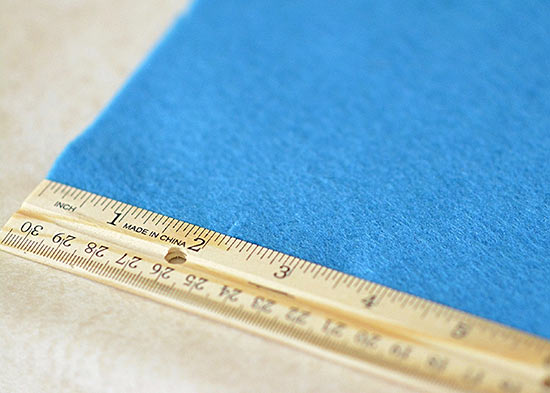
1. Start by measuring out and cutting out a long rectangle in each color.
The example here is 2 1/2″ x 5″
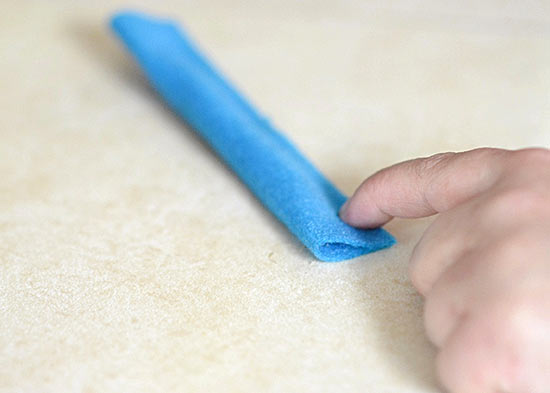
2. Fold your felt piece in half (think half a sandwich style).
3. Using hot glue, attach the two sides together (glue your sandwich shut, creating a “tube”).
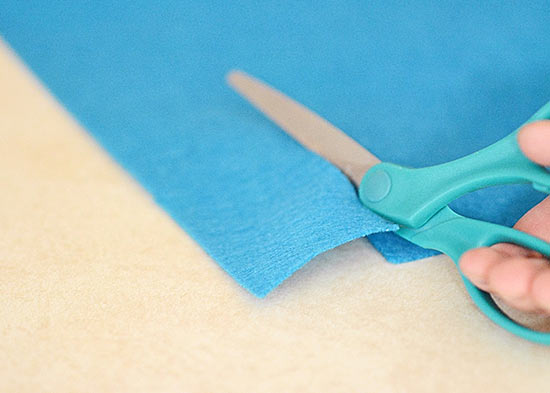
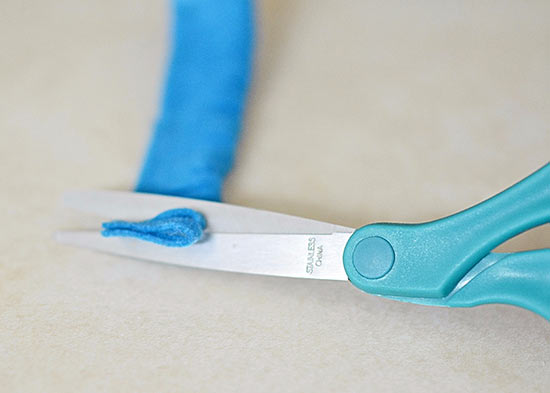
4. Cut slits on the opposite side of the hot glue. It works best to cut as close to your line of hot glue as possible. This makes your flower petals longer and more prominent. The distance between your slits is up to you, the more slits, the more “petals” your flower will have.
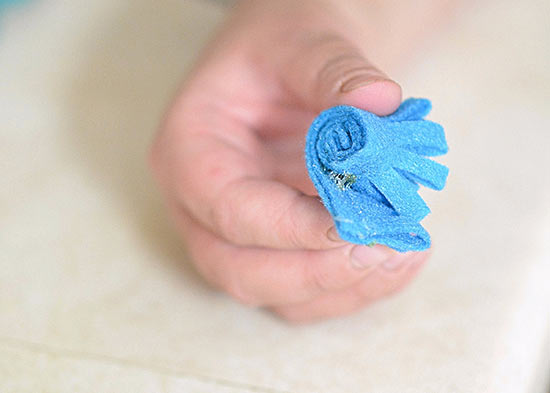
5. Roll your strip together, gluing it as you go, once your slits have been finished (think a pinwheel).
6. This step is optional, but for comfort purposes, Cut two rectangular or circular pieces of felt (small enough to be hidden by your flowers, but big enough to allow the base of your flowers to fit on to it) and create a barrier between the flowers and the headband, gluing one piece of felt on the underneath, and on the top of the headband in the location you wish to place your flowers, (Think sandwiching your headband between the two pieces).
7. Attach your flowers to your headband-or on top of the felt pieces used to make your protective “sandwich”
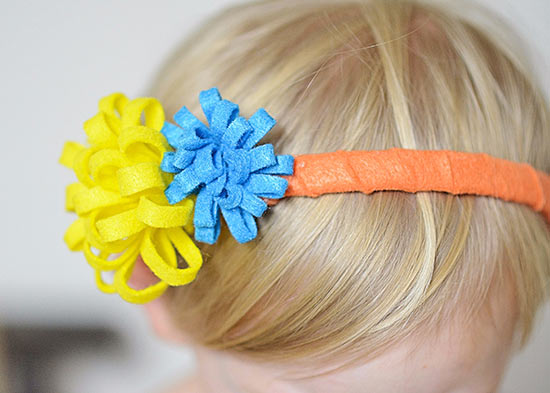
Tip: To create a customized colored headband like the one pictured, simple cut strips of felt, and wrap the headband and use hot glue to keep it secure along the way.