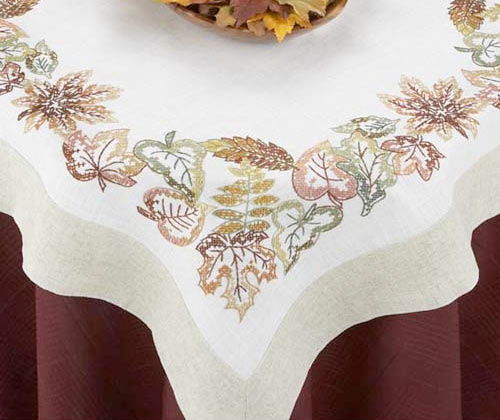
This beautiful cotton table runner will be a welcome addition to your fall dining table. Large leaves in sophisticated fall colors dance across the surface, complementing all of your fall decor.
Things you need:
2-3/4 yards tightly woven, pre-shrunk cotton muslin, 45″ wide, in white or ecru
Fabric paints, 1 each of mustard yellow, dark red, dark green and pumpkin orange (a few drops of black paint can be mixed with bright colors to create deeper shades)
At least two species of flat, broad leaves such as maple, hickory, or chestnut (at least four of each species)
Scissors
Plastic drop cloth or tarp
Newspaper or paper towels
Rag
1-1/2″ flat paint brush
Old toothbrush
Straight pins
Steam iron
Sewing machine
Things to do:
1. Fold the fabric in half lengthwise. Cutting through two layers at the same time, make two 19″ by 91″ rectangles.
2. Pin the rectangles together. Leaving a 1/4″ seam allowance, begin at a corner and sew around three sides, two long and one short. Leave the last short side open.
3. Clip each of the corners off and turn the runner right side out. Press flat.
4. One-quarter inch from the edge, top stitch the same three sides. Fold the open end to the inside 1/2″ and press flat.
5. One-quarter inch from the edge, top stitch the last side closed.
6. Protect the work surface with the plastic drop cloth.
7. Mix shades of paint if needed, adding a few drops of water to make a creamy consistency.
8. Using a different sheet of newspaper for each color, paint the front of a leaf and stem with the darkest color. Follow the direction of the veins.
9. Place the leaf on the fabric and press on it, smoothing the stem as well. Lift the leaf straight up to remove. Press the same leaf down on another part of the fabric, without re-applying the paint, to create a translucent print. Varying the intensity of the prints in this way, and turning the leaves in different directions, creates more visual interest.
Create prints of each type of leaf in varying intensities and directions; have some of the leaves go off the edge of the fabric. Take care not to completely cover the fabric with prints in only one color. Leave white space to be filled with each of the other colors. Clean paint from hands after each color. Let the paint dry.
10. Repeat this process for each of the colors from darkest to lightest; let some of the prints overlap with different colors. Allow the paint to dry before moving on to the next color.
11. Heat set the fabric following the paint manufacturer’s instructions, usually by either placing in a clothes dryer or ironing with a press cloth.
