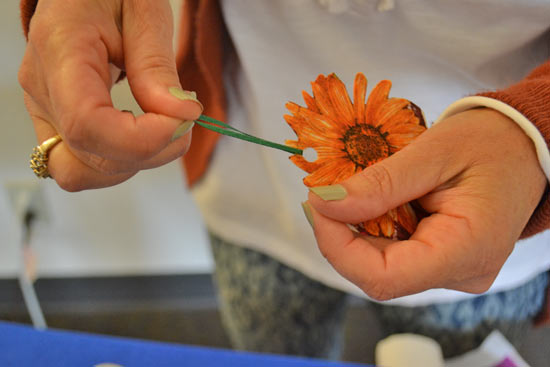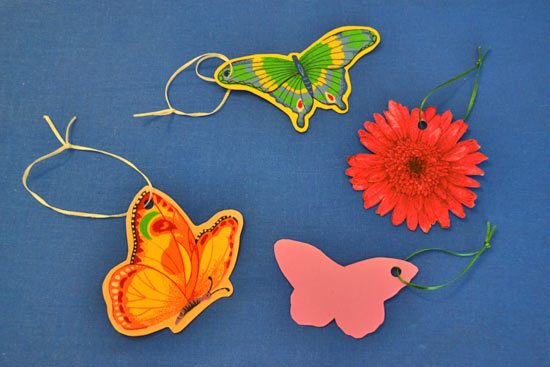
These customizable gift tags are the perfect addition to any present! Everyone is sure to love this sweet, personal touch, recognizing your extra effort to make them feel loved and appreciated.
Difficulty level: Intermediate
Time to complete: 15 minutes
Age range: 12 and up. *Younger ages may need help with the iron.
Things you’ll need:
Iron
Ironing Board
Patterned Fabric
Heat and Bond Adhesive
Hole Punch
Scissors
Ribbon
Cardstock
Pencil or Pen
Things to do:
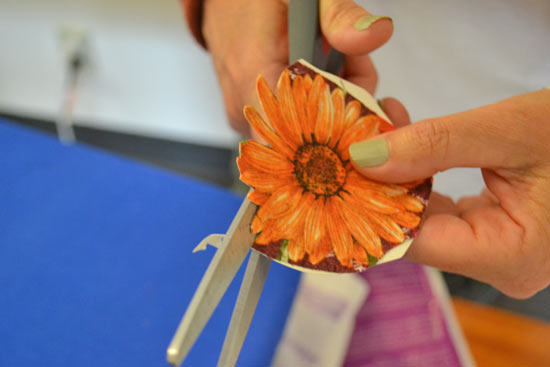
1. The first step is cutting out the shape of your gift tag. When you’re choosing a shape, you have several options. The first is cutting an identifiable shape, such as a square, circle or heart. This works well if your fabric has a small print or is solid. If your fabric has a large print, such as large flowers or butterflies on it, simply cut out one picture from the print.
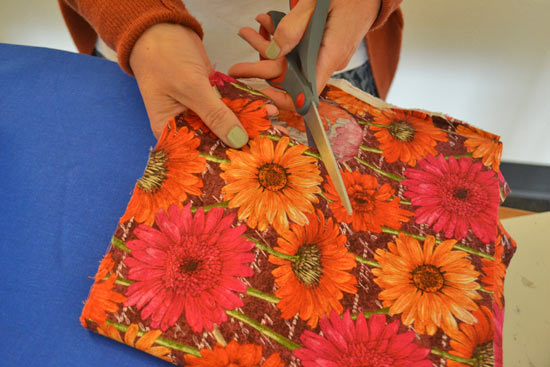
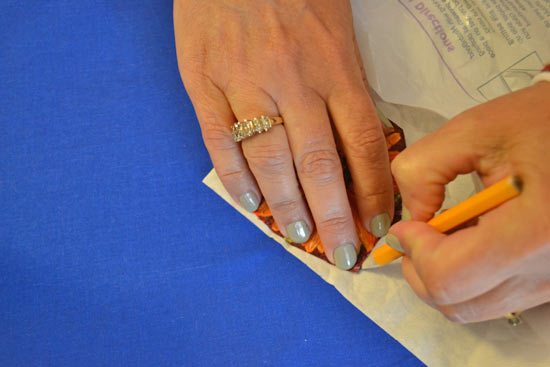
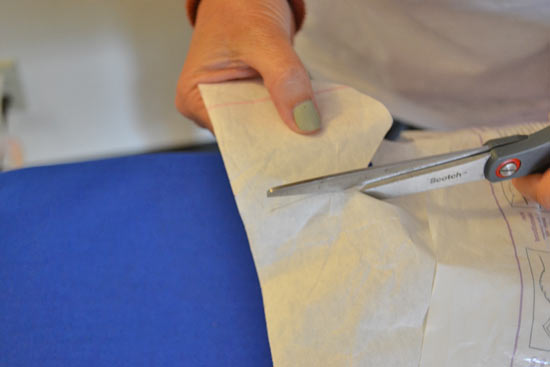
2. Place your fabric shape onto the back of the adhesive paper and trace around the edges. Once you’ve traced the shape, cut it out.
3. Set your iron on the silk setting, and be sure to remove all the water. It is important to have a dry iron to ensure the adhesive is transferred correctly.
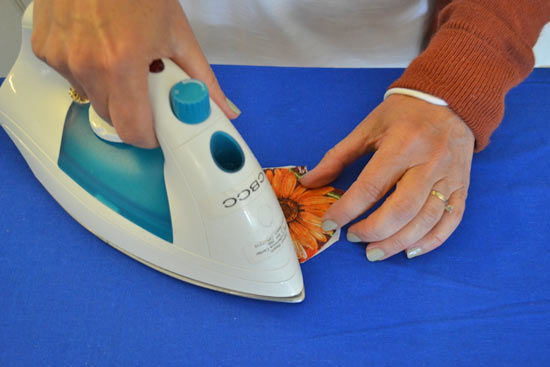
4. Place the fabric shape upside down on your ironing board and the adhesive sheet on top of it, with the paper side facing up. Run the iron on top of the fabric and adhesive paper for 2-3 seconds.
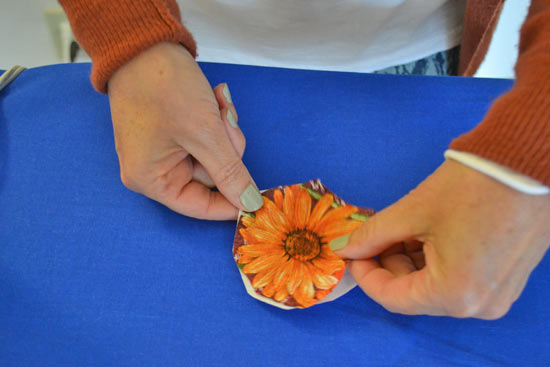
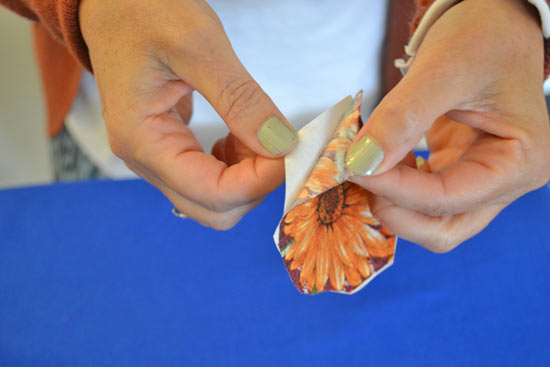
5. Carefully peel off paper layer from the back of your shape.
6. Take the cardstock you’ve chosen and trace the fabric shape onto it. Once you’ve traced your shape, cut out the shape.
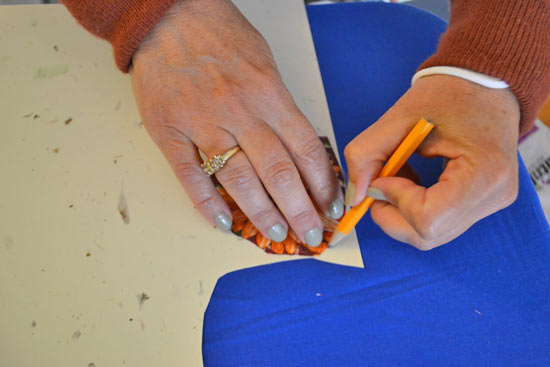
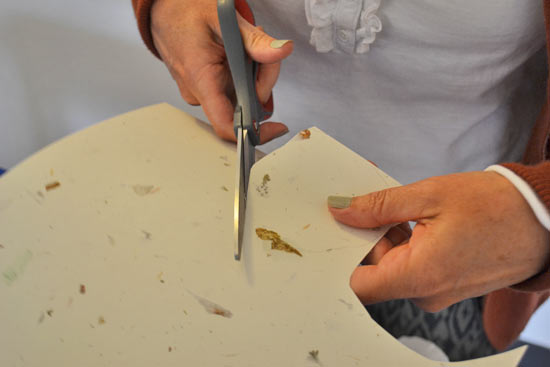
7. Lay your fabric shape onto the paper shape and run the iron over the fabric for 2-3 seconds.
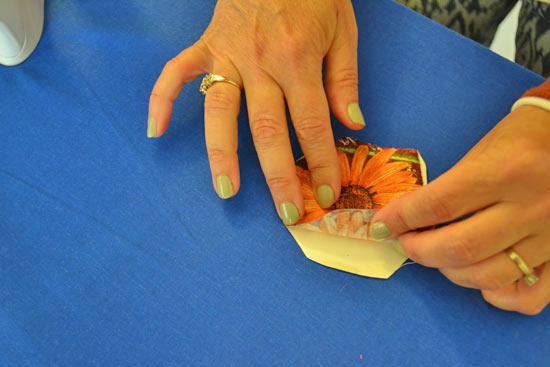
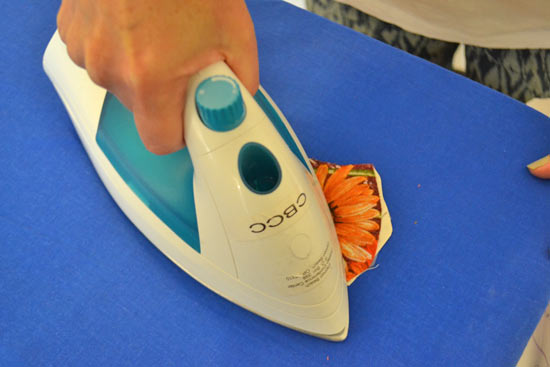
8. Trim any excess paper off of your fabric shape. Pay close attention to the details of your shape.
9. Punch a hole at the top and tie a piece of ribbon through it to finish your adorable gift tag!
