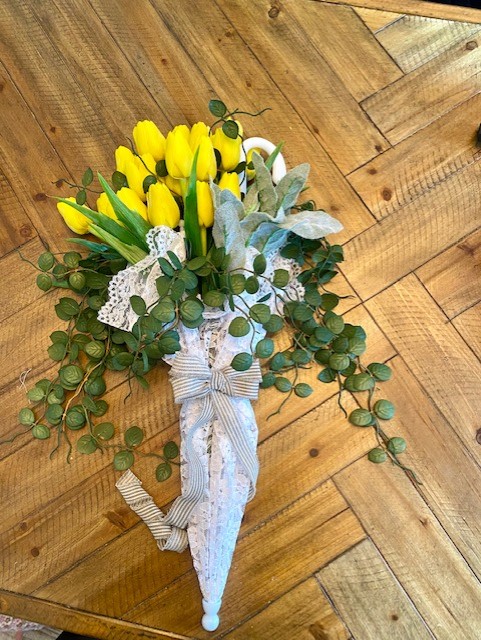
Spring is almost here and as they say, ‘April showers bringing May flowers,’ and in this case, they bring tulips to your front door. This adorable DIY umbrella wreath is perfect to add a pop of color all spring long.
Difficulty level: Beginner
Time to complete: 30-45 minutes
Age range: 12 and up
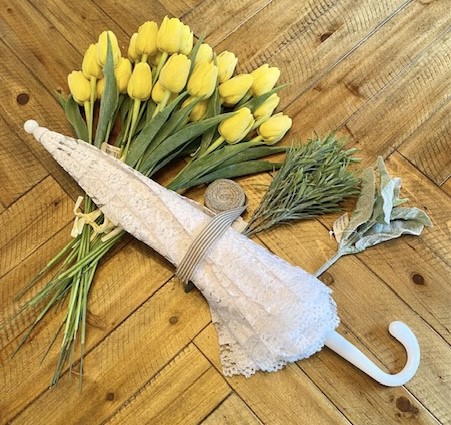
Things You’ll Need:
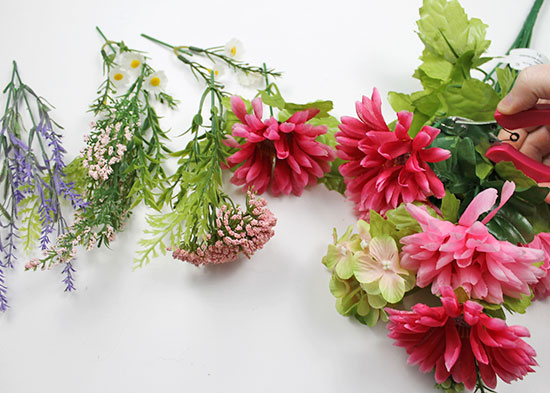
4-5 Bundles of Tulips, color of your choice
Things to do:
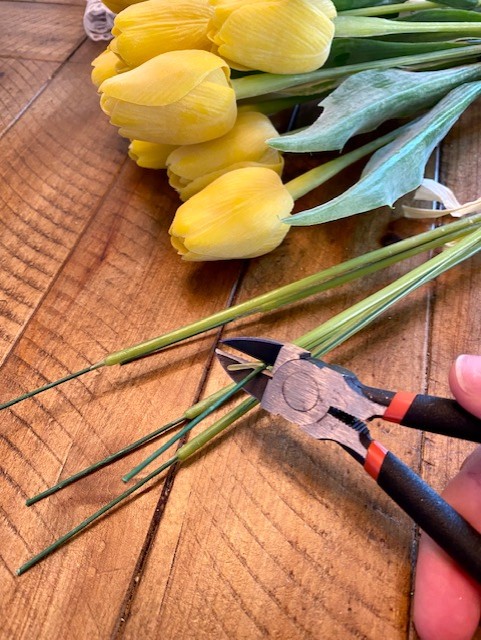
1. Cut off 3-4 inches off the bottom of each tulip stem.
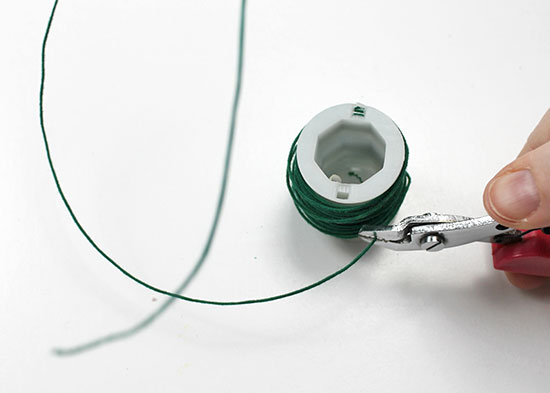
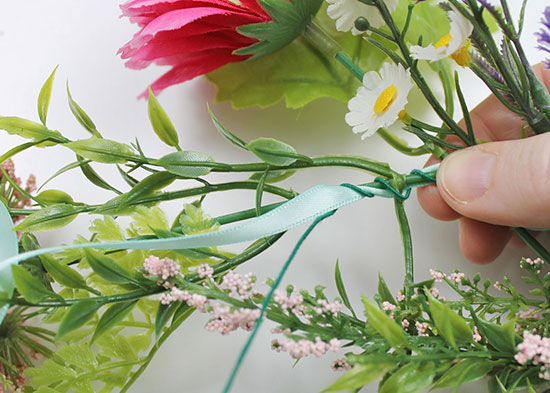
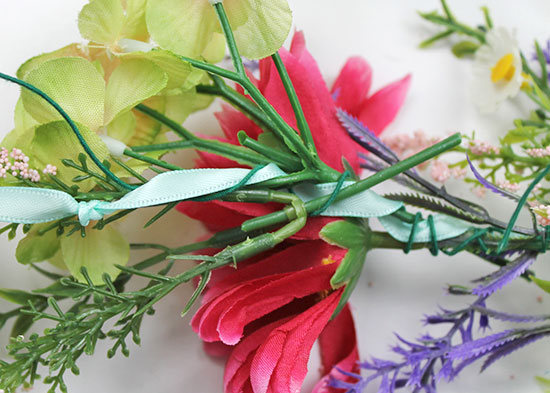
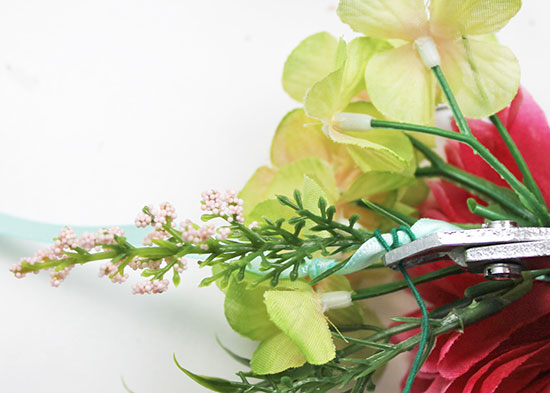
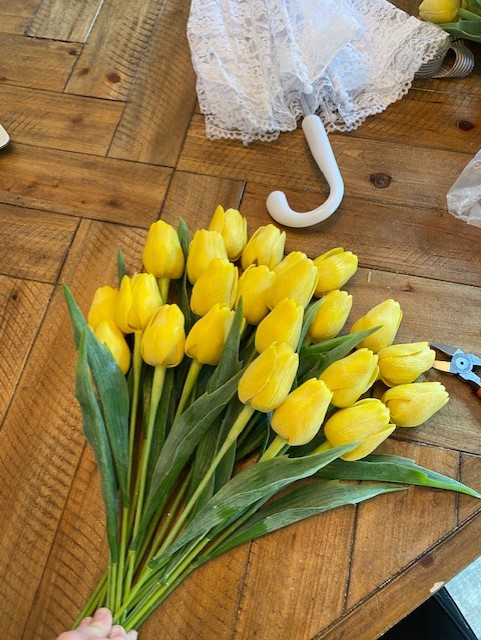
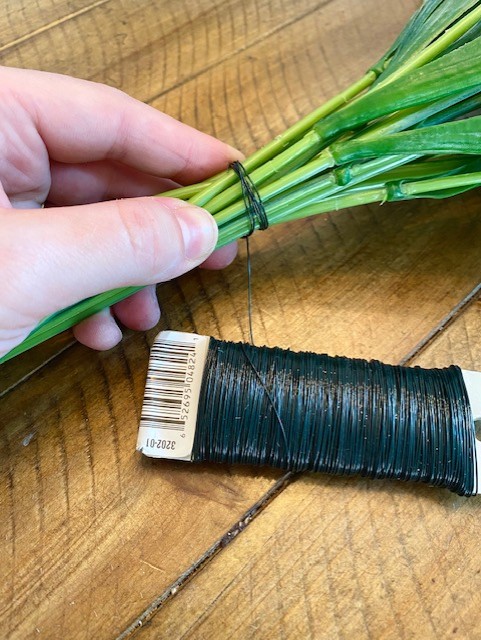
2. Arrange the tulips in a tiered, fanned out position. Then secure together with floral wire, on the stems, right before leaves start.
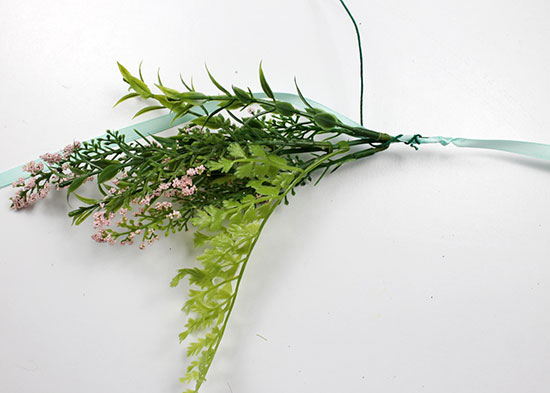
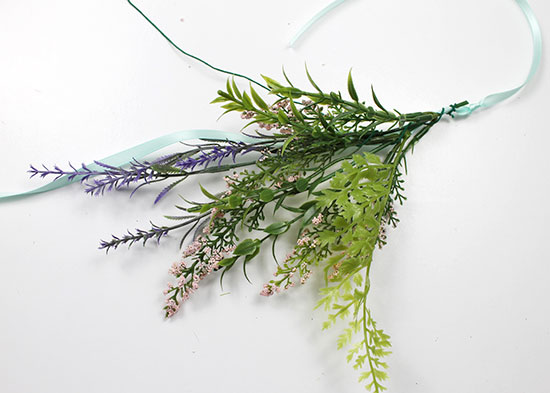
3. Take the cascading vine and fan out into 3 sections, having the outer sections have the longer strands.
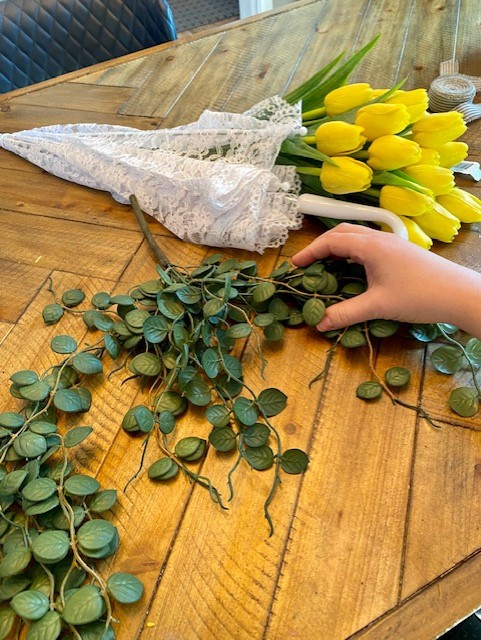
4. Take the vine stem and carefully place it in the middle of the tulip bundle, closer to the front bottom. While placing the 2 longer sections toward the outer sides and the middle section hanging straight out the front.


5. Slightly open the umbrella, then slide in the bundled-up tulips to the one side of the umbrella.
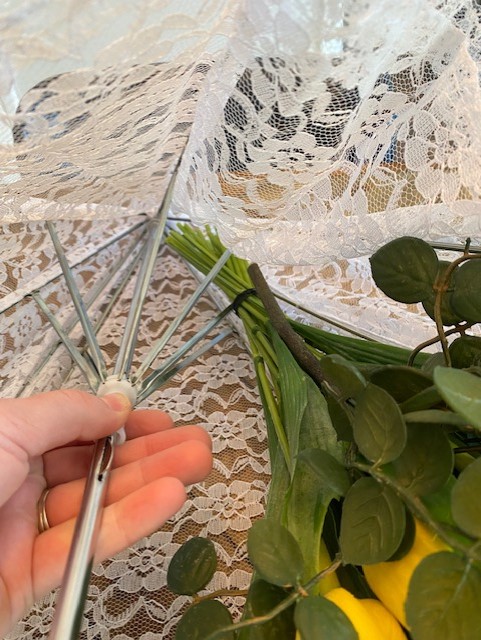
6. Close the umbrella and situate the bundle, along with the vine to your desired placements.

7. On the other side, place the lamb’s ear sprays in a tiered motion. Have one stem higher in the back and then the other two slightly lower.

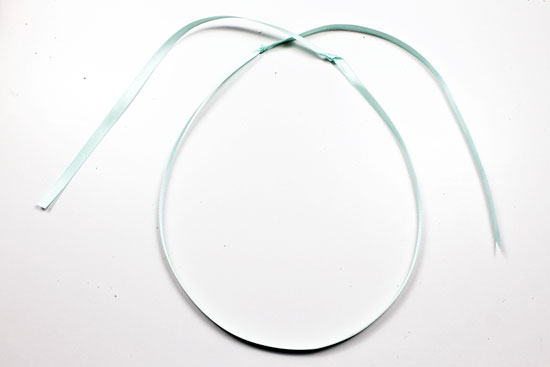
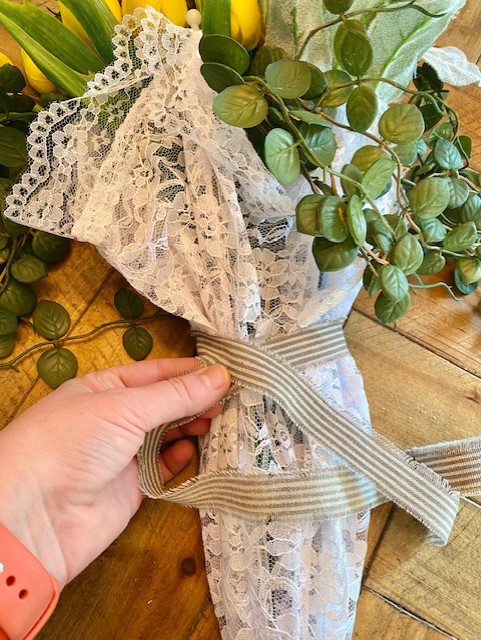
8. Cut off approximately 5 inches of ribbon. Then wrap it around the middle portion of the closed umbrella and hot glue to secure.
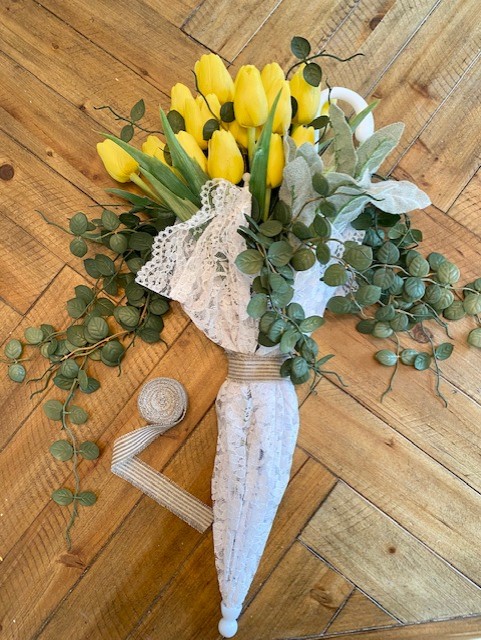
9. Using some of the remaining ribbon, make a bow with longer tails and hot glue in the middle of the wrapped ribbon.