Skip to search Skip to navigation menu Skip to main content Selecting option will reload page

Category: Wedding and Bridal

Ribbons and Bows – How to make a Rosette Bow

rosette_bow
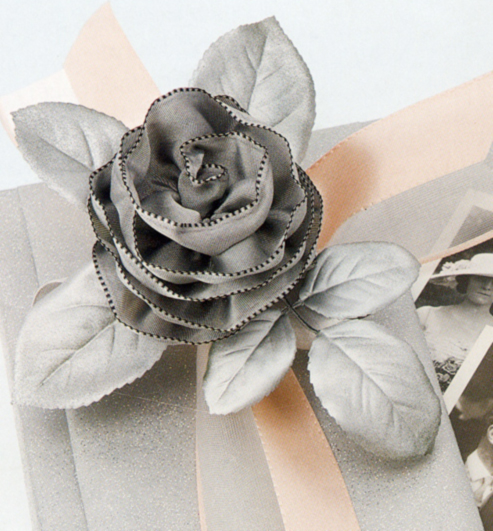
A decorative bow can turn any ordinary gift into a work of art. Extravagant looking bows are very deceptive in that many bows are easy to create yourself. Impress your friends and families by showing your decorative bows skills. Bows can often be used for more than just gifts. Bows can be used for decorations such as napkin rings or even fancy chandeliers! Just follow these instructions to make fancy rosette bows to adorn all of your packages.

Instructions:
1. Take your color choice and size of ribbon and wrap it around your hand 10 times. To make your bows fuller then just wrap the ribbon around your hand a few more times. To make a smaller rosette bow, just wrap around a few fingers instead of your hand.

rosette_bow12. After you are done wrapping the ribbon around your fingers, slip the bundle off, pinch it together and cut a small notch in the middle on each side. Bind the ribbon together at the notches with a small piece of string.

rosette_bow33. Finally, spread the loops outward, and twist, shaping them into a puffy ball.

rosette_bow4

Continue Reading

Ribbons and Bows – How to make Ribbon Roses

ribbon_roses
Ribbon roses are very easy to make once you learn the technique. Ribbon roses can be used for a variety of things such as gift wrapping, and to embellish hats. You can also add ribbon roses to wedding bouquets, chair backs, and party favors for your special event. They make pretty clothing accessories and perfect embellishments for hairpieces.

Instructions:
1. To begin making your ribbon rose, select a wire-edged ribbon of your choice. Cut off approximately 22″ in length from your ribbon. You can cut more off to make a bigger and fuller rose or use less for smaller and petite roses. Knot one end of your ribbon strip.
ribbon_roses22. Next, grab one of the wires edge at the opposite end of the knot and slowly pull the wire out, creating loose ruffles and gathering the ribbon down to the knot.
3. Keep gathering the entire ribbons edge until it is ruffled and curly in nature. Remember to leave the loose wire end free and do not cut off.
ribbon_roses34. To start shaping your rose, begin wrapping the ruffled ribbon around the knot. Make sure that you wrap the ruffled ribbon tighter at the beginning to create a “bud.” As you continue wrapping the ruffled ribbon around the knot and have create your bud, begin wrapping more loosely so that you create your open rose shape. Tip*** Wrap the ruffles loosely for an open rose and tightly for a rose bud.
ribbon_roses45. Once you are finished wrapping the ribbon around creating your rose shape, fold the loose end down and pull it towards the gathered part of the rose (the bottom of the rose). Take the loose wire and wrap it around the bottom of the rose very tightly. Cut off the excess wire when you are finished. Finally, play around with the rose, adjusting the “petals” by ruffling and scrunching until you are satisfied.

Continue Reading
Change Your Country
Please select your country, this will change the site to your country's currency:

Cancel