Difficulty level: Beginner
Time required: 30 minutes
Age range: 12 and up
Things you’ll need:
1/4″ Mint green ribbon
Cloth floral wire
Pink queen anne’s lace bundle
Artificial lavender spray
Daisy and hydrangea bush
Scissors
Wire cutters
Things to do:
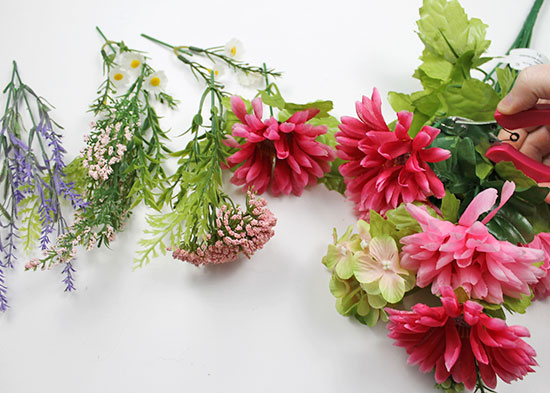
- Using wire cutters, cut small bunches of flowers from each spray.
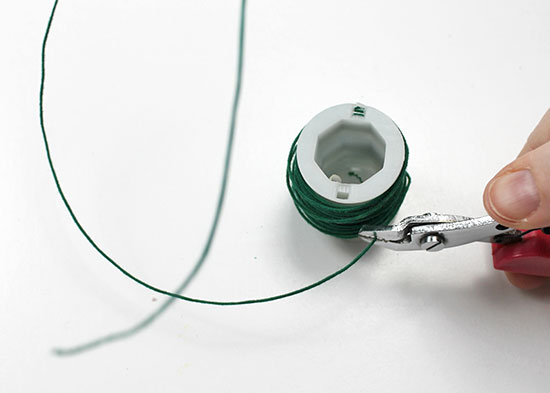
- Using wire cutters, cut a 10″ length of cloth floral wire.
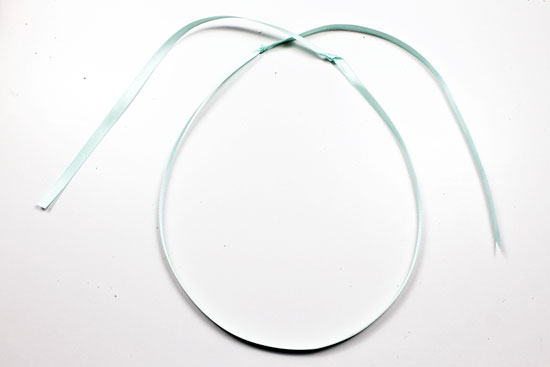
- Cut a length of ribbon that’s the circumference of the crown of your head, plus about 10″.

- Knot the ribbon on each side to mark the circumference of your head.
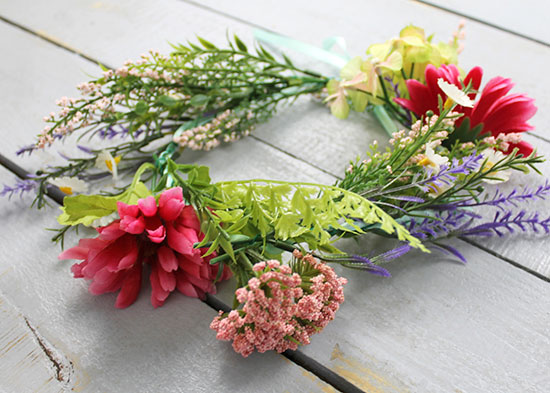
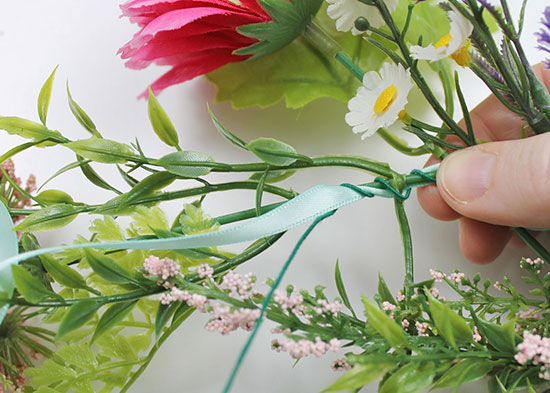
- Lay a floral spray against the ribbon at one of the knots. Begin wrapping the spray with the floral ribbon to secure it around the ribbon.
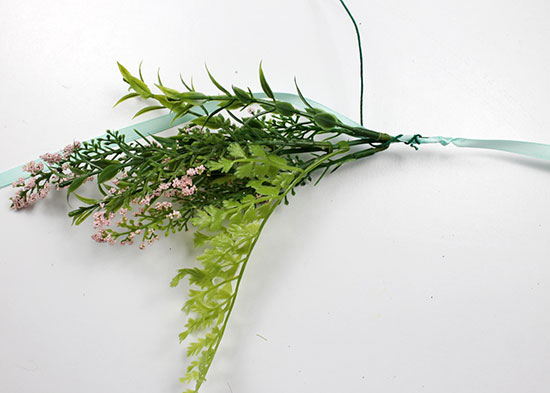
- When you’ve almost reached the end of the first stem, add a second spray of a different flower. Begin wrapping that stem, overlapping the two stems as you wrap, if necessary.
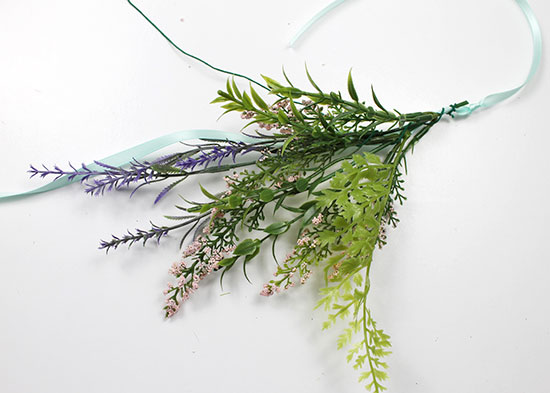
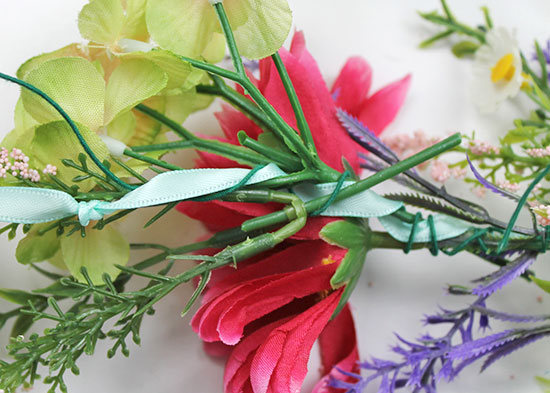
- Continue to add flowers, overlapping stems to keep the sprays close together.
- As you wrap, be sure to wrap only the main stem against the ribbon so that the other parts of the spray can spread out. You may need to gently pull back some of the stems to do that.
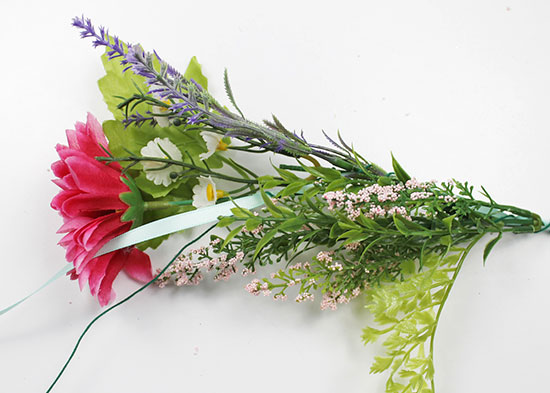
- When your flowers reach the other end of the ribbon where the knot is, you can stop adding flowers. If you run out of wire before this, wrap the wire around a stem a couple of times to secure it, then cut a new length of wire and begin wrapping with the new piece.
- Wrap the wire around the last flower and ribbon several times to secure it, then trim it with wire cutters.
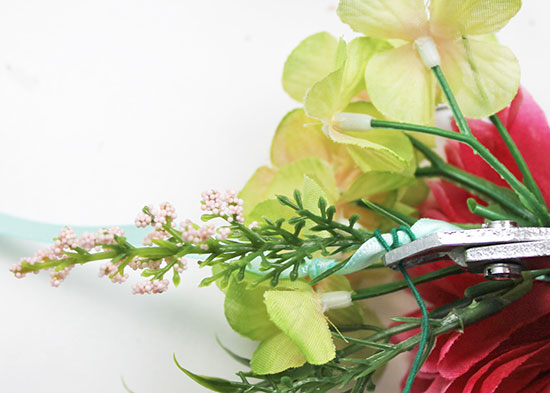
- If there are any stray flower stems sticking out that you want to trim, remove those. This is an optional step, but it can help with the circular shape of the crown.
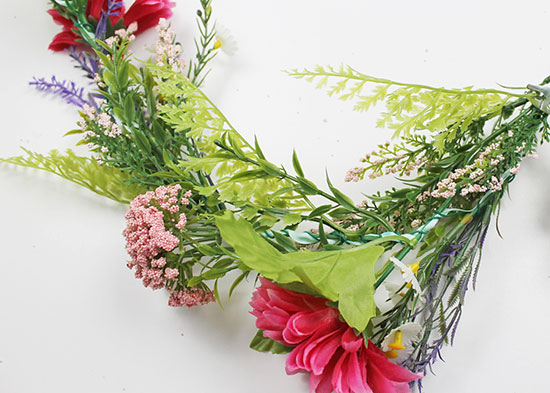
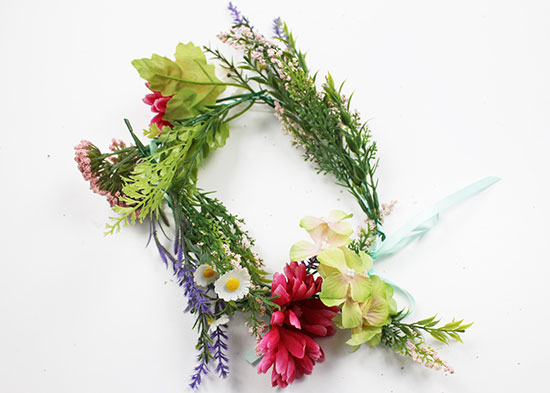
- Form the crown into a circle around your head, then tie the excess ribbon to secure it. Note that you may need to bend some of the stems to give the crown a more circular shape.