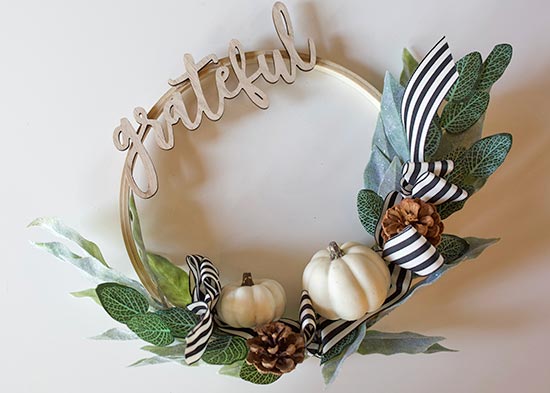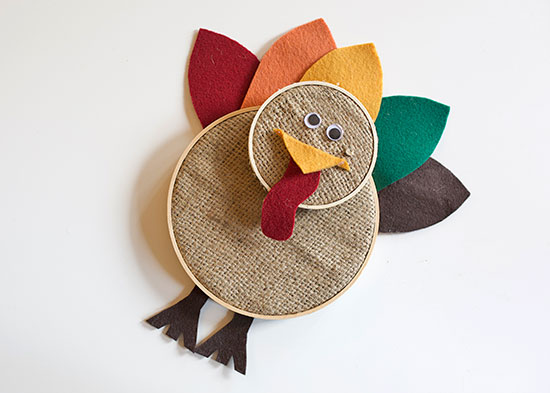
Gobble Gobble! Get ready for Thanksgiving with this fun, festive craft! Your kids will love cutting out the different shapes and using glue to create a cute turkey.
Difficulty level: Beginner
Time to complete: 30 minutes
Age range: 8 and up
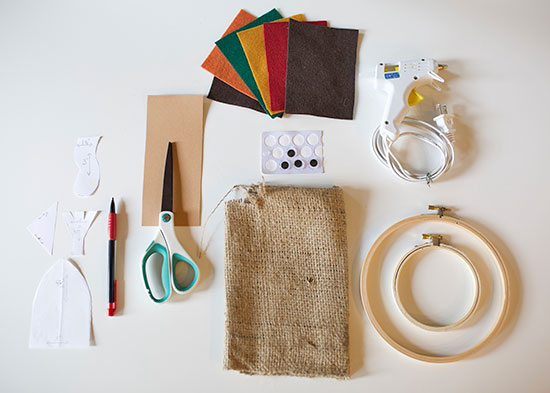
Things you’ll need:
Burlap fabric
7″ Embroidery Hoop
4″ Embroidery Hoop
Felt
1/2″ Googly Eyes
3 x 6 Card
Scissors
Hot glue gun and glue sticks
Paper
Pen
Ruler
Things to do:
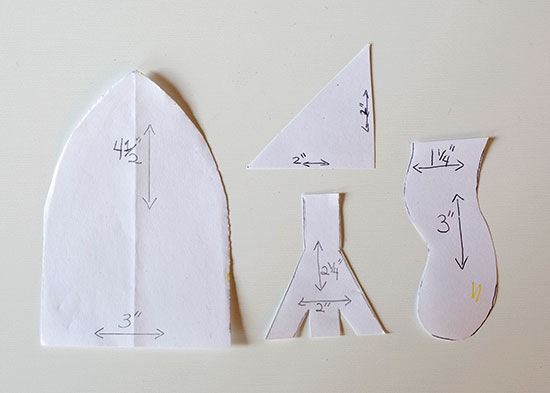
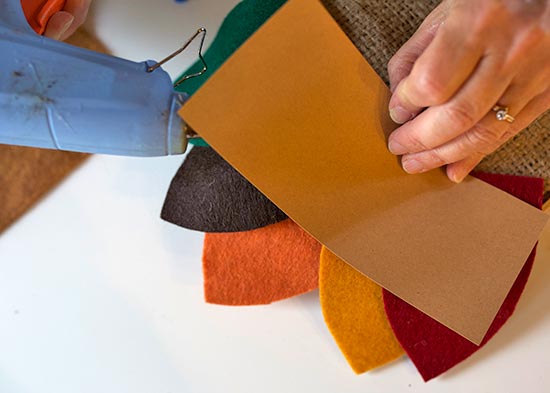
1. Make a pattern for the turkey feet (2 1/4 ” x 2″), feathers (4 1/2 ” x 3″), beak and snood.
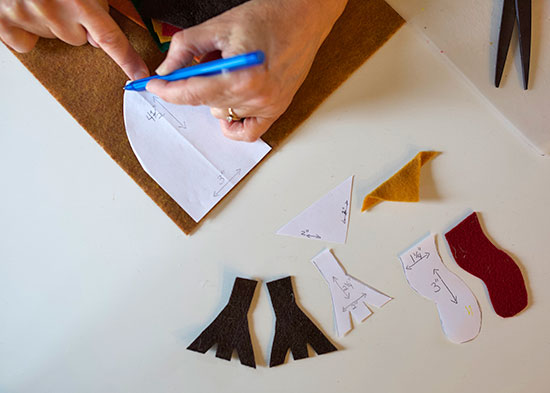
 2. Trace the patterns onto felt and cut out the shapes. We used brown felt for the feet, gold for the beak, red for the snood and feathers all in different colors.
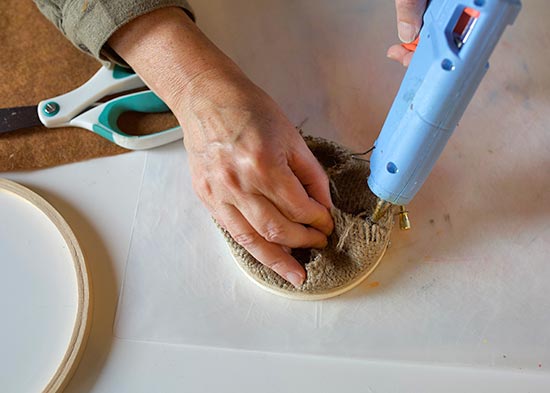
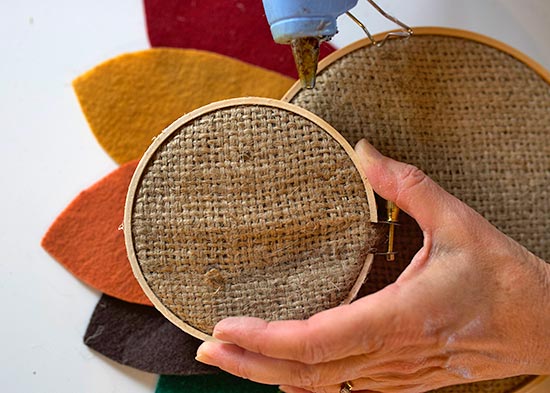
 3. Put burlap pieces into the embroidery hoops and trim the edges, leaving enough fabric to fold down inside the frame and glue in place.

 4. Arrange feathers onto a piece of card stock to hold them in place and glue them together. Glue the card to the back of the large embroidery hoop.
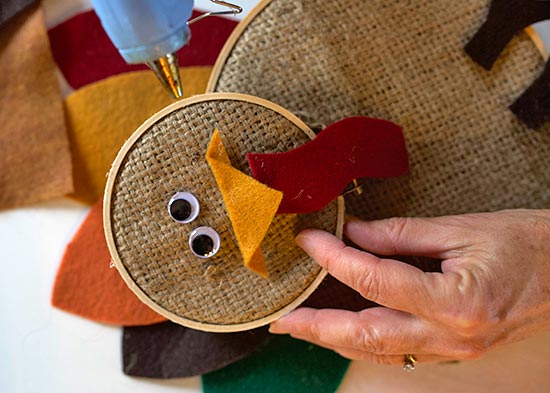
 5. Fold the long edge of the beak over and glue it to hold the shape.
6. Use glue to attach the large and small embroidery hoops.
 7. Glue the beak, eyes and snood to the small embroidery hoop.
 8. Attach the feet on the back of the large embroidery hoop.