Votive sized candles are, perhaps, the most versatile size of candles of all. Small enough to use in casual everyday lighting, they can easily be dressed up as well. And with our candle making kit, making custom colors and scents is a snap.
Things you’ll need:
Votive Candle Kit
Candle Wax
Candle scent (optional)
Candle dye (optional)
Double Boiler
Pencils or chopsticks
Scissors
Knife and cutting surface
Things to do:
1. Roughly chop slightly more wax than you think you will need for your candles and warm gently over a double boiler. Add color and scent at this point if desired.
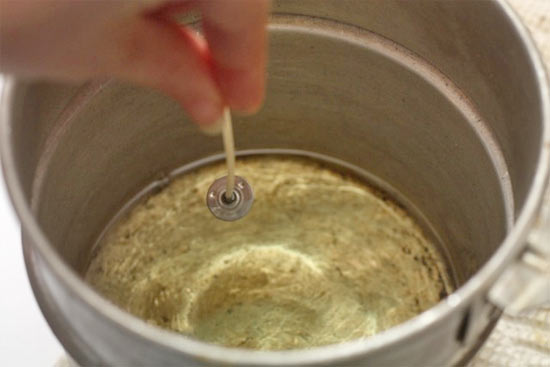
2. Once the wax is fully melted, dip the ends of the wicks into the wax and press into the center bottom of the molds. Allow it to dry for a moment before proceeding.
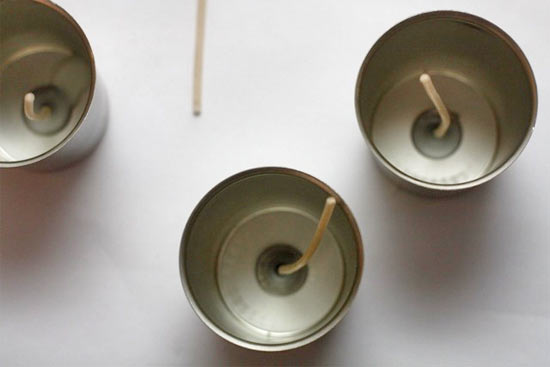
3. Pour the wax to about 1/8 inch form the top of the mold and set two pencils or chopsticks on either side of the wick to help keep it centered.
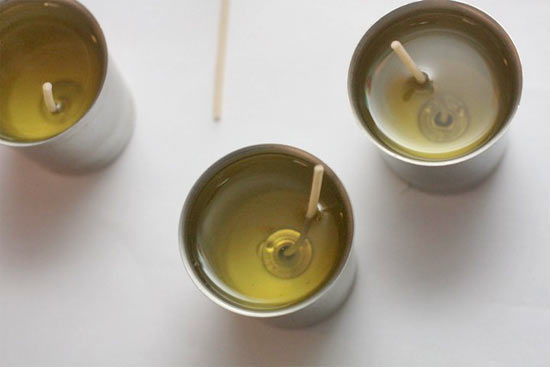
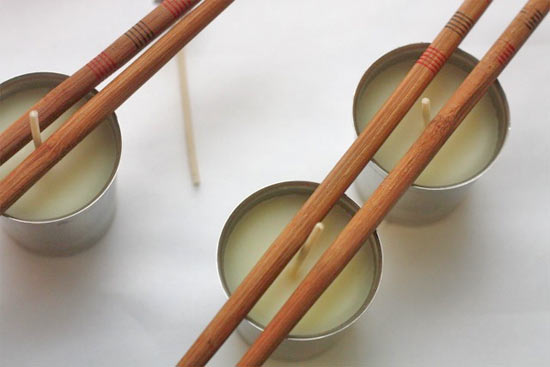
4. Let the wax dry thoroughly. If an indentation forms around the wick, heat a small amount of way slightly warmer than the first batch and pour just enough in to cover the top of the candle.
5. Once the candle is hard, pop it in the freezer for about five minutes to help it release form the mold.
6. Trim the wicks to 1/4 inch and tap inverted gently on a table to release.
