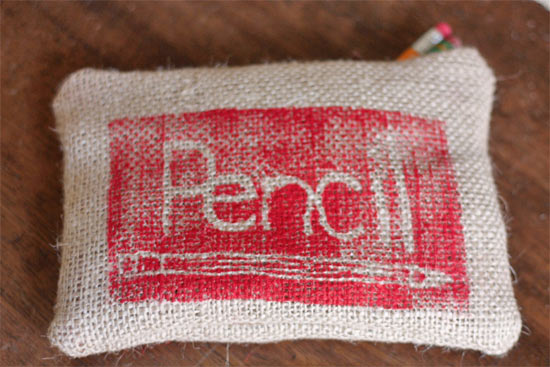
Boys can sometimes get short shrift when it comes to crafting. It’s just plain easier to sew, glue and stitch things with flowers and glitter and ruffles. But this is a totally boy centric project that any little man in your life will love.
Things you’ll need:
Burlap (12×20 inches)
10-inch zipper
2 Styrofoam trays
Scissors
Knitting needles
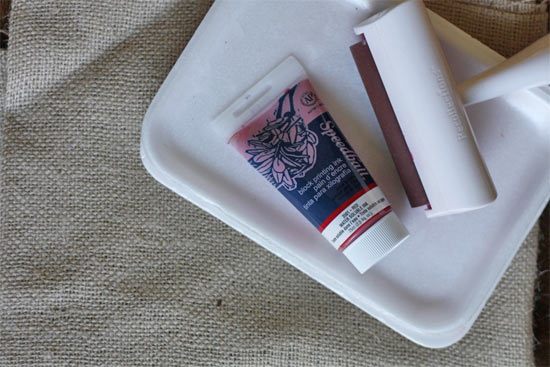
Block Printing ink
Brayer
Things to do:
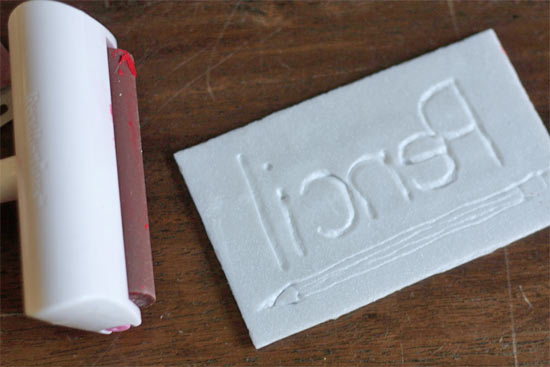
1. Cut a rectangle out of the bottom of one tray about 4 inches high by 7 inches long. Using your knitting needles, draw a design in the surface of the foam. If you are lettering, remember to mirror your letters so that they come out right when you print. This is your block.
2. Cut the burlap into two 12 x 10 inch rectangles.
3. Squirt about 1 tsp of ink onto the other tray and roll the brayer across until you have an even coat of ink on the roller.
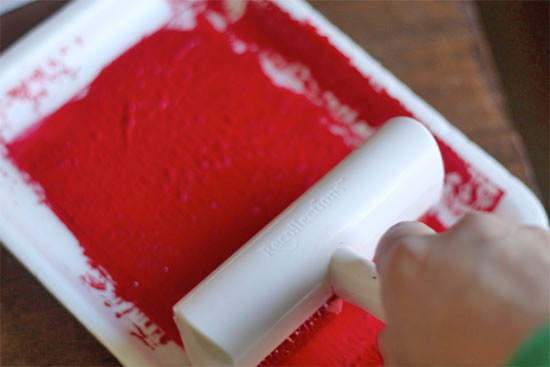
4. Roll across the block you created in step 1. Make sure the ink is coated evenly across the whole thing and not in the divots created by your knitting needles.
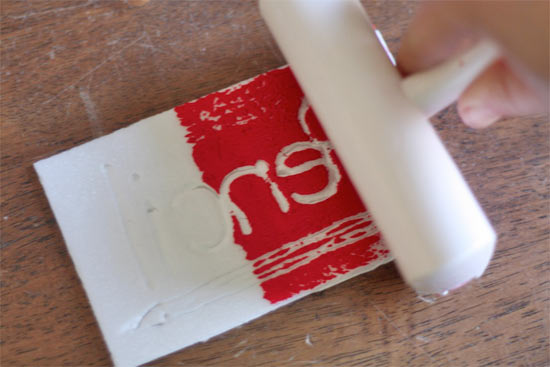
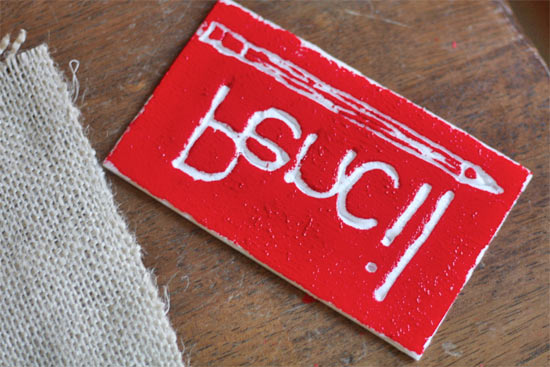
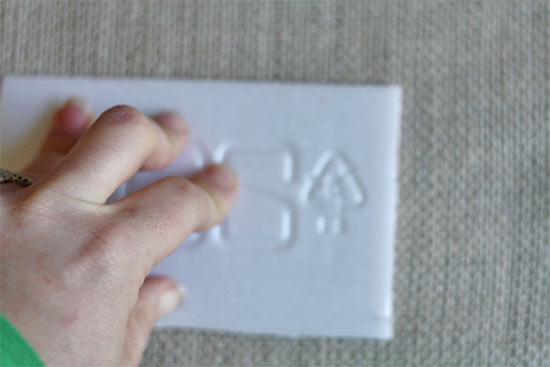
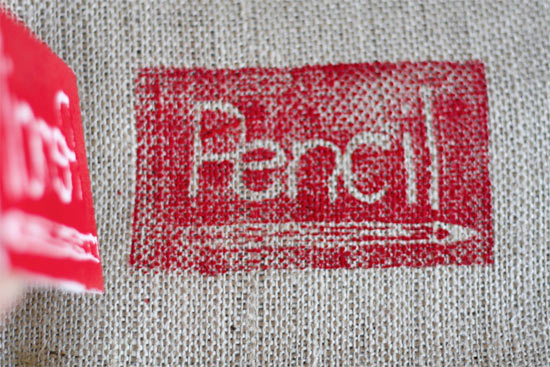
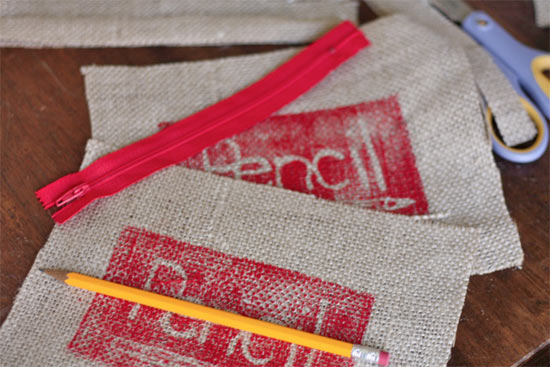
5. Press the block onto the center of one of the pieces of burlap, smoothing all over the back to get even coverage. Re-ink and repeat with the other piece of burlap. Allow the ink to dry.
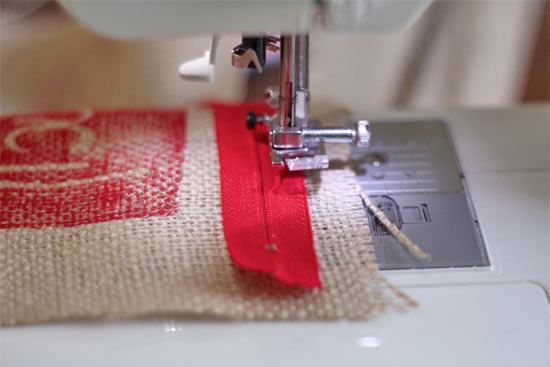
6. Unzip the zipper and lay one side along the top edge of the burlap with the teeth facing in. Stitch along the edge of the zipper using a short straight stitch with a high tension. Repeat with the other side, zipping and unzipping as needed to keep the fabric of the zipper and the burlap flat together.
7. With the right sides facing each other, sew the remaining three sides with first a straight stitch and then a zig zag closer to the edge of the burlap.
8. Trim and turn right side out, working the corners out with the end of a pencil.
4 Comments
The use of the Styrofoam tray is a brilliant idea! Will definitely be trying this )
Such an awesome idea, thank you!
My grandmother used to stockpile Styrofoam trays for random projects around the house. I have resisted the urge to save them unless I have a specific project in mind. And now this! I can not wait to print something! I really like working with unbleached muslin and have used fabric paint to finish a few items. I like the results, but its time-consuming. Now I can create a print block to use over and over. Thanks so much!