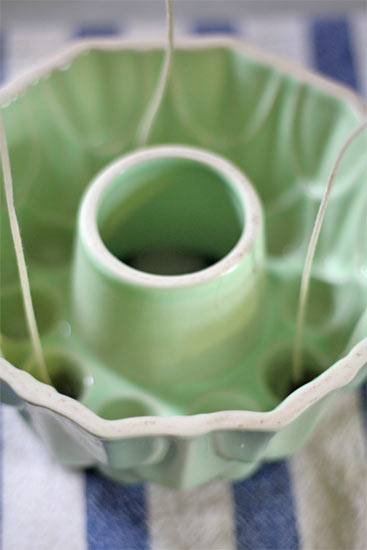
While simple jars make excellent vessels for candle making, unusual objects such as antique tins, jello molds and trifle bowls make for beautiful container candles but they are often too wide for a single wick. Candle wicks need to be well centered in order for them to burn evenly, so the answer to larger containers is evenly spaced, multiple wicks.
Things you need:
Container of your choice (heat proof)
Wicks, enough to space them evenly around the container.
Candle wax
Double Boiler
Candle dye and oil scent if desired
Hot glue gun and glue sticks
Skewers
Things to do:
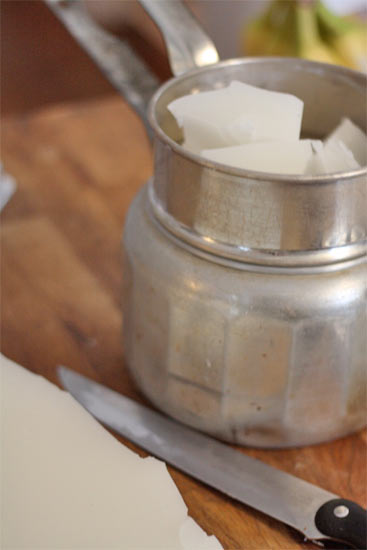
1. Break the wax up into chunks and melt over medium heat in the double boiler. Once the wax has liquefied, add dye to achieve the color of your choice.

2. Set the oven to its lowest setting and pre-warm your container for a few minutes.
3. Determine the spacing of the wicks. You want them to be evenly spaced from each other and from the sides of the candles. Try out a few combinations before adhering to the bottom with a few drops of hot glue.

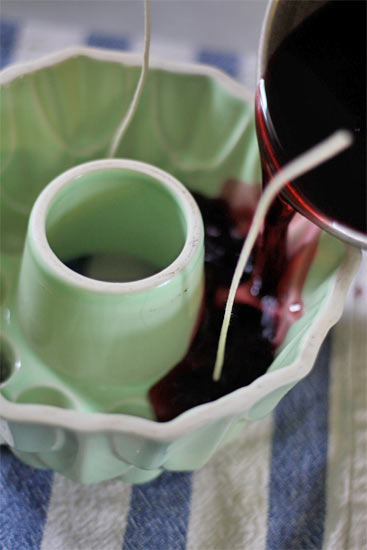
4. Add scent to the wax if desired and pour most of the wax into the container, reserving about 10% for the second pour.

5. Prop the wicks into place using the skewers until the wax has completely hardened.
6. Once the candle is cool, reheat the reserved wax to a slightly warmer temperature and pour into the candle to fill the hole that formed when the wax cooled.
7. Allow the second pour to harden completely before trimming the wicks to 1/4 inch.