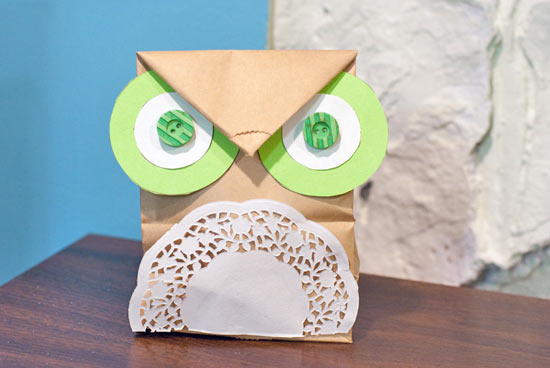
Adorable owl bags are the perfect way to package up small treats and trinkets during Autumn. You can use different bag sizes, eye colors, and button sizes. Personalize these owl bags to your liking!
Difficulty level: Easy
Time required: 20 minutes
Age range: 8+
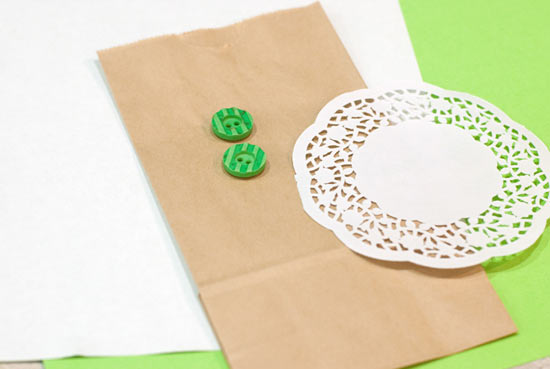
Things you’ll need:
Brown paper bags
Paper doilies
Two buttons
Colored construction paper
White construction paper
Glue
Scissors
Pencil
Clear tape
Things to do:
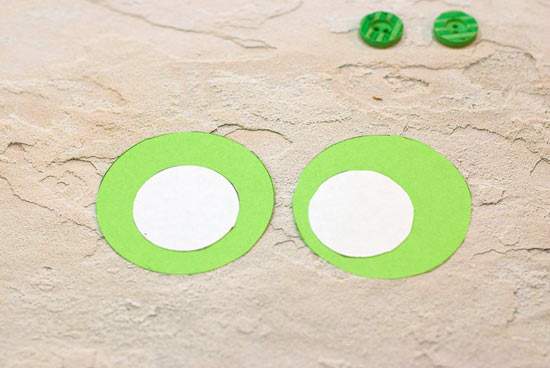
1. Use round objects to trace and cut two larger circles for the outside part of the eyes using your colored construction paper. Use smaller round objects to trace and cut two inner eyes.
2. Temporarily tack down your large round circles a few inches under the opening of the bag. Fold the opening into a triangle, and fold down, to decide on the exact placement of the round circles. You won’t want the triangle to go down too far over the owl’s eyes.
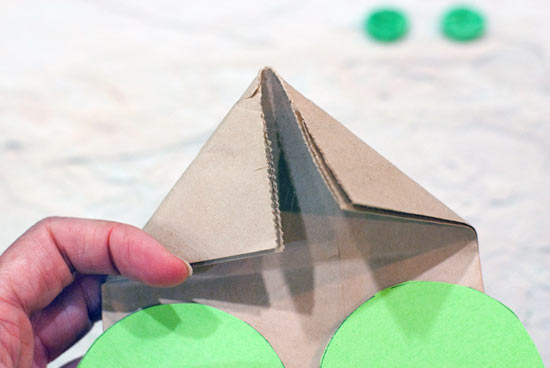
3. This shows the correct placement. Once you’ve decided where to put the round eyes, permanently glue them down onto the bag.
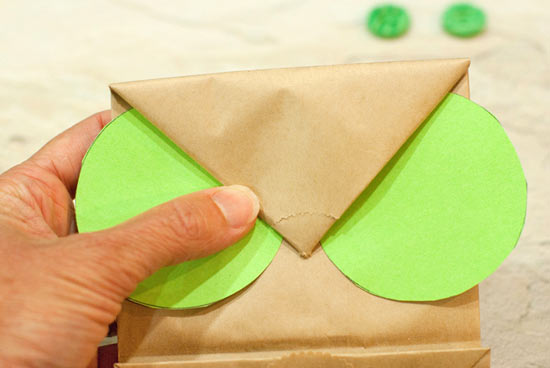
4. Add the white centers and the buttons. This is how it should look. Note that the top isn’t glued or taped shut here – you wouldn’t be able to fill your bag later if it was!

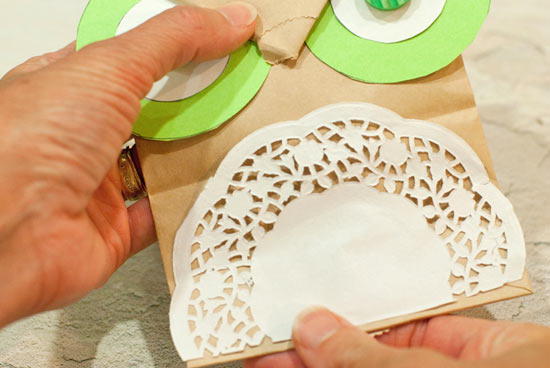
5. If you have a large bag, you can glue the doily under the eyes now. If your bag is shorter, mark a cut line on the doily.
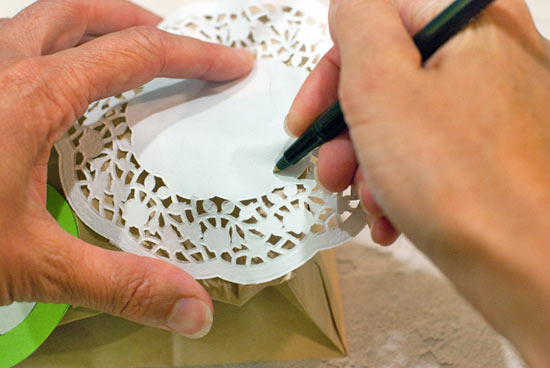
6. Cut the doily if needed and glue to the bottom half of the bag. Now fill with goodies, and tape closed with a circle of clear tape under the point.
