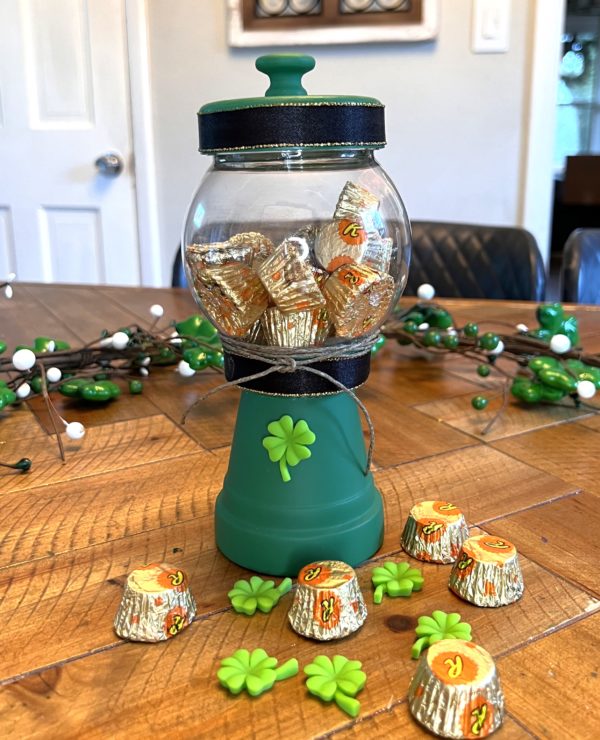
Create your own festive St. Patrick’s Day Candy Machine with this easy and enjoyable DIY craft! Fill with your favorite St. Patrick’s Day sweets and watch as friends and family delight in this whimsical, homemade treat dispenser. It’s a fun project that adds a touch of Irish charm to your celebrations! Great for your desk, offices, and teachers!
Materials Needed:
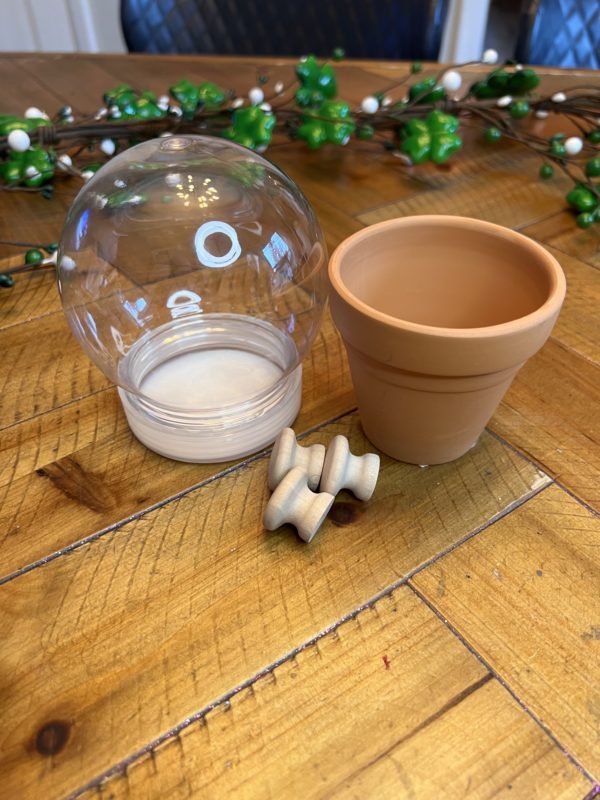
4″ Clear Acrylic Snow Globe Jar
Small Terra Cotta Flower Pot
5/8″ Black with Gold Edge Satin Ribbon
Shamrock Apple Barrel Acrylic Paint
Unfinished Wood Knobs for Cabinet Furniture Drawer Pull Handles
Four Leaf Clover Shamrocks
Hot glue gun and glue sticks
E6000
Scissors
Let’s grab your supplies, channel your inner artist, and let get crafting!
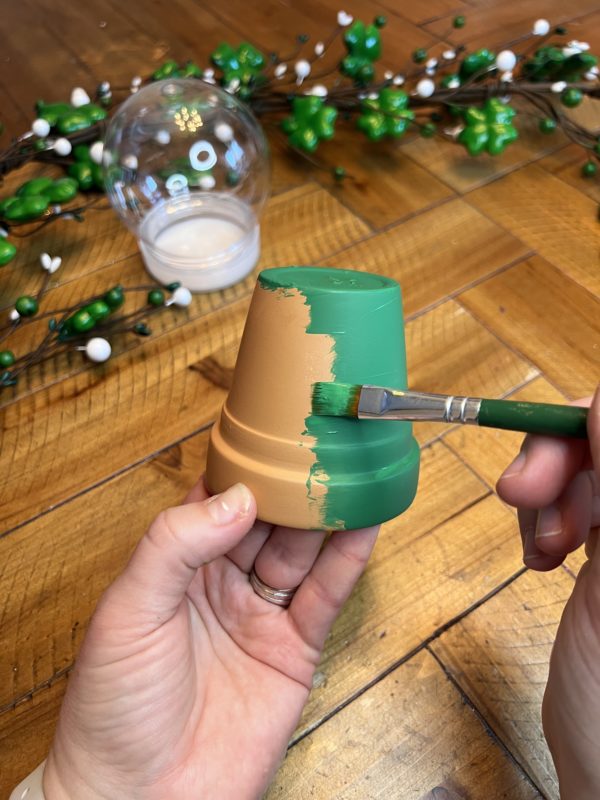
Step 1: Grab your desired paint color that you wish to be the base color. You will then paint a nice coat covering all of the terra cotta pot. With this being for St. Patrick’s Day, i chose to go with ourShamrock Apple Barrel Acrylic Paint.
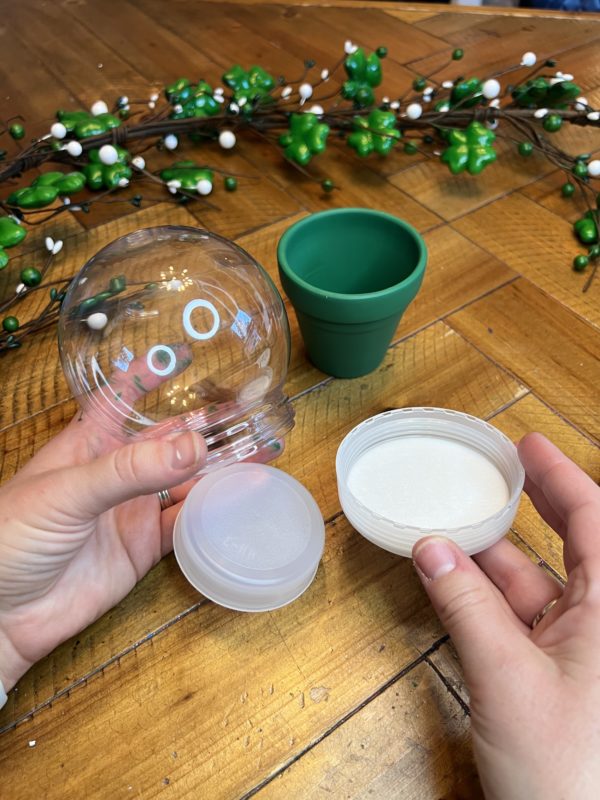
You will then grab your ‘snow globe’ jar and take this apart. Take the lid and the insert piece. You will then want to paint this in the same color used for the pot.
- With this being plastic, the paint was having a hard time sticking. I did not have a primer on hand, so i went to the next best thing – HAIRSPRAY Worked Great!
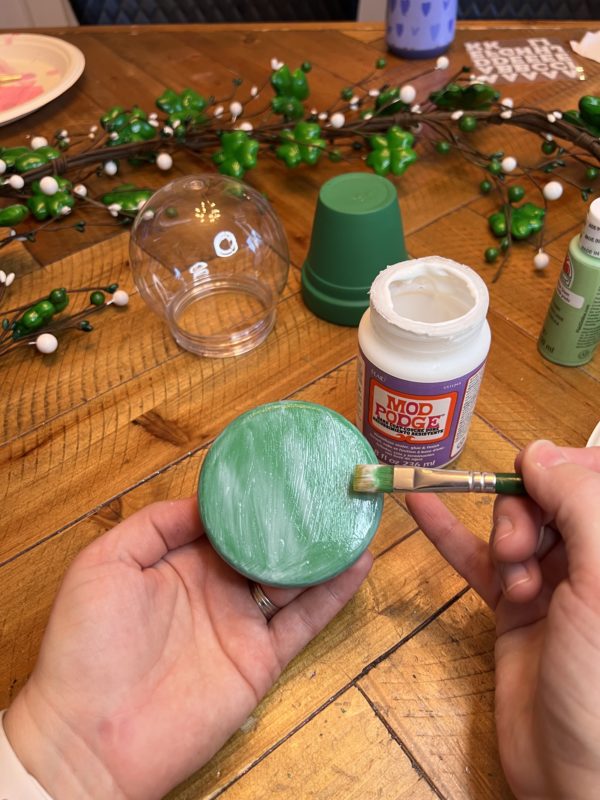
Once all the paint was dried, i came in with a coat of our Mod Podge to help seal. You can spray again with the hairspray before and after. This will then help give it more security and not peeling!
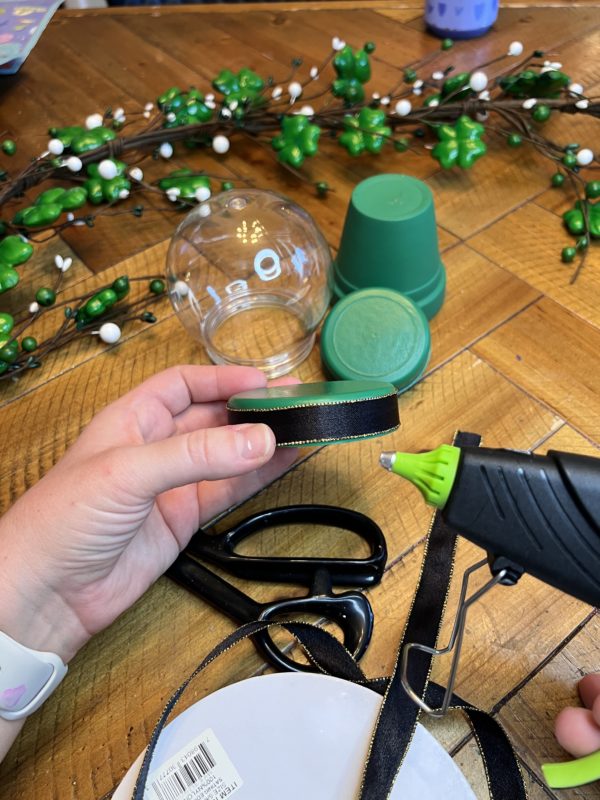
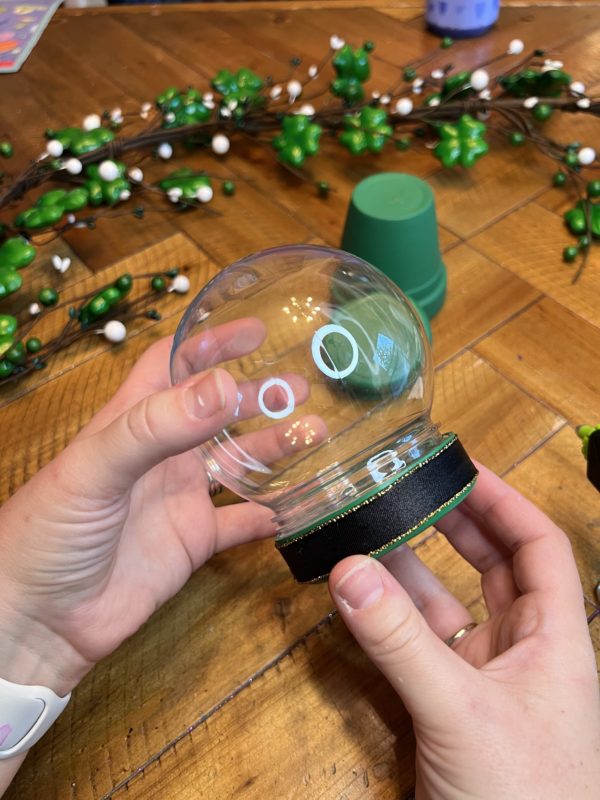
Step 2: Grab your choice in ribbon. I went with our5/8″ Black with Gold Edge Satin Ribbon. I hot glued this in place alongside the rim of the lid and the insert that was inside the ‘Snow globe’ jar.

Step 3: Grab the insert piece that fit in the opening of the jar. You will want this piece glued onto the bottom of the terra cotta pot. You will glue the insert top against the pot. This will have the concave portion facing upward, which will create a “seat” for the jar to sit on.
- You will want to apply the multi purpose glue, like E6000 in the center and then with the hot glue gun, apply a circle around this to help hold into place.
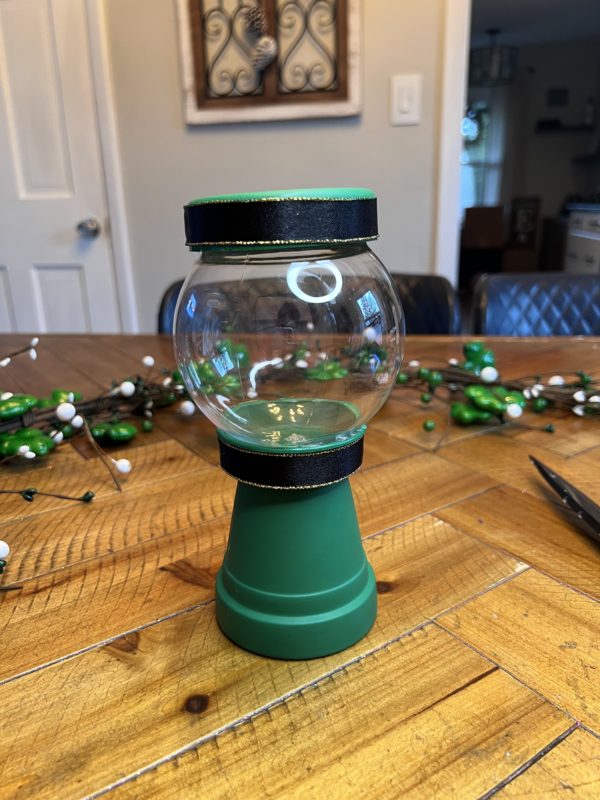
Step 4: Grab your globe. Once you are ready, apply a layer of hot glue on the rim of the plastic insert piece that the globe will sit on. Then attach.
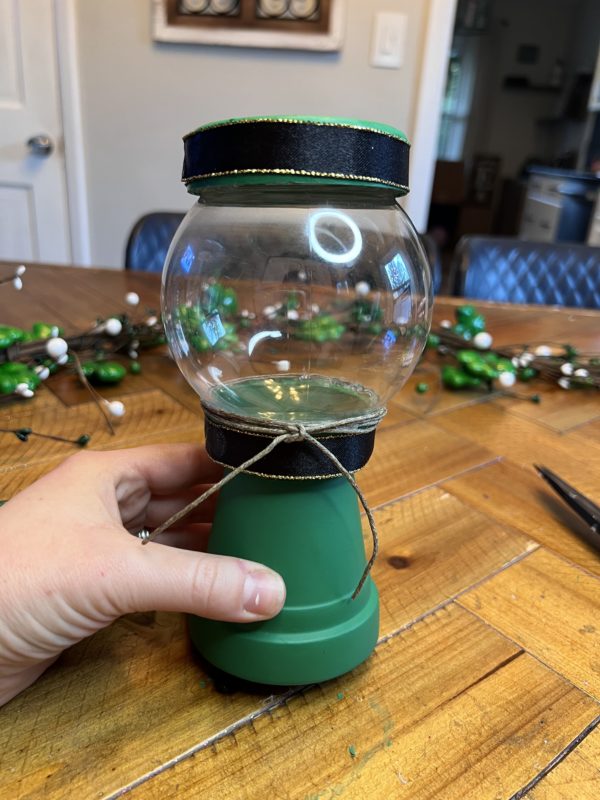
With some of the hot glue showing, i came in with some twine and wrapped around about 3 times and tied off. This helped give a ice touch, but also hid that glue.
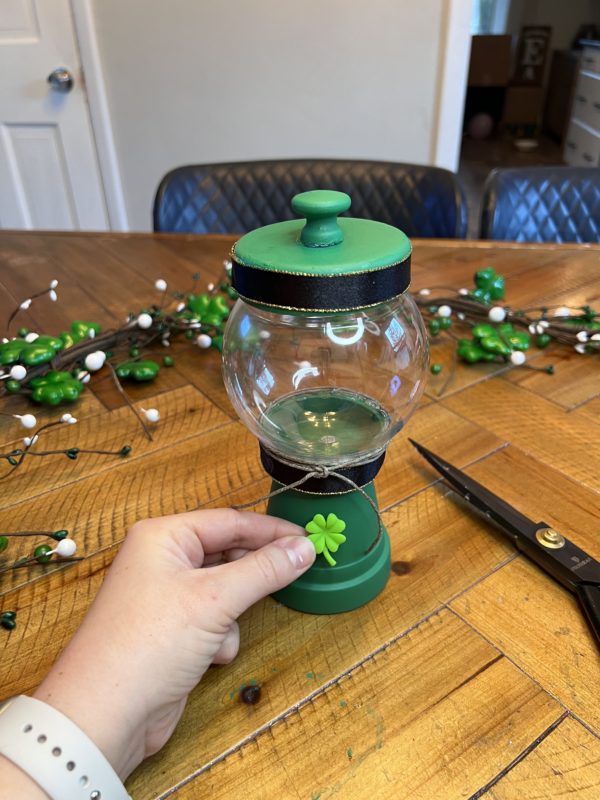
Step 5: Here you will have the options for a few finishing touches. I wanted to attach a topper to the lid for the globe. So i grabbed our Unfinished Wood Knobs, painted this in the same green and then hot glued in place on top.
We had these adorable shamrock accents, so i glue one right onto the terra cotta pot to give it more of a St. Patrick feel.