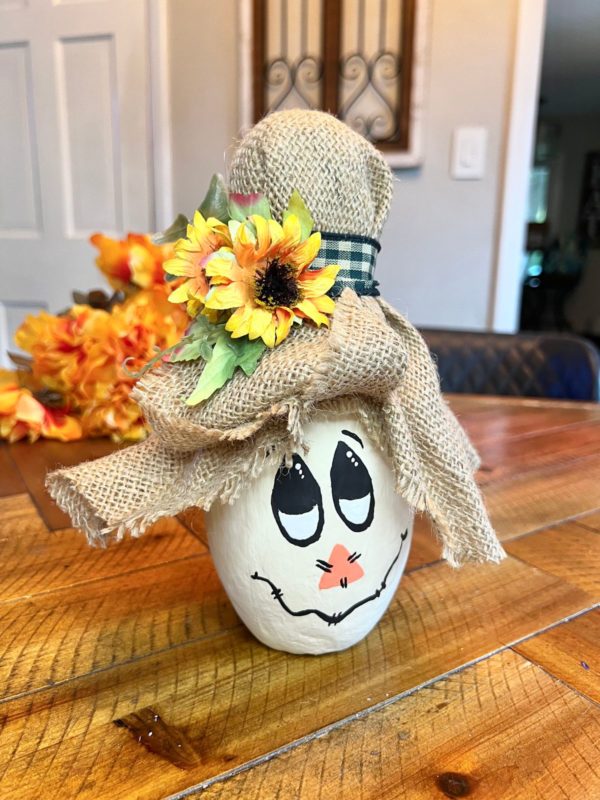
Let’s add a touch of handmade charm to your Thanksgiving/Fall decor! This simple project is a fun one for all the family with only 5 simple materials. Decorate to your own liking and have this one of a kind turkey sitting front in center for your thanksgiving festivities!

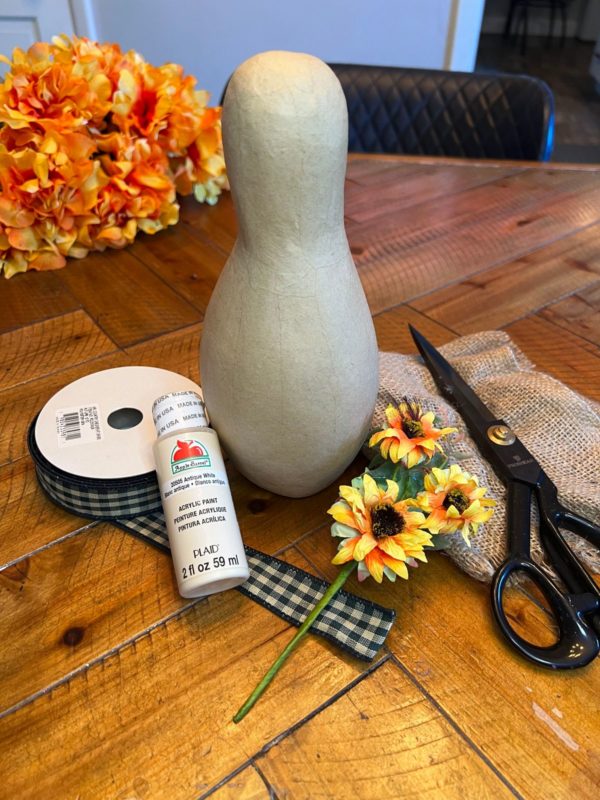
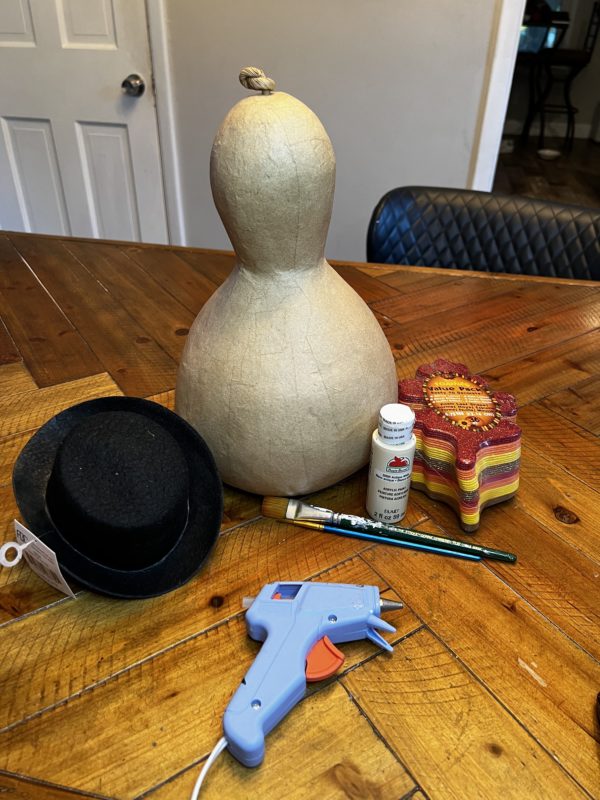
Needed supplies:
- Black Felt Top Hat
- Paper Mache Pot Belly Gourd
- Craft Foam Fall Oak Leaves
- White Apple Barrel Acrylic Paint
- Khaki Apple Barrel Acrylic Paint
- Black Apple Barrel Acrylic Paint
- Scissors
- Hot glue gun and sticks
- Paint brush
- Pencil
Shop the needed material here:
https://factorydirectcraft.com/catalog/advanced_search_result.php?keywords=FBpprmchtrkygrd
Let’s grab your supplies, channel your inner artist, and let get crafting!
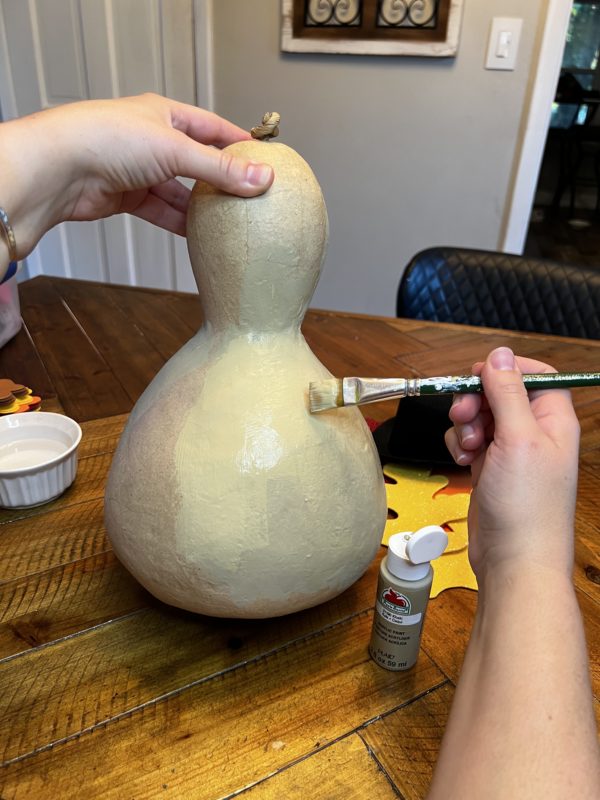
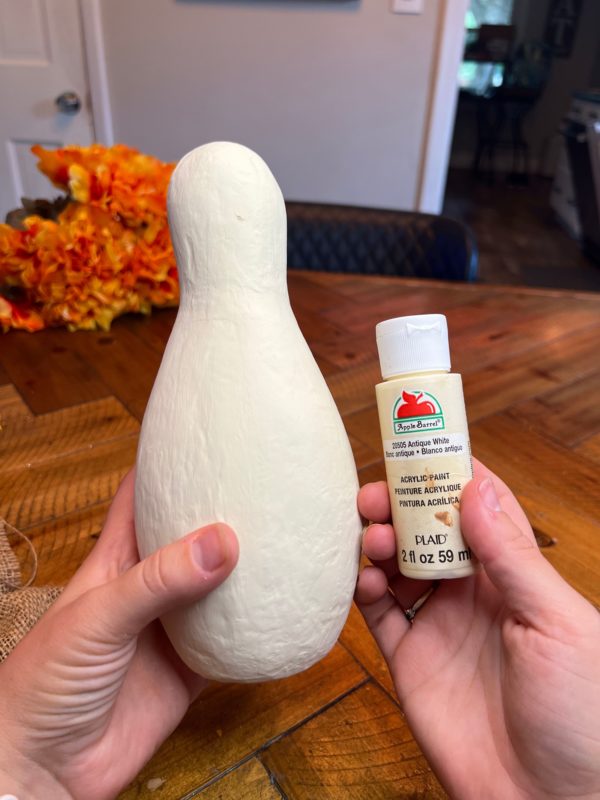
Step 1 – Painting
Here you will grab your base color that you wish to paint the gourd. I chose to paint my little guy with our Khaki Apple Barrel Paint. It took a good coat or two.
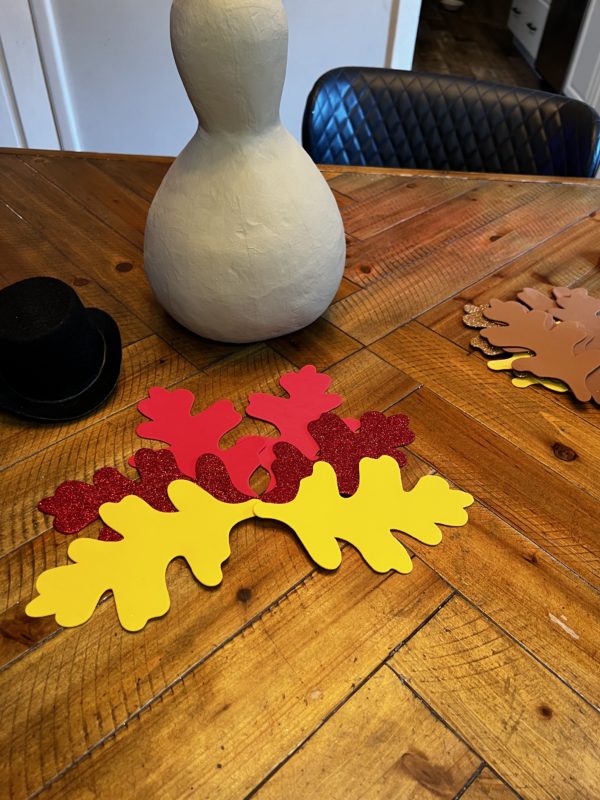
Step 2 – Lay out your feathers
For the ‘feathers’ i used our foam fall oak leaves. I loved the colors and were plenty big enough to create the Turkeys tail. Here i chose the color layout i wanted and placed them on the table. I went with 4 red, 2 yellows on the side, 4 oranges, and 2 brown on the side.
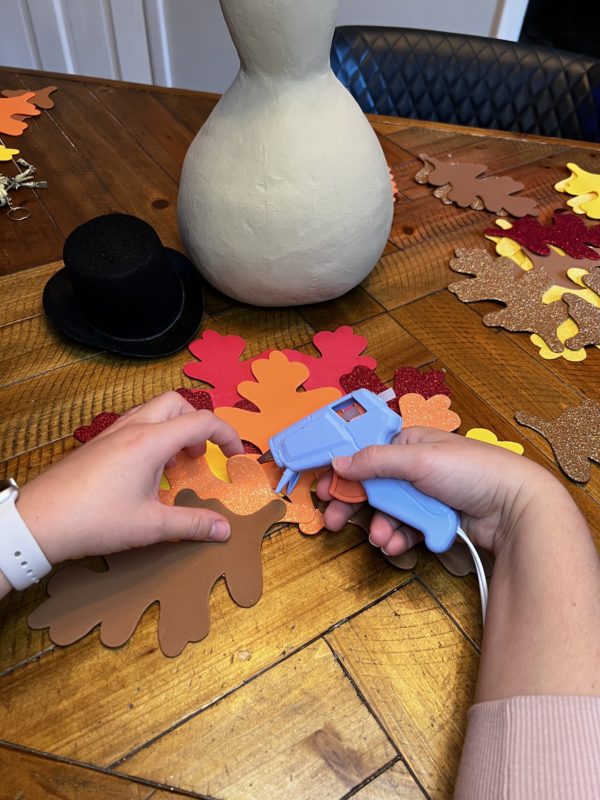
Once you have your layout complete. Come through and hot glue them in place. You will want to glue the stems and the leaves that lay ontop of each other. This will help them not flap and fall away from each other.
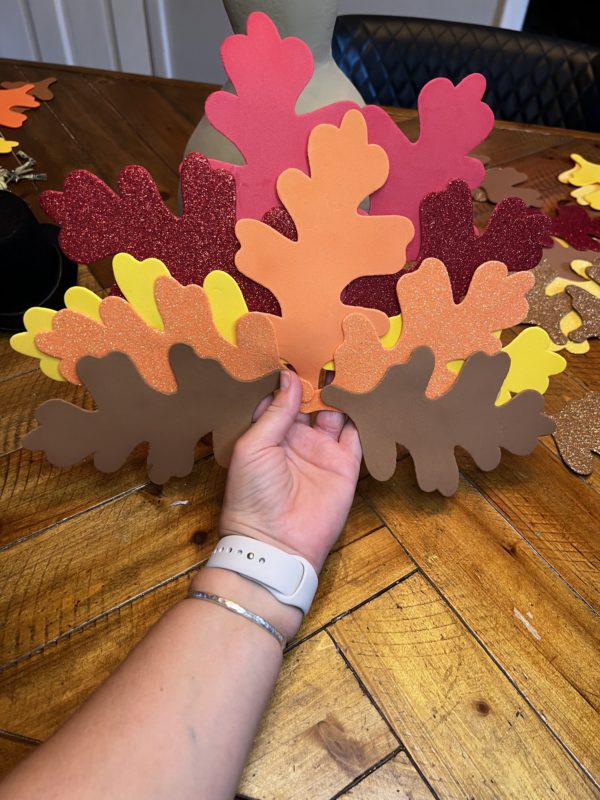
Once the ‘feathers’ are all glued. Take your tail and add a small line of hot glue down the center of the tail. I did from the bottom to about half way. Since the tail is not touching all of the gourd.
You may need to glue the sides to the gourd depending on how it is laying.
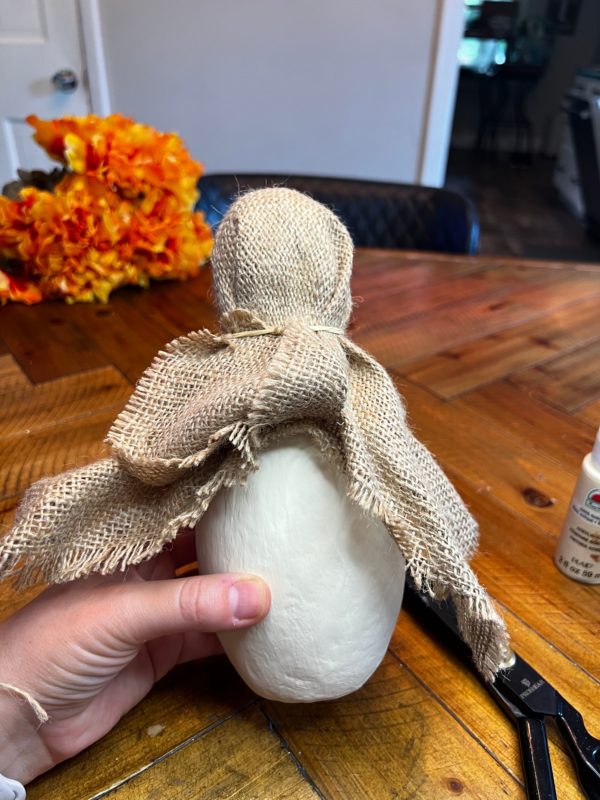
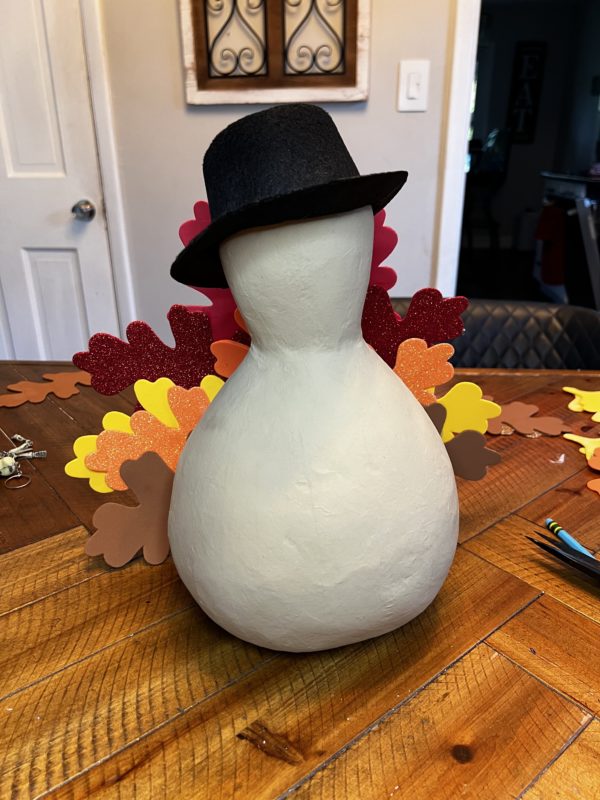
Then grab your top hat and add hot glue on the inside of the hat on the sides. This will then hold that hat in place while sitting on top of the ‘head’.
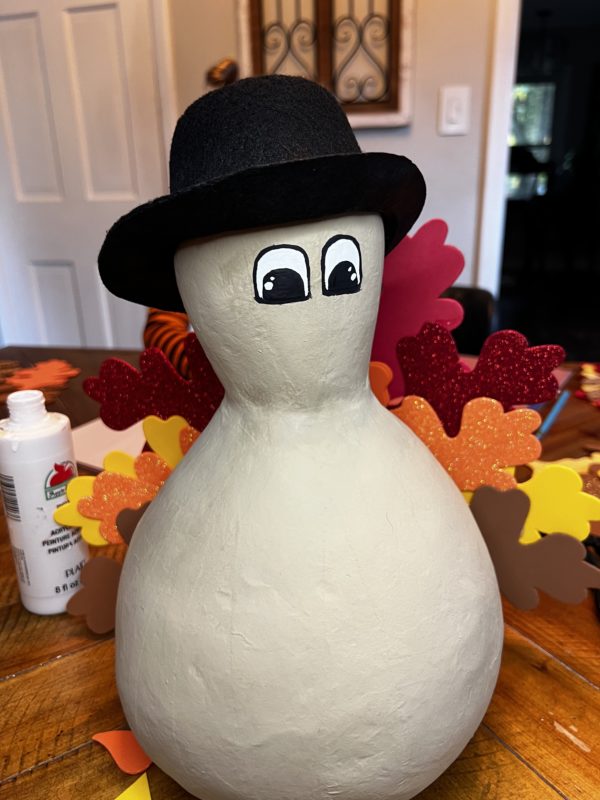
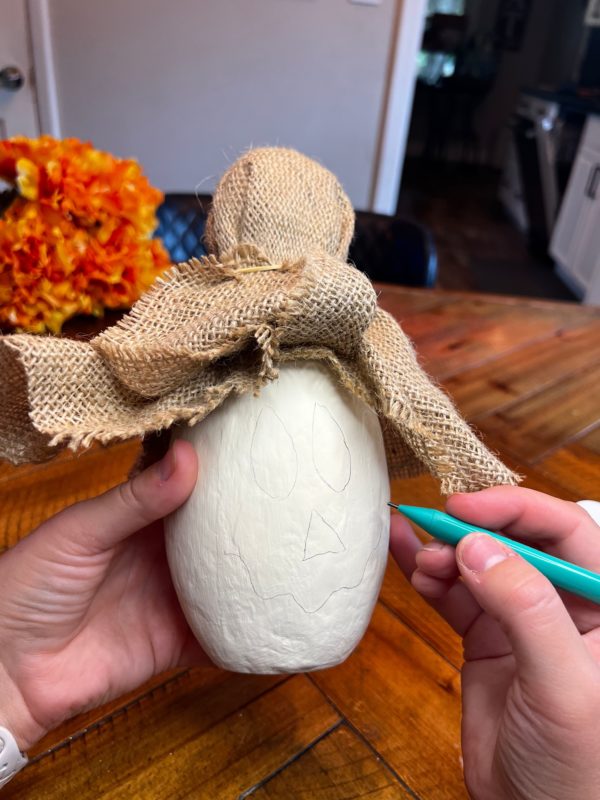
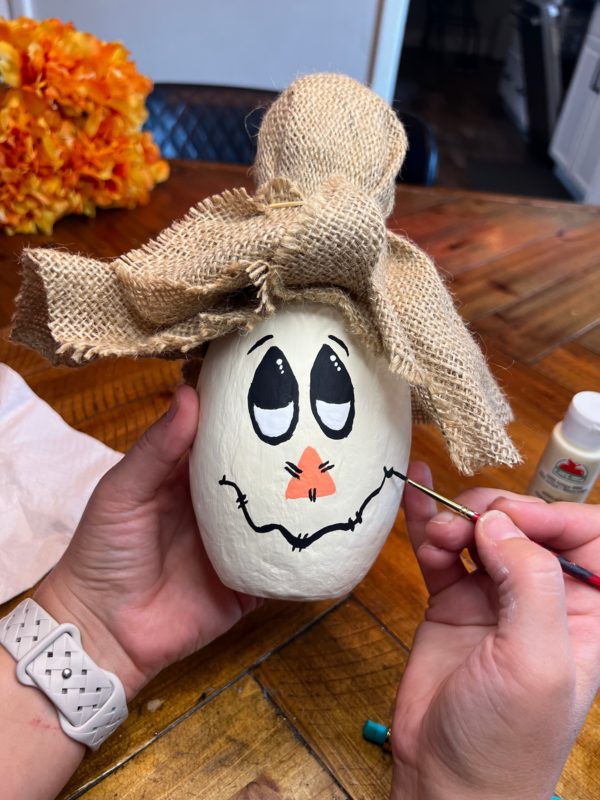
Step 3 – Let create that adorable face
Before i start painting, i always like to come in and trace with a pencil to get an idea of the shape and sizes of the face features. Once i have it to my liking, i then came in with black paint. I traced the outlining of the eyes and fill in the pupils. Then i came back with the white apple barrel paint to fill in the surrounding of the eyes.

Step 4 – Create the mouth
Since i had the foam leaves left over, i grabbed a red and yellow foam leaf. For the beak, i took the non-glittered yellow leaf. I cut a nice triangle out for the mouth.
I then grabbed a red glittered leaf for the gobbler, which worked perfect! One of the points of the leaf was a perfect round shape, so i cut it like a teardrop shape.
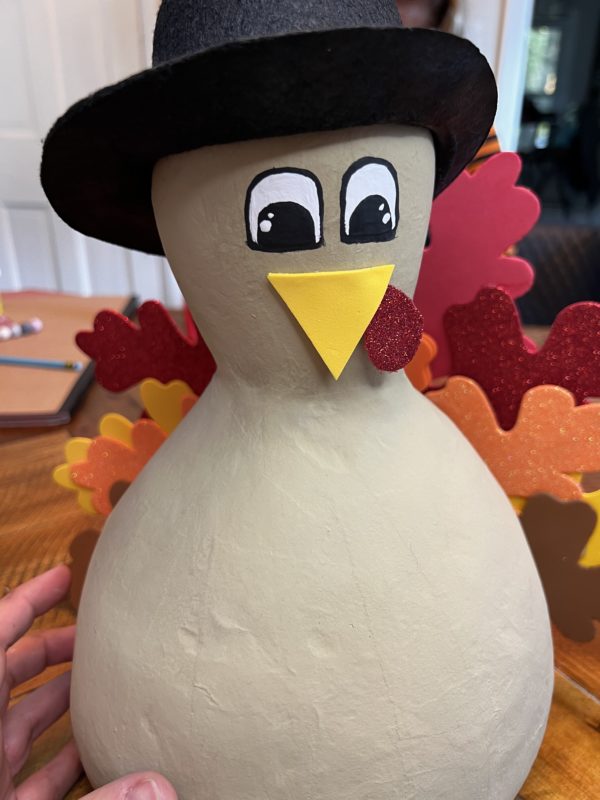
Glue the ‘gobbler’ to the back side of the beak. Once that it dry, you can then glue the mouth and gobbler in place.
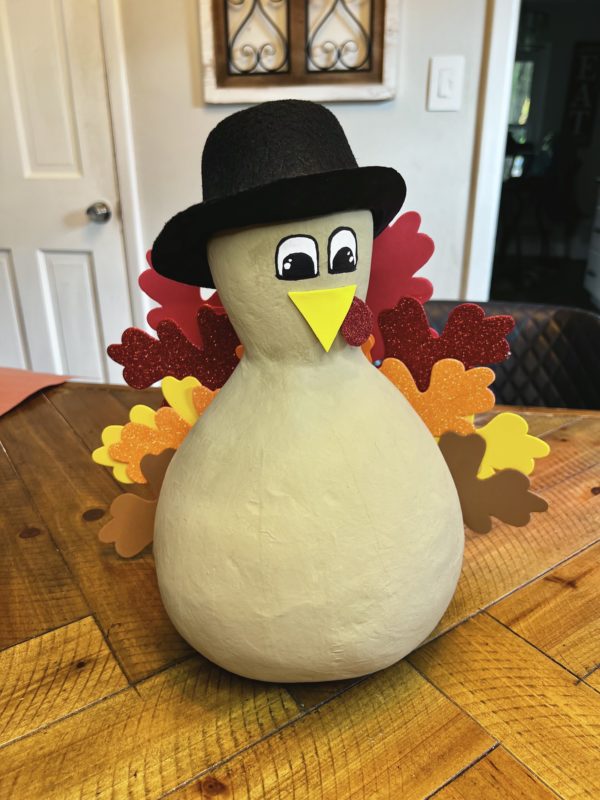
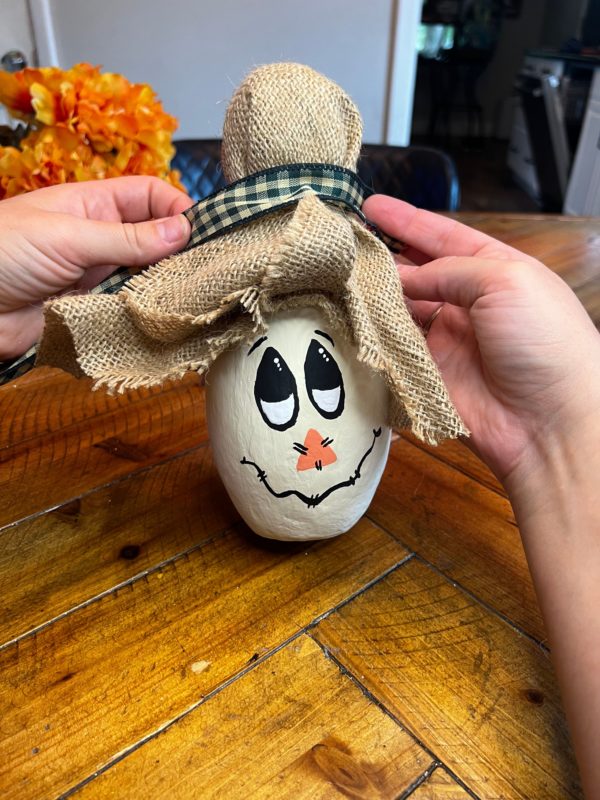
Crafting a DIY Turkey from a paper mache gourd is a delightful and imaginative project that allows you to infuse a touch of handmade charm into your Thanksgiving or fall decor. Serve as a centerpiece, mantle decoration, or a welcoming addition to your seasonal display.