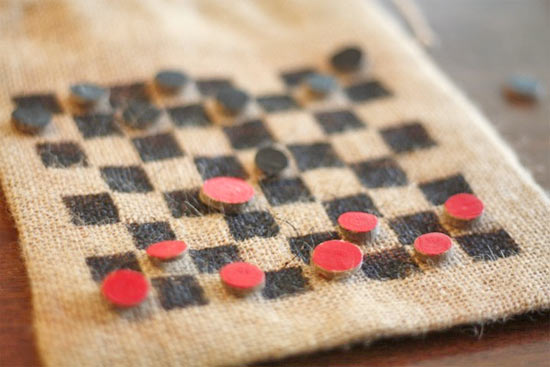
Who loves checkers? I know the guys in my family sure do! They love to play checkers together and this portable checkerboard is the perfect thing to tote their favorite set of checkers around with them. Make sure to size your checkerboard squares to the size of your checkers. The easiest way of doing this is to use masking tape that is just slightly wider than your checkers are, this will help you make neat, perfectly sized squares. And check out our Wood Slice Checkers Tutorial for a great set of checkers to go in that bag!
Difficulty level: Intermediate
Time Required: 30 minutes
Things you’ll need:
Burlap Bag
Textile Medium
Black acrylic paint
Masking tape
Paintbrush
Things to do:
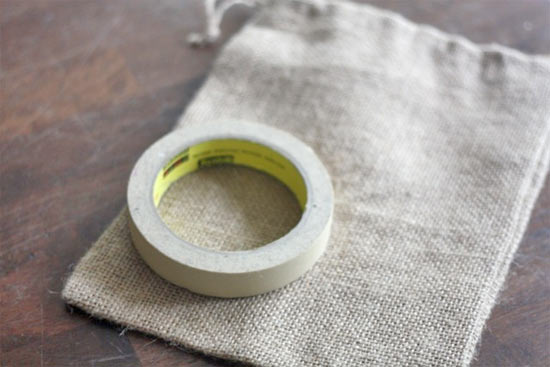
1. Lay out a row of tape strips across the bag evenly, five strips with four equally sized spaces between them.
2. Repeat this process going the opposite direction. This will create a grid that will give you half of the squares you’ll need (8 by 8).
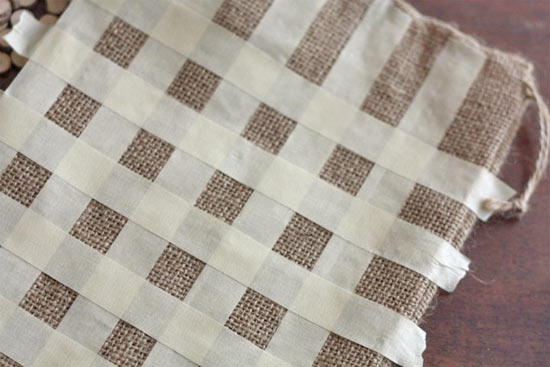
3. Paint the exposed squares with the textile medium and let dry. Once dry, paint the textile medium covered squares with black acrylic paint and allow the paint to dry.
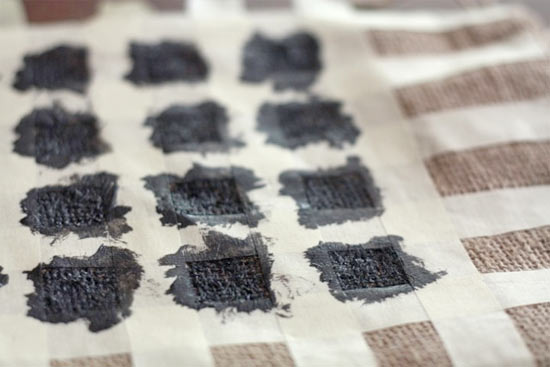
4. Peel off the tape and tape another set of squares, this time covering the squares you’ve painted. Paint the newly exposed squares so that you have 4 black and 4 unpainted squares along each side.
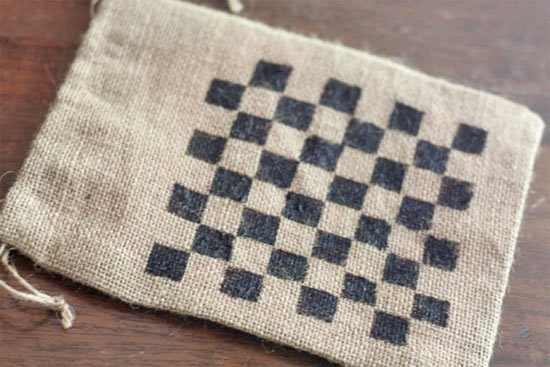
5. Allow the paint to dry before playing away.
