Skip to search Skip to navigation menu Skip to main content Selecting option will reload page

Category: Kid's Arts and Crafts

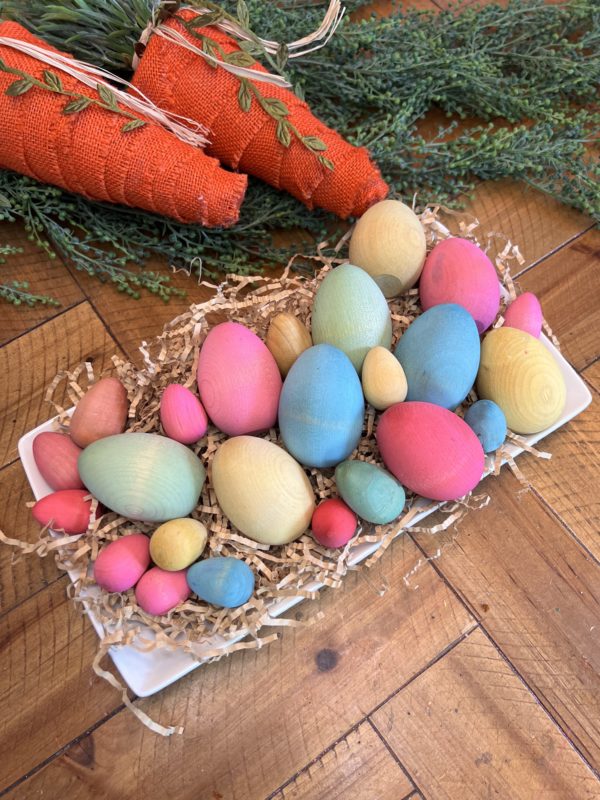
Dyeing Wooden Easter Eggs with Classic Egg Dye

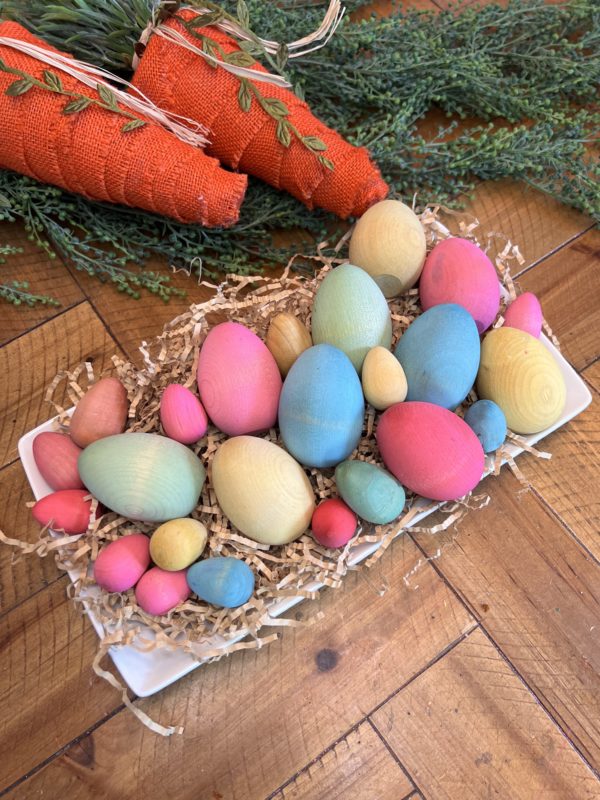
These vibrantly Dyed wooden Easter eggs are an easy DIY idea for kids. An educational toy that provides hours of play based learning fun! The best part is..these eggs will never go rotten.
Difficulty level: Beginner
Time to complete:6-8 hours

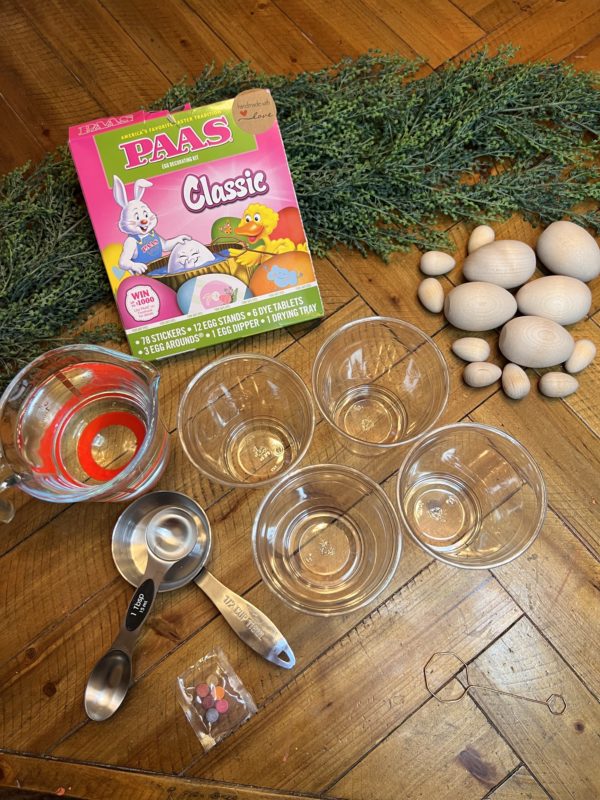
Materials Needed:
Assorted Size Unfinished Wood Eggs Set
Classic PAAS Egg Dye Kit
Cups
Water
Vinegar
Measuring cups
Parchment Paper
Cookie tray
Let’s grab your supplies, channel your inner artist, and let get crafting!
Step 1:
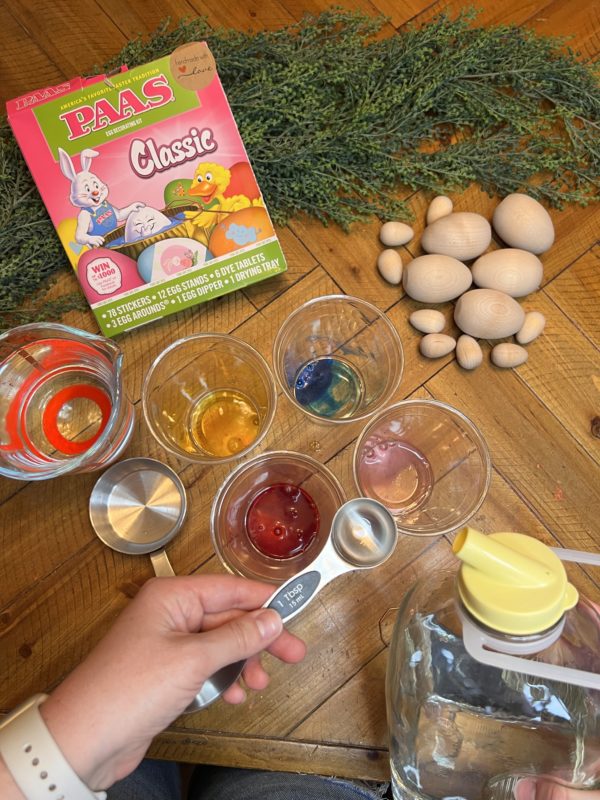
First you will follow the directions on the PAAS Classic egg dye kit.

*Drop a dye tablet in each cup
*Mix in 1 Teaspoon of Vinegar
*Wait for the tablets to dissolve
*Pour in 1/2 cup of warm water
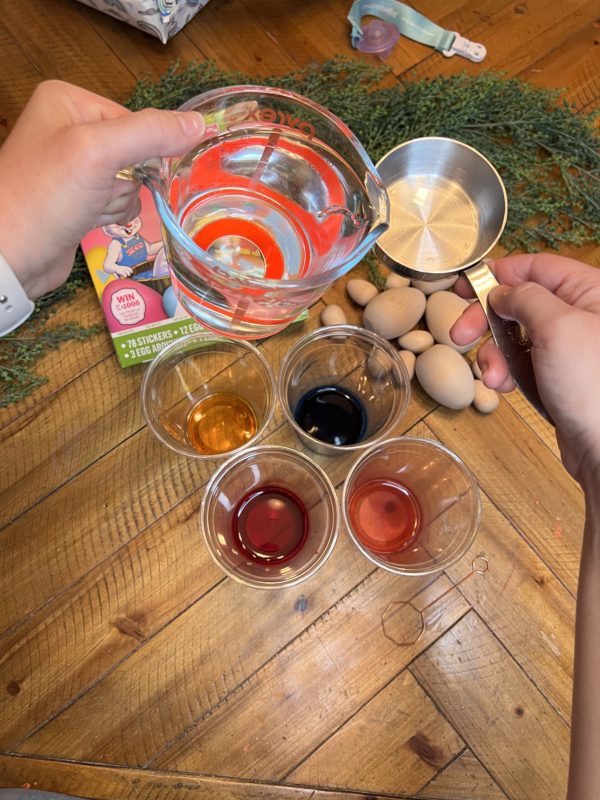
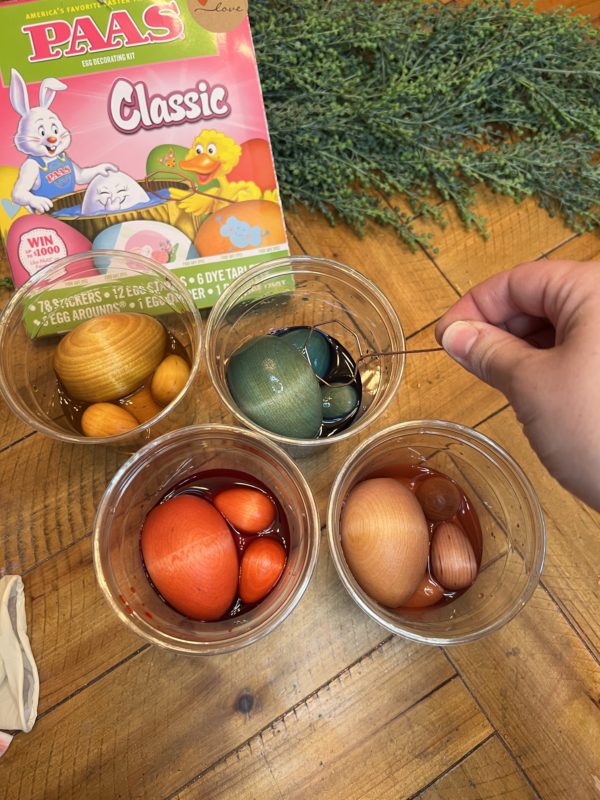
Step 2:
Once all colors are ready inside each cup, you will carefully drop the wooden eggs inside each cup. I was able to fit 2 big eggs and 2 smaller eggs in each.

Let them sit for about 3 hours. During this time, you will periodically turn the eggs over to make sure all areas are covered well and soak up the color.
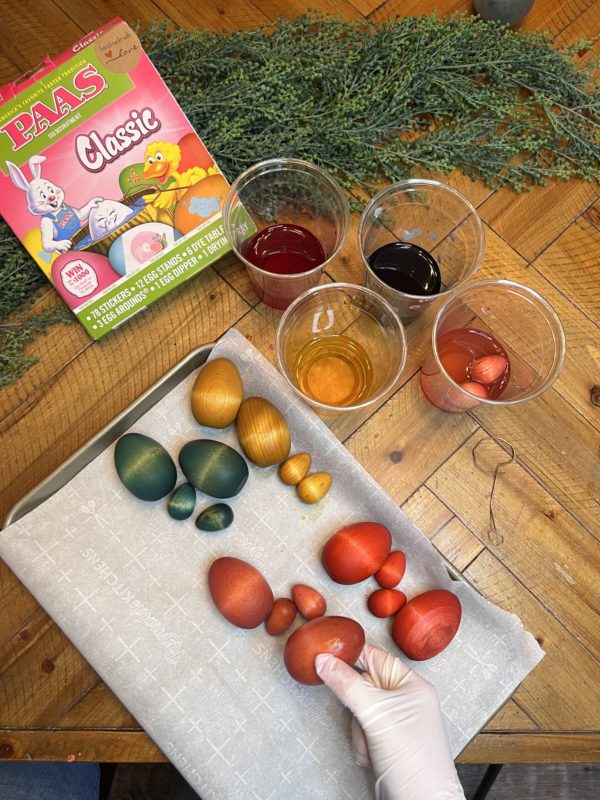
Step 3:

Line a cookie sheet with parchment paper and place the eggs on to allow them to dry! Don’t worry about how dark they are…. once they dry, they become a beautiful vibrant color.
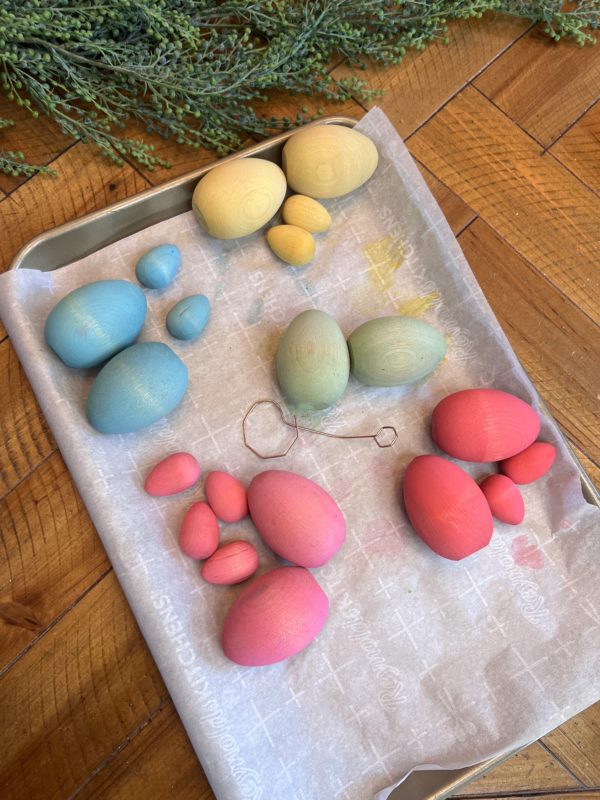
Let them dye completely – This may take about 4-6 hours.
Continue Reading

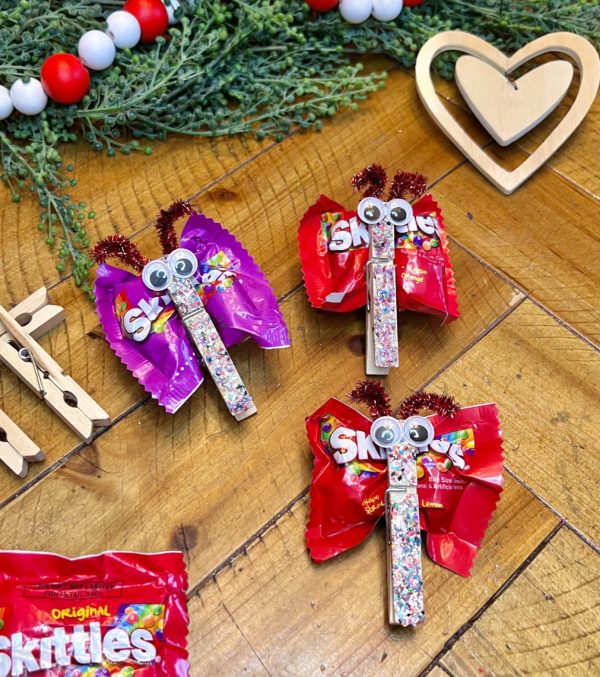
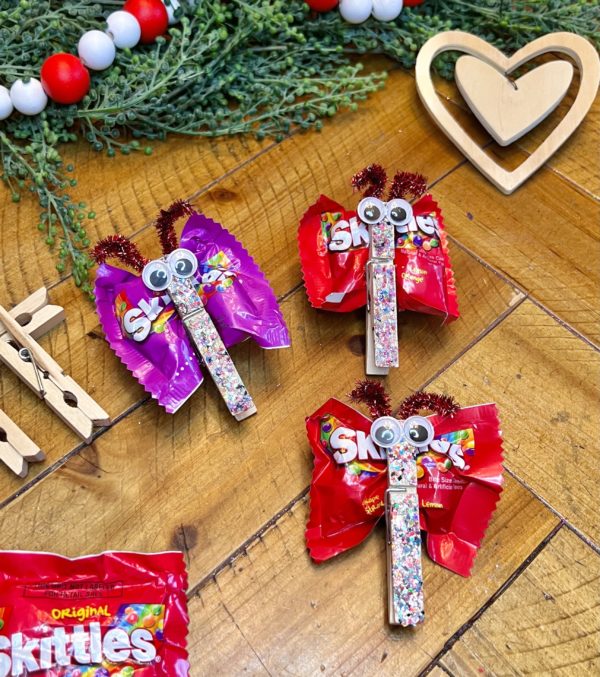
Valentine’s Day Candy Craft: DIY Love Bug Treat

Such a simple and easy craft for the kiddos to take part of and share with their classrooms this Valentine’s Day! No glitter, that’s ok! Painting using their favorite color or the traditional Valentine colors!

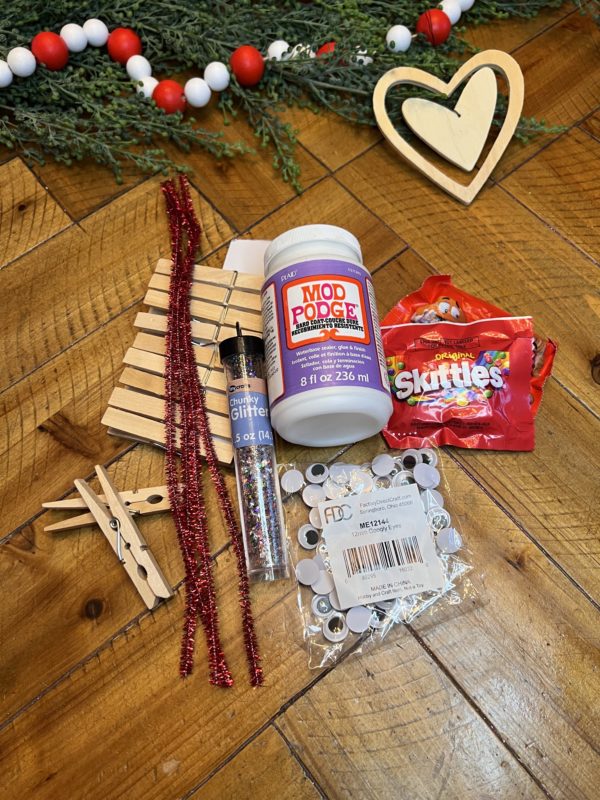
Material needed:
1 pack – Wood Clothespins
10mm Googly Eyes
Red Metallic Tinsel Pipe Cleaners
Mod Podge Hard Coat
Glitter
Scissors
Hot Glue Gun and Glue Sticks
Candy of your choice

Shop materials here:
https://factorydirectcraft.com/catalog/advanced_search_result.php?keywords=fbvlbgcndyclthspn

Let’s grab your supplies, channel your inner artist, and let get crafting!

Step 1:

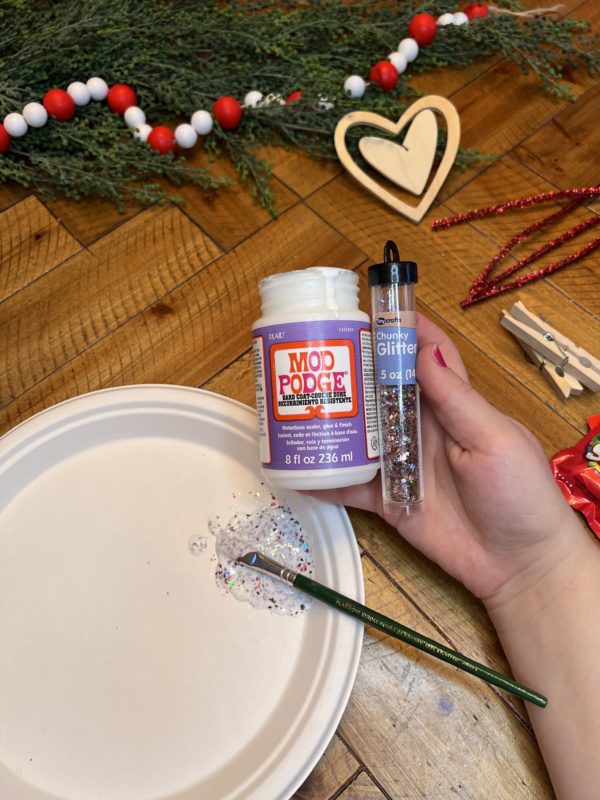
Grab your mod podge and glitter of choice. I went with a multicolor glitter to add more fun to the clothespins. You will then mix the two together. You will need more glitter than glue.

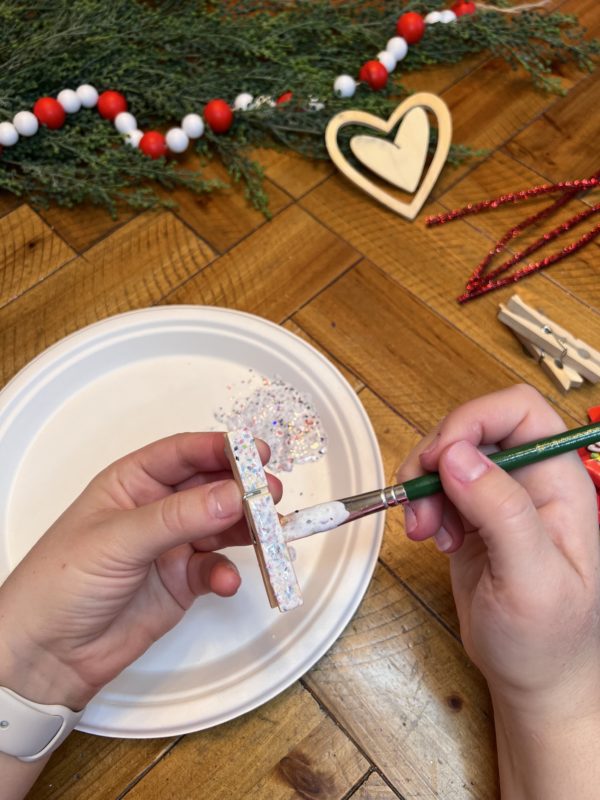
Layer on the mixture over the front and back of the clothespin. You can do sides too, if you would like. You may need to go back with a 2nd coat to get the fullness of the glitter. Take a hair dryer and dry (speeds up the process).

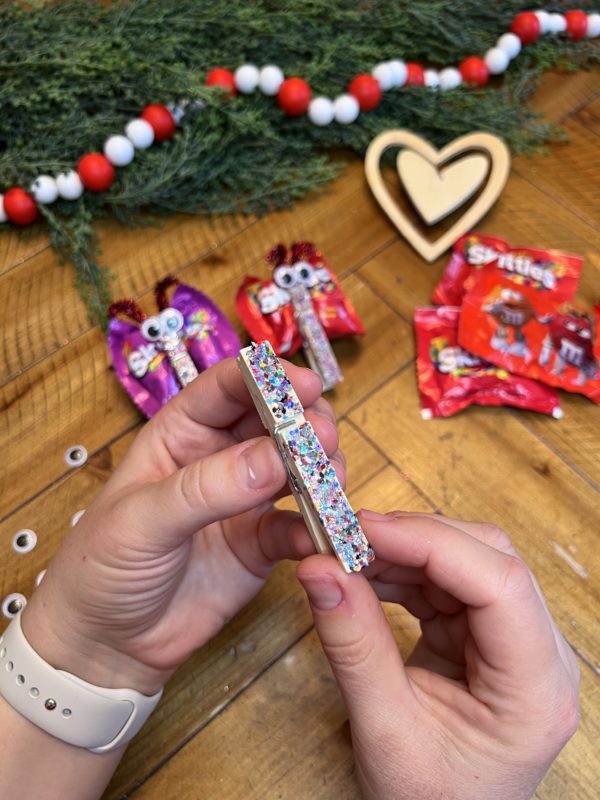
Look at that sparkle

Step 2:

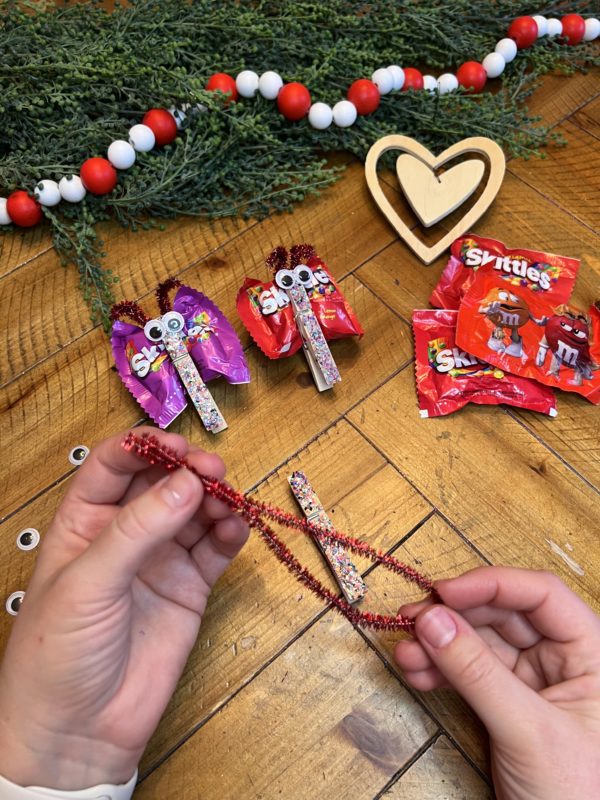
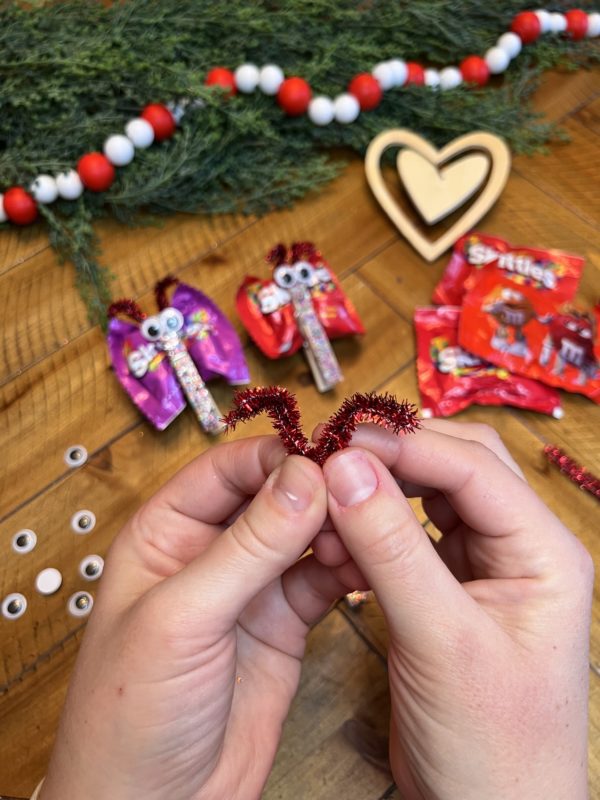
As the clothespins are drying, here you can start creating the love bugs “antennas”. I chose to go with a tinsel red pipe cleaner.

You will fold the pipe cleaner in half and twist together. Fold in half again and twist. Then you will bend down the tops at a angle to get that antenna look.

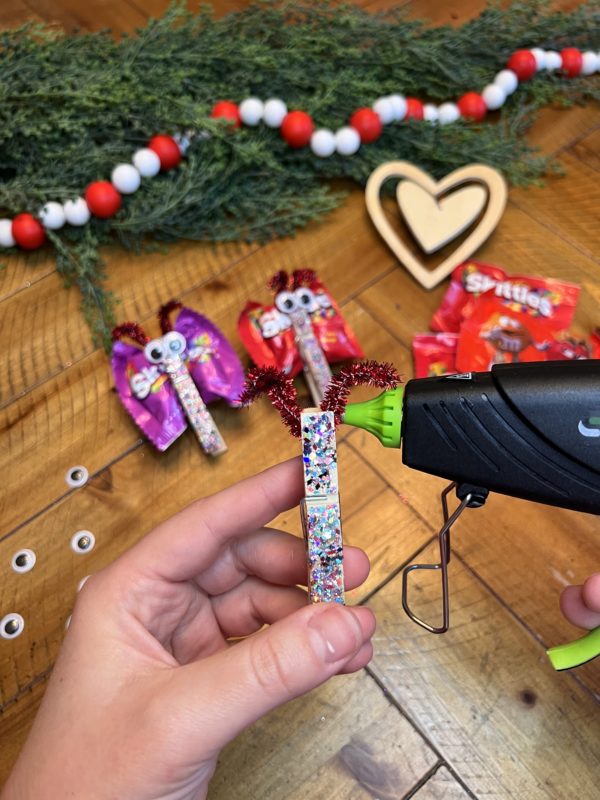
After shaping the “antennas” to your preference, use your hot glue to glue them onto one side of the clothespins’ opening. Apply pressure by closing the clothespin. This will help ensure a good hold

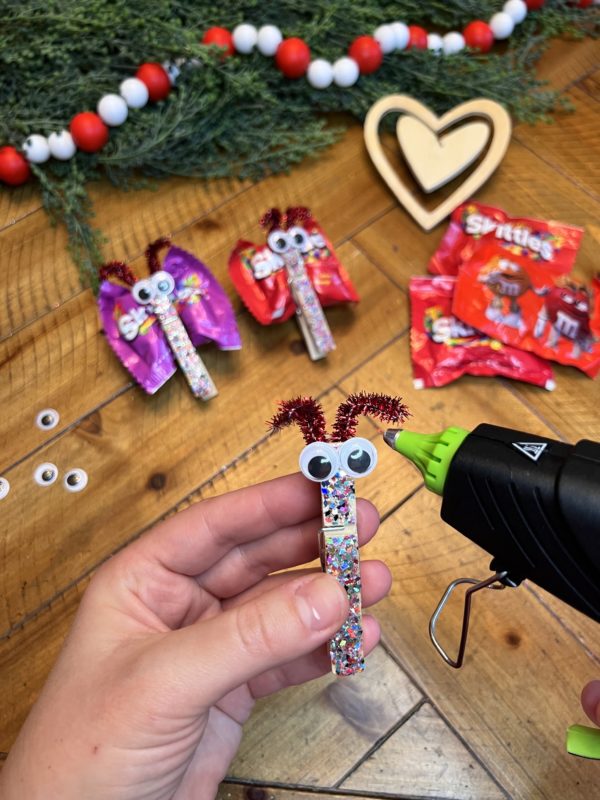
Grab some fun googly eyes and glue into place on the top near the opening of the clothespin. Here i went with the 10mm googly eyes.

Fill it with your favorite bagged candy for the wings! Then you are all set. Hand out to your family, classroom friends, and any others that might need a smile on Valentine’s day!

Continue Reading
Change Your Country
Please select your country, this will change the site to your country's currency:

Cancel