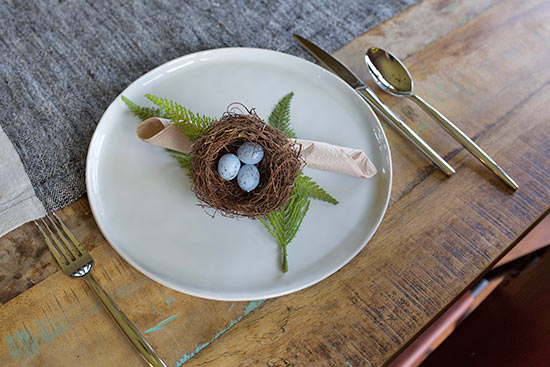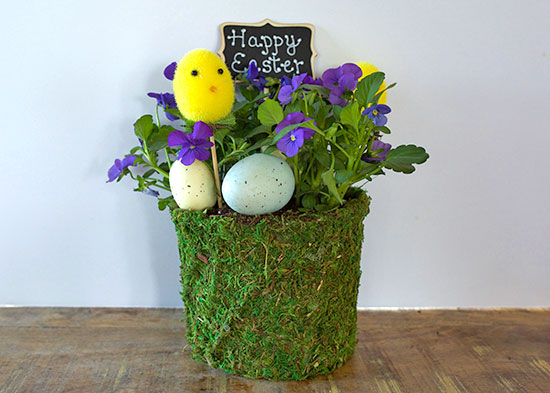
Dress up your spring flower pots with this quick and easy tutorial! In just a few minutes, you can transform a plastic container into an adorable spring decor piece. Place it on your table as a centerpiece or outside your front door to welcome guests.
Difficulty level: Beginner
Time to complete: 15 minutes
Age range: 8 and up
Things you’ll need:
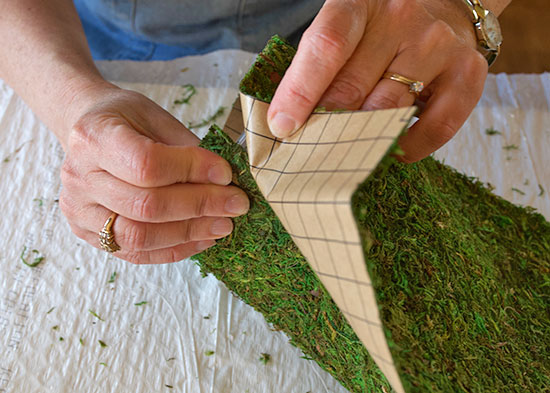
Peel and stick moss
Plastic container
Flowers
Potting soil
Scissors
Chalkboard sign
Chalk pen
Eggs
Spring chicks
Things to do:
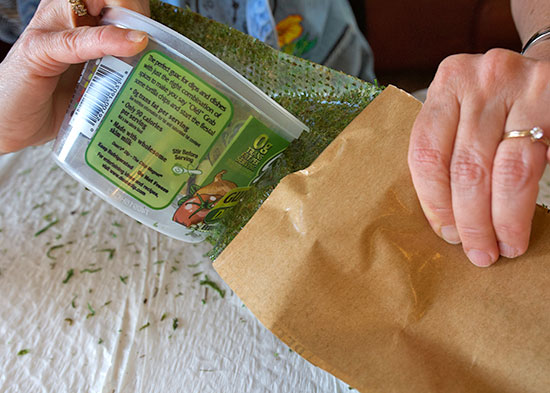
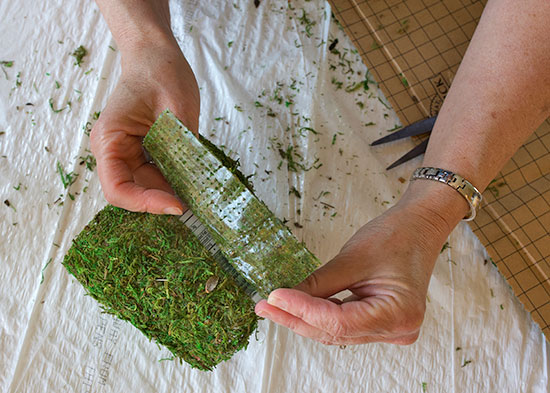
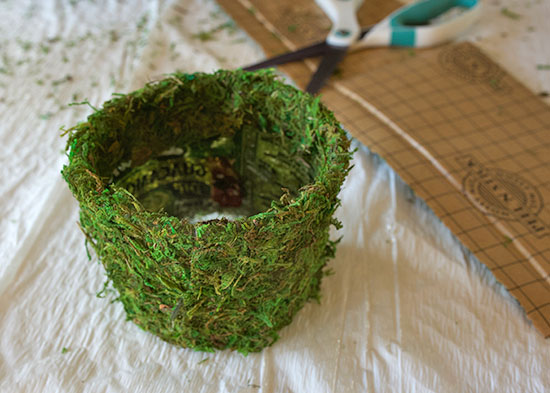
- Peel the sticky back off of your moss sheet and wrap it tightly around your plastic container. If there is any excess moss hanging over, fold it down into the container.

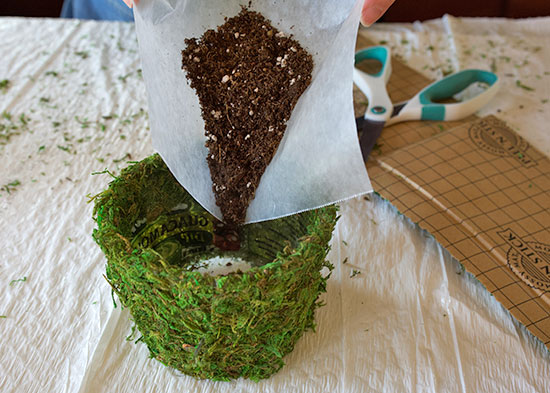
- Fill the pot with potting soil and plant your flowers.

- Write a message on your chalkboard sign and stick it down in the soil.
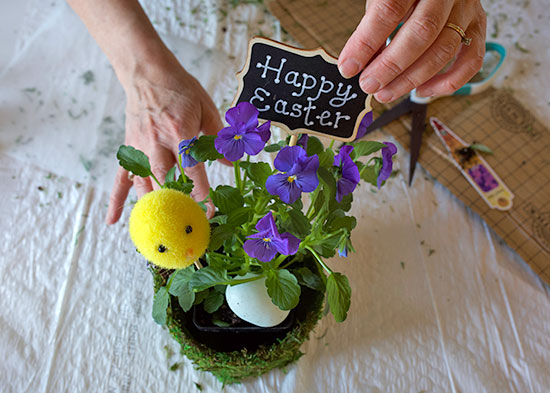
- Arrange your spring chicks and any other decorations in the soil.