
Search results
9 results found.
9 results found.
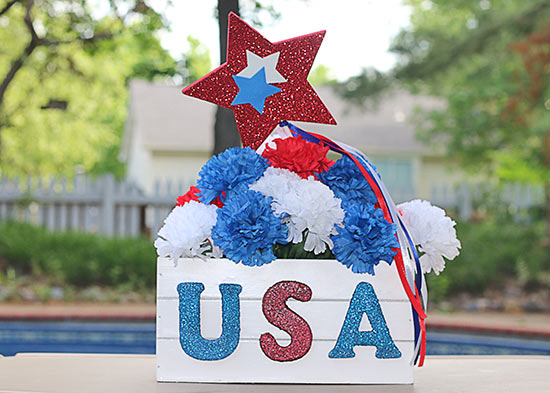
4th of July decor should be as sparkly as the fireworks. Here is how to create your own glitter 4th of July Centerpiece.
Difficulty level: Beginner
Time required: 1 hour of crafting plus paint drying time.
Age range: Adults
Things you’ll need:
Unfinished Wood Letter U
Unfinished Wood Letter S
Unfinished Wood Letter A
Foam Patriotic Star Wand
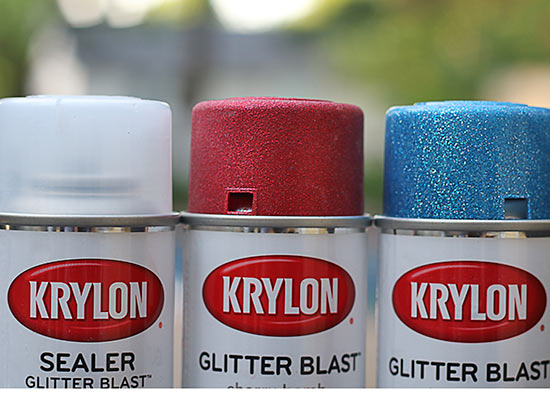
Krylon Glitter Blast Sapphire Shimmer Glitter Spray Paint
Krylon Glitter Blast Cherry Bomb Glitter Spray Paint
Krylon Glitter Blast Clear Sealer Glitter Spray Paint
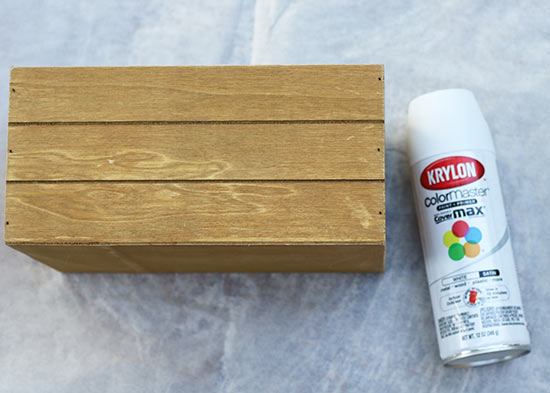
Krylon Color Master White Satin Enamel Spray
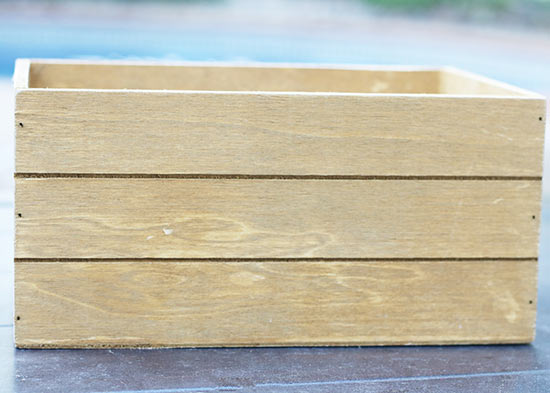
Rustic Brown Wood Crate
Styrofoam
Red, White and Blue Artificial Carnation Bush
Floral Cutters

Things to do:
1. Grab your wooden Crate and wipe clean of any dust or dirt.
2. Shake your white satin Krylon spray paint vigorously for two minutes and start spraying the back of the wooden crate. I always start on the back, as a test of how the color will turn out.
3. Allow the paint to dry. Once paint is dry, continue to paint other sides, including the inside.
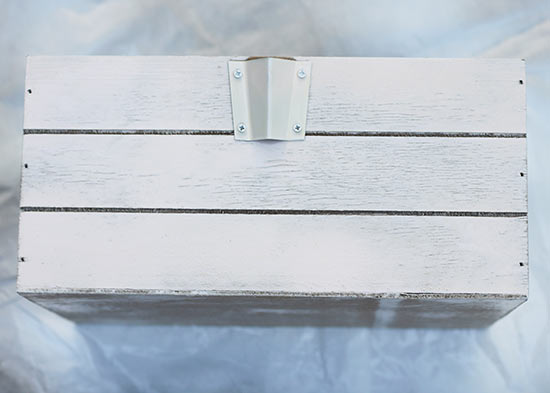
4. Repeat with a second coat on all sides.
5. It is VERY important to shake the Krylon Glitter Spray Paints vigorously for at least two minutes to mix the glitter and the paint together. You may want to test spray on your drop cloth or a sheet of paper to verify they paint and glitter are thoroughly mixed.
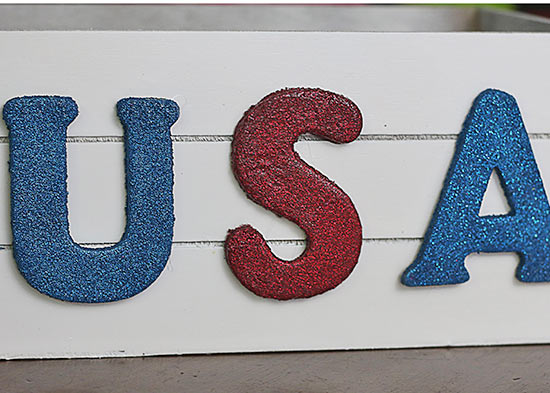
6. Paint the unfinished wooden letters U and A with the Sapphire Shimmer Krylon Glitter Spray Paint. Then allow the letters to dry.
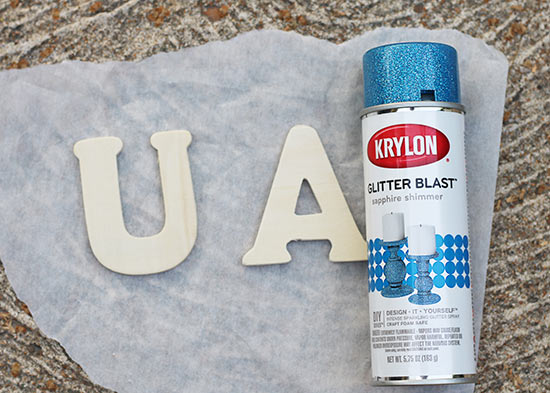
7. Repeat with desired about of coats. I love glitter, so I went with 3 coats, however 2 would probably be sufficient.
8. Paint the letter S with the Cherry Bomb Krylon Glitter Spray Paint. Then allow the paint to dry.

9. Repeat with desired coats. I, again, used 3 coats.
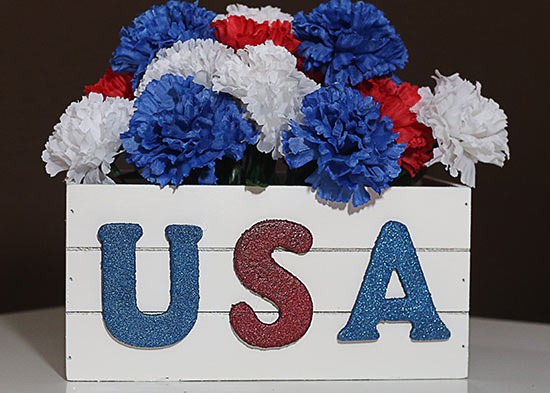
10. Once the unfinished wood letters are dry, set them on the front of the wooden crate where desired. You may measure to get exact measurements or eye it as I did.
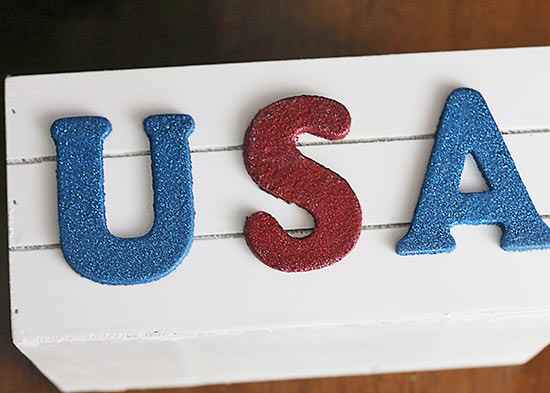
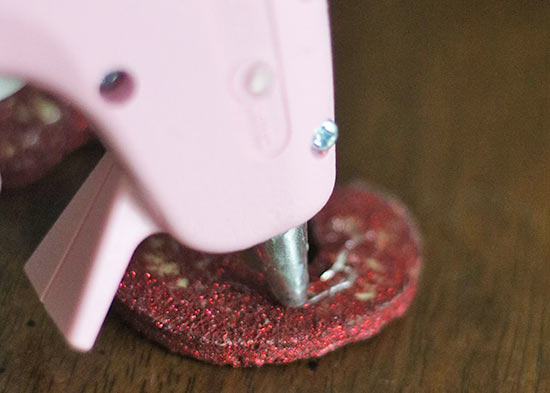
11. Turn on hot glue gun. Once the glue is hot, place a line of glue down the back of each of the letters, then place them on the wooden crate in desired location. Press each letter to the wooden crate for a few seconds to allow the glue to dry. Be very careful in placing the letters, once they are attached, they will be difficult to adjust.
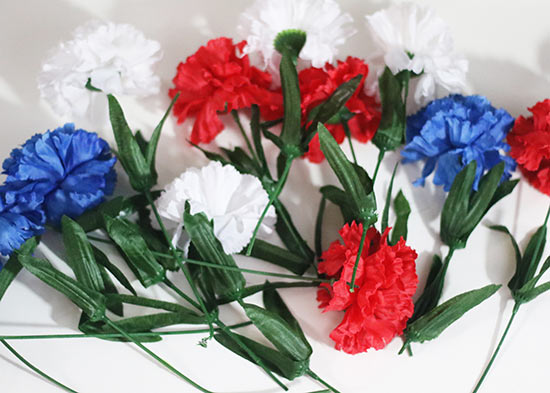
12. Allow the letters to dry and grab your red, white and blue artificial carnation bush.
13. With floral cutters, cut the stems of the artificial carnation bush. I suggest cutting them at long lengths, you may always shorten them later.
14. Place the styrofoam inside the wooden crate (cut to fit if necessary). Slide floral stems into the styrofoam to create desired look.
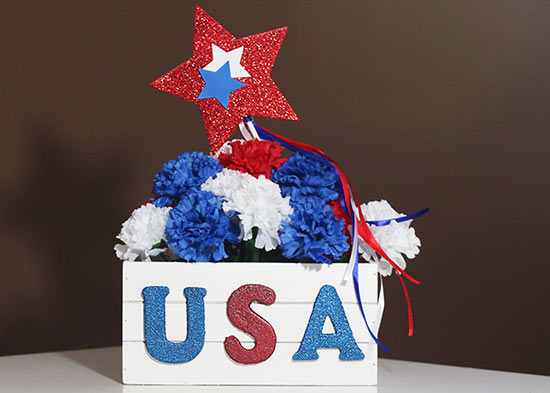
15. Behind the floral arrangement, place the foam star wand at an angle. Adjust ribbons to not cover the letters. Voila! You now have a beautiful sparkly 4th of July Centerpiece.

Whenever I host the 4th of July BBQ, I like to give my guests a little something special to remember the evening. There are a lot of options to choose from, such as photos from the event or small flags, but these things can be complicated or expensive. A few years ago, I started making these candy goodie bags and they were a hit with my guests! The process is simple, inexpensive and they add a nice handcrafted touch to your party. To add an additional element of charm to your party, decorate a wicker basket with colorful ribbons and store your goodie bags in the basket as a decoration, letting your guests pick them up throughout the event. Have fun experimenting with a wide variety of candies and materials to create a look that is unique and beautiful that your guests are sure to love!
Difficulty level: Beginner
Time required: 10 minutes for a set of 10 favors
Age Range: 8 and up
Things you’ll need:
Tulle
Scissors
Measuring tape
Candy
Sparkly pipe cleaners in several colors
Things to do:
1. Measure a 6″ x 6″ square of tulle and cut it out. Try to keep your edges straight, but don’t worry about tracing and cutting a perfect square. We will trim the excess later.

2. Place a small amount of candy in the center of the tulle. Choosing pieces of candy that won’t melt is a great idea, especially during summer months, because it will keep the potential mess to a minimum.

3. Lift the outer corners of the tulle until they meet in the center and secure them with pipe cleaners. Using several pieces of different colored pipe cleaners creates a really neat look.


4. Trim any excess tulle from the top of the goodie bag.
