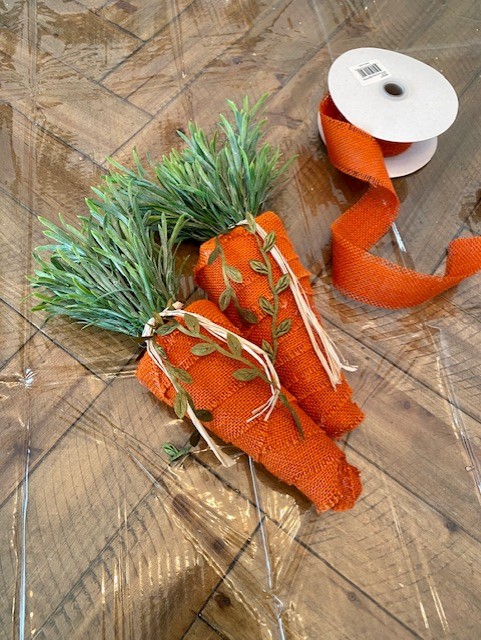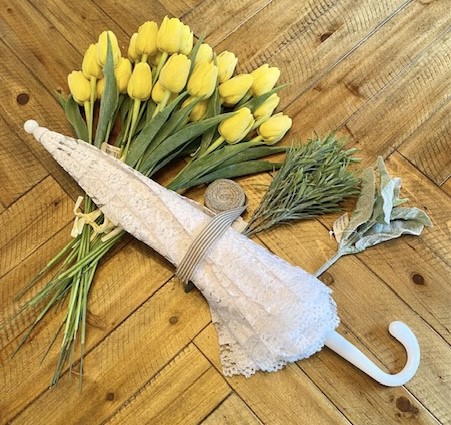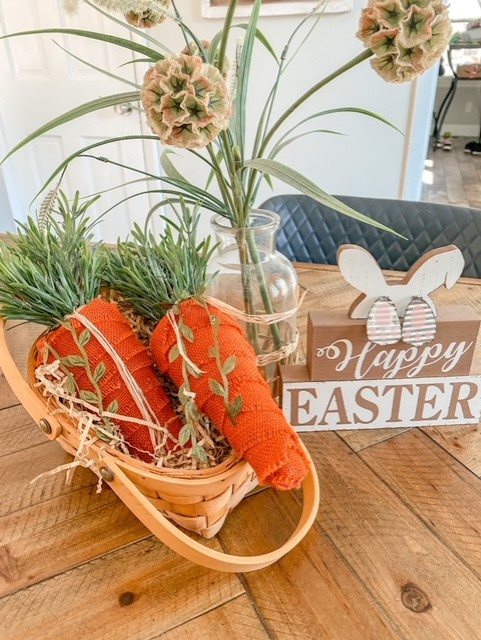
Did some bunny say carrots? Spring is inching closer! Let’s craft these adorable carrots for pops of colors this Easter and all spring long. This project is simple, affordable, and just plain cute!
Difficulty level: Beginner
Time to complete: 20-30 minutes
Age range: 12 and up
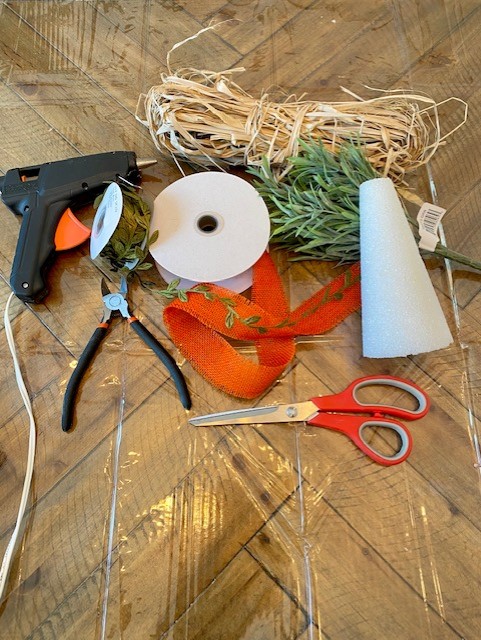
Things You’ll Need:
1 spool Orange Fringe Burlap Ribbon
1 package Natural Dried Raffia Ribbon
1 set of Artificial Matai Greenery Pick
Things to do:
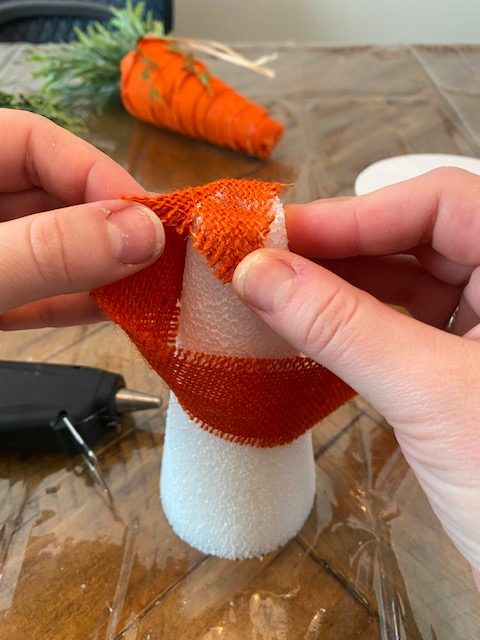
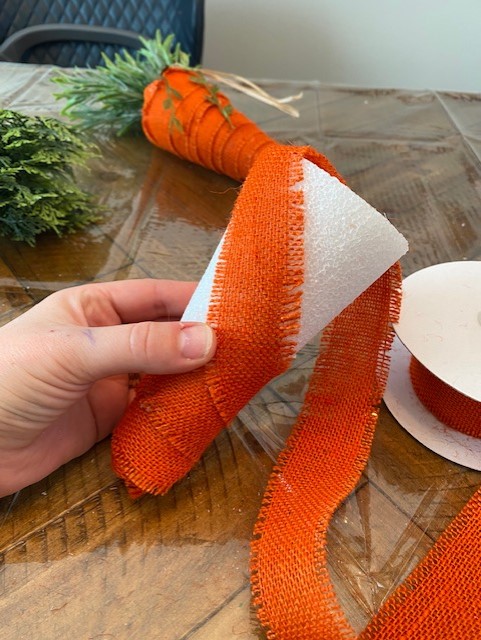
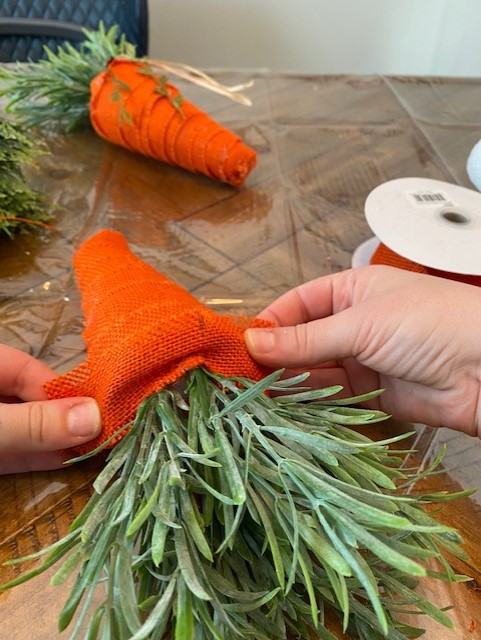
- Start with wrapping the cone. Glue the orange burlap ribbon to the top of the smaller end of the Styrofoam cone. Once dried, fold the burlap slightly, which allows you to then cover the rest of the top. From there, start wrapping the ribbon around until approximately 1/4 inch down. From there take the ribbon and wrap the bottom once and glue. This will then allow you to bring the ribbon back up to finish the rest of the wrapping, without having to cut the ribbon.
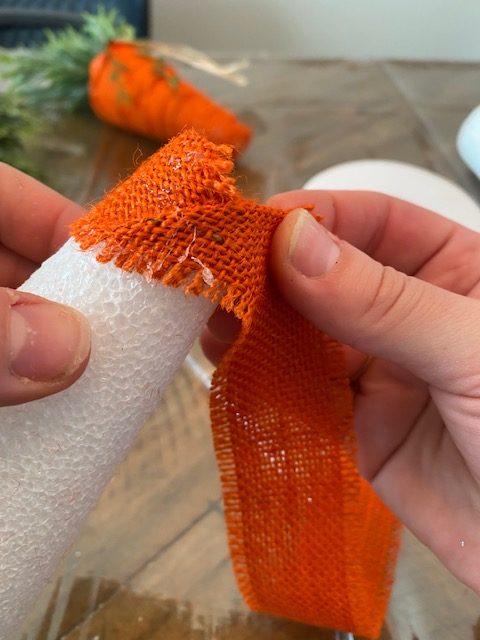

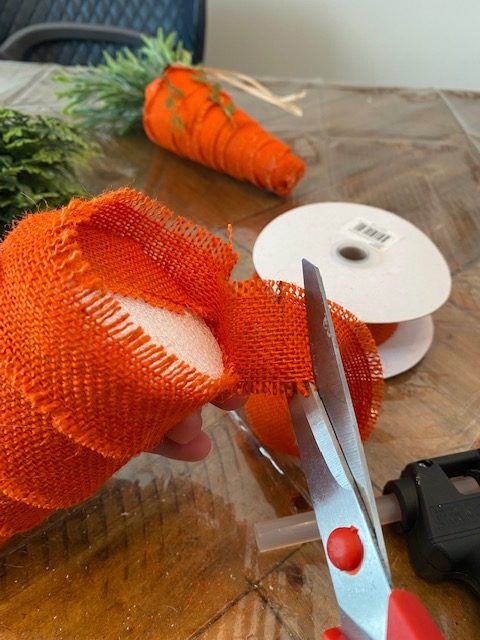
2. Once all wrapped, you can then go back with the glue gun and glue down any of the ribbon that is loose.
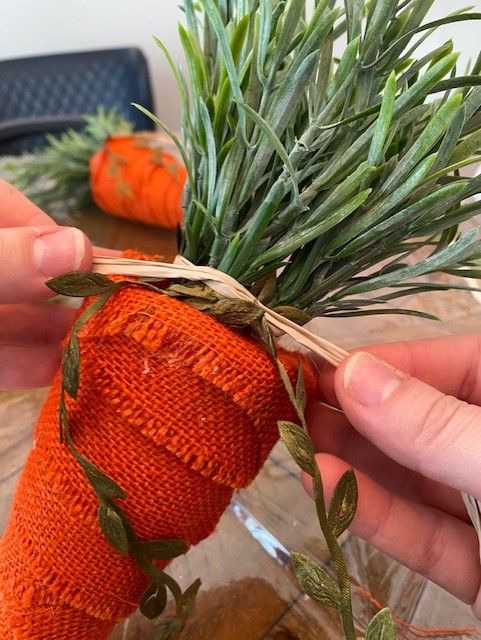
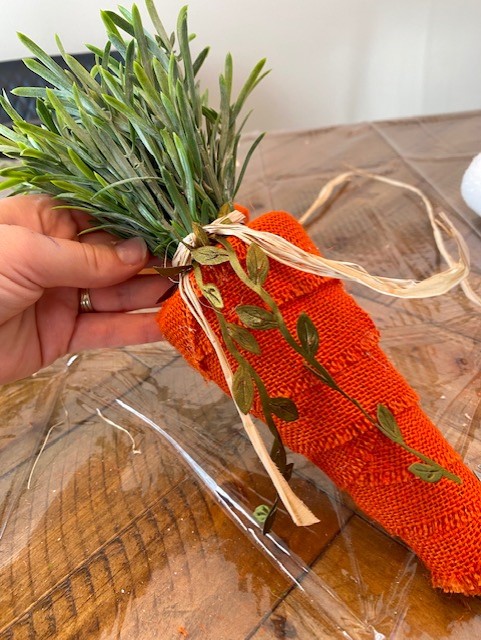
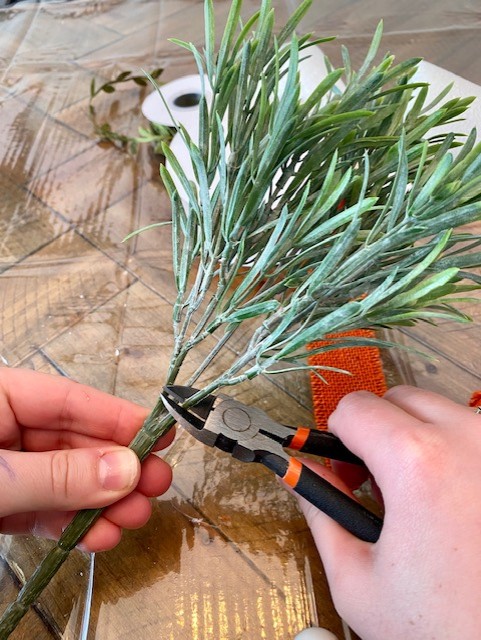
3. Now take the Matai picks and clip off each individual stem with the wire cutters. It took one matai pick for each carrot made.
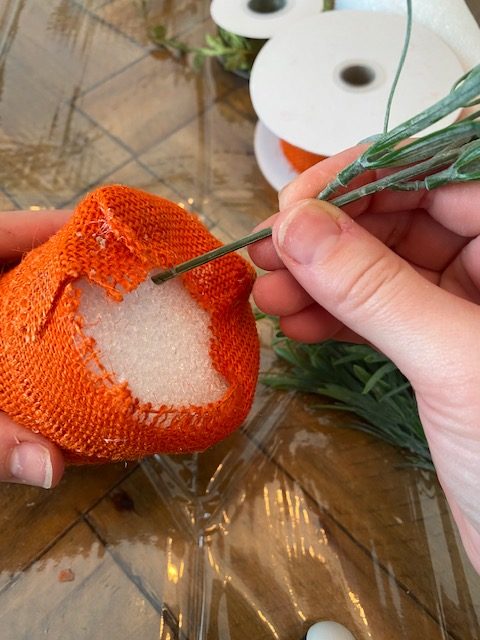
4. From there, you will then insert the individual stems at the top of the carrot at a diagonal. You may need to cut a slit in the ribbon if having an issue getting the stems through.
5. After the stems are placed, take a strip of orange burlap ribbon to cover up any Styrofoam that may still be showing around the top and edges.

6. Lastly, take the raffia and cut off a few strands to then tie around the top of the carrot or get creative and use any other decorative ribbon to help finish off the carrot.