Difficulty level: Beginner
Time required: 45 minutes
Age range: 8 and up, with adult supervision using the sewing needle
Things you’ll need:
Assorted colors of felt
Disappearing ink marker or other marking tool such as chalk
Scissors
Grid ruler
Sewing needle and thread
Ribbon
Things to do:
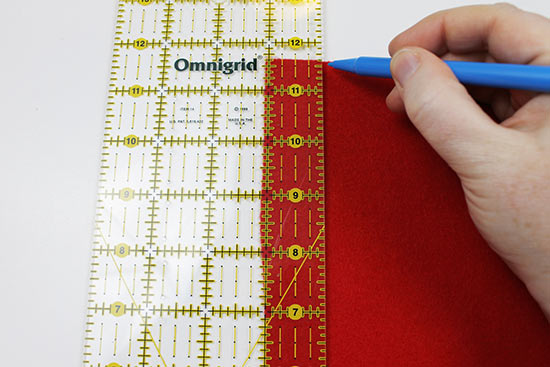
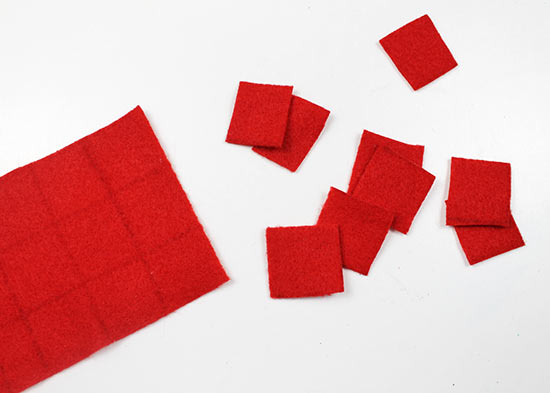
1. Grab a grid ruler (or any other type of ruler) and measure 1″ across the edge of a piece of felt. Using a marking tool, mark the 1″ across. Continue to make 1″ increment marks across the piece of felt.
2. Place the ruler perpendicular to the marks you made in step 1, then mark 1″ increments across the felt once again.
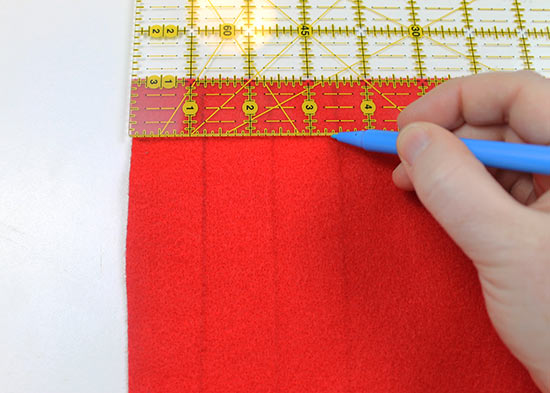
3. Use scissors to cut along the lines you made. Your 1″ squares don’t have to be perfect!
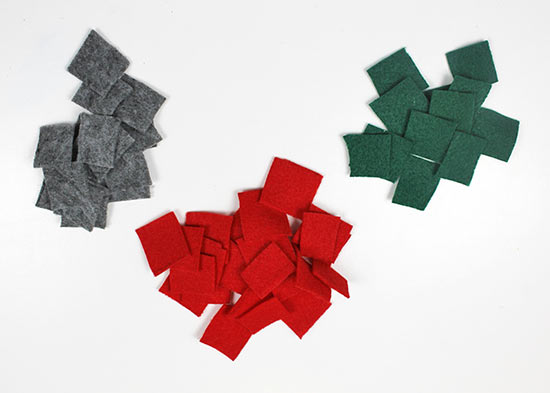
4. Repeat steps 1-3 for as many different felt colors as you’d like. We used red, green, and gray, but you can certainly create your own palette. Don’t worry about cutting the exact amount of felt; if you find you need more later, you can always repeat these steps to create more squares.
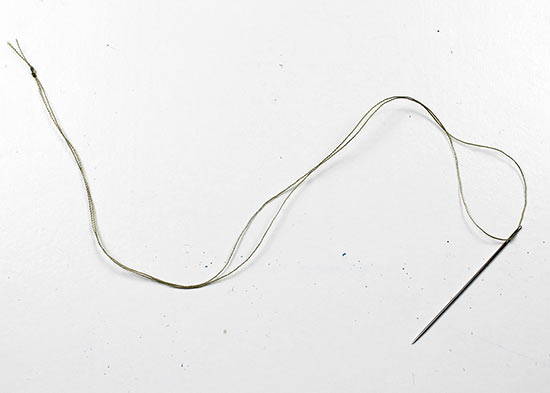
5. Cut a long strand of thread that’s twice the size you want your wreath to be plus 3-4″ extra. Thread a sewing needle with the thread, doubling the thread so that there are two strands. Knot the ends together near the tails.
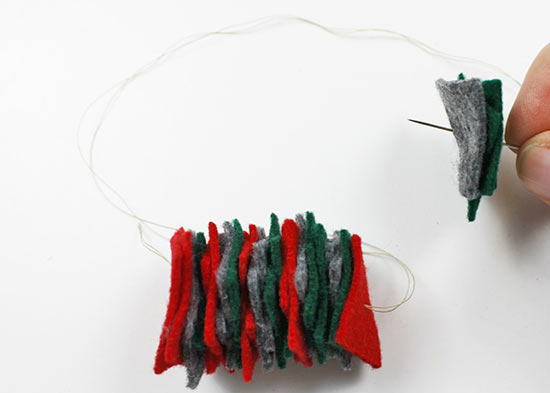
6. Pierce the center of a felt square with the sewing needle, then slide the square near the thread tails.
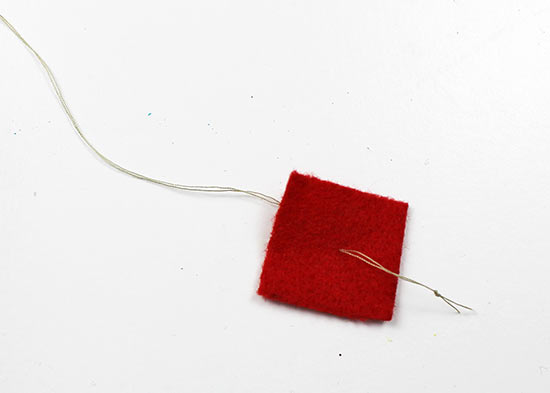
7. Continue adding felt squares, alternating colors if you’d like. You can even pierce and stack three or four squares at a time to speed up the process.
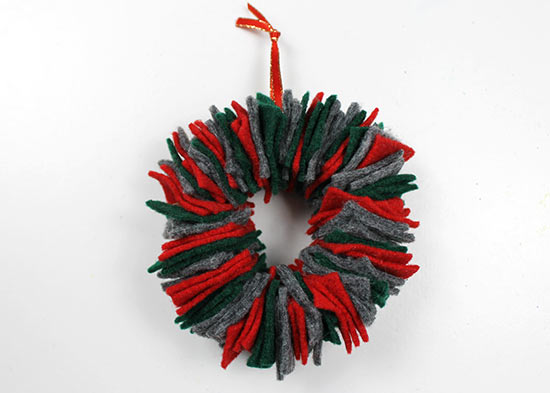
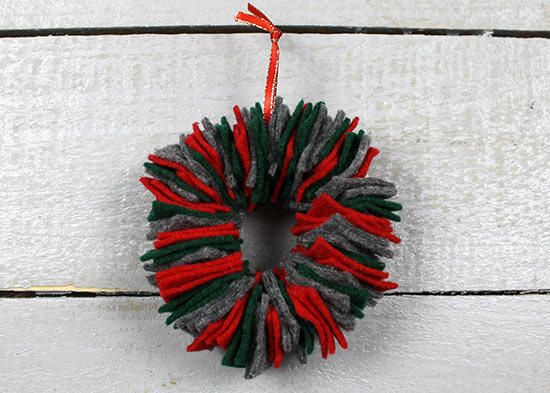
8. Add felt squares until your wreath is the size you’d like.
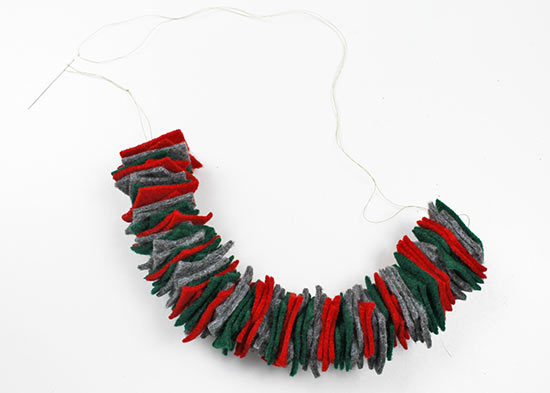
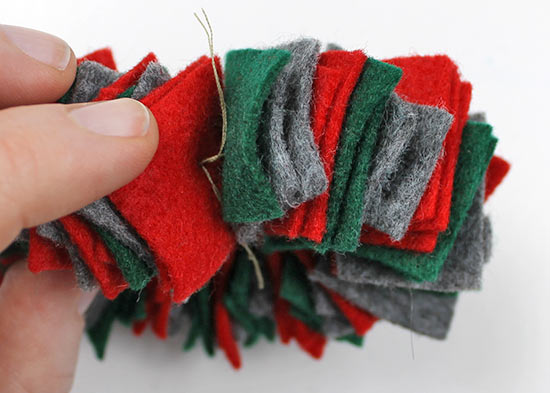
9. Tie the thread in a double knot nestled between the felt squares, then trim the ends so they are hidden in the felt.
10. Cut a 5-6″ piece of ribbon, then wrap it around the felt squares. Move the felt so that the ribbon rests inside the squares.
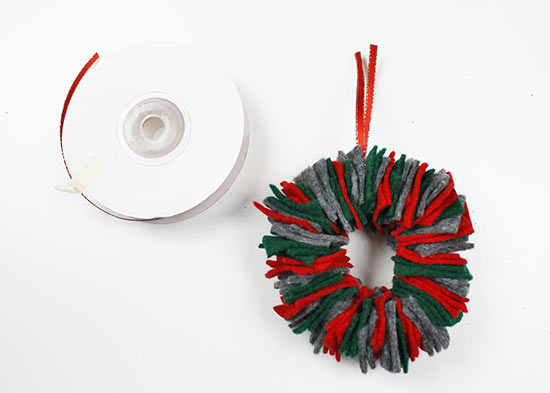
11. Tie a knot in the top of the ribbon to use it as a hanger. Hang your mini wreath on the wall or as an ornament on the tree.