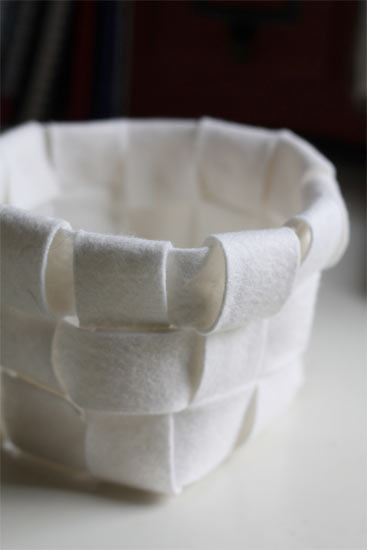
I love to have baskets of all sizes around the house for all of my in progress” projects. Big ones for big, or multiple projects and small ones for the little crafts. This woven felt basket could really be made any in any size; you would just use more or less felt. For my basket, I wanted something just big enough for a ball of yarn and one of my smaller knitting projects (I’m into socks at the moments!) Perfect for toting around the house and keeping that ball of yarn from rolling all over the floor.
Things you need:
Flat bottomed container, about the size of the finished basket you are looking for
Wool Felt, 1/3 yard
Scissors
Clothespins or binder clips (about 15)
Hot glue gun and glue sticks
Ruler
Things to do:
1. Cut the felt into long, 1-inch wide strips.
2. Flip the container over so that the bottom in up. Lay strips across going one direction until you have the bottom mostly covered. Weave strips the opposite direction and drape all the tails around the container.
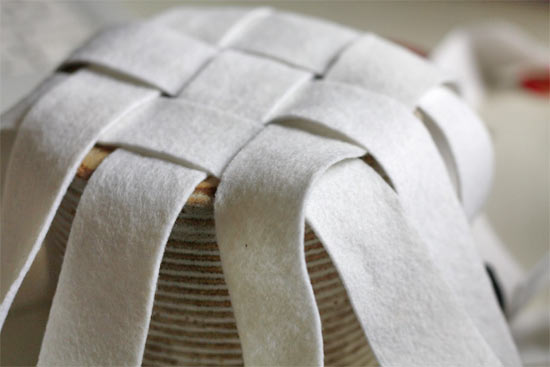
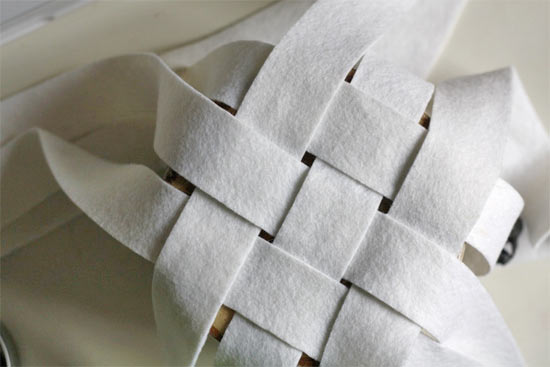
3. Carefully flip the container and felt over. Pull each tail up to the top edge of the container and secure with a clip. You want these fairly tight.
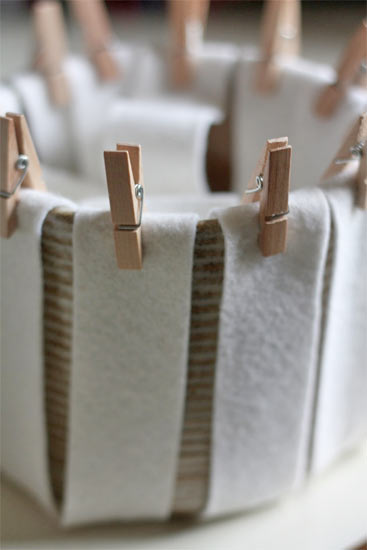
4. Starting along the bottom edge of the container, weave a new strip in and out of the upright strips. You may need to remove the clips and replace them as you go. You want the strips to lie snugly against each other. As you reach the end of each strip, glue the two ends together and trim so that the join lays under one of the upright strips.
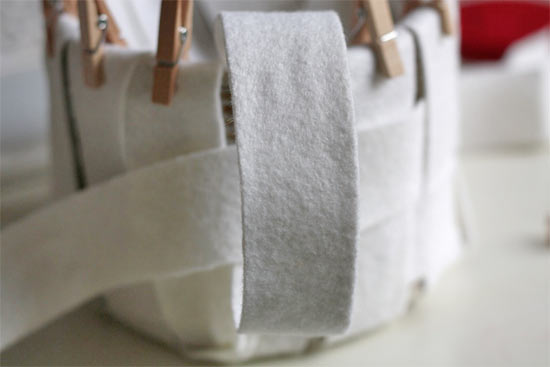
5. Continue until you have reached the top.
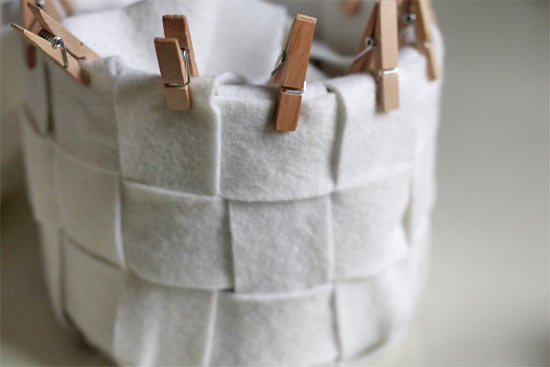
6. Gently remove the container from the felt basket.
7. Finish off the top of the basket as follows:
For strips that finish off as overs” bring the excess around the top and trim so that there is just enough to securely tuck it under the backside of the top strip. Apply a few dots of glue to hold it in place.
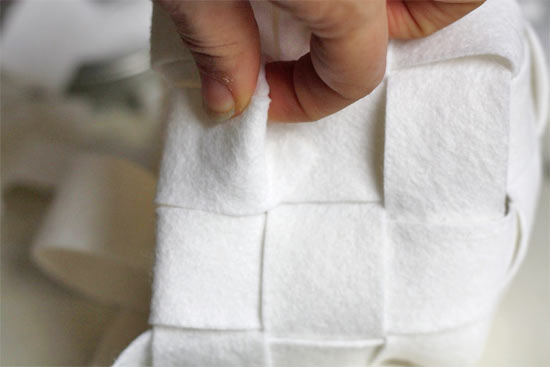
For strips that finish off as unders”, bring the excess over the top and trim so that they can be tucked under the top strip on the front side, the opposite of the overs” Both types of ends should be tucked away so that they cant be seen. This creates a seamless finish.
1 Comment
First time to check out yout site. i like it very much. Alot of interesting idea’s. Thanks for the information. Will be returning to check out craft idea’s. Thanks for being on FB.