Add to your rustic holiday decor with this woodland inspired snowman. You can customize the fabric colors to match your home’s color scheme and play with different patterns to create a full set to dress up your shelves during the holiday season.
Difficulty level: Beginner
Time to complete: 15 minutes
Age range: 12 and up
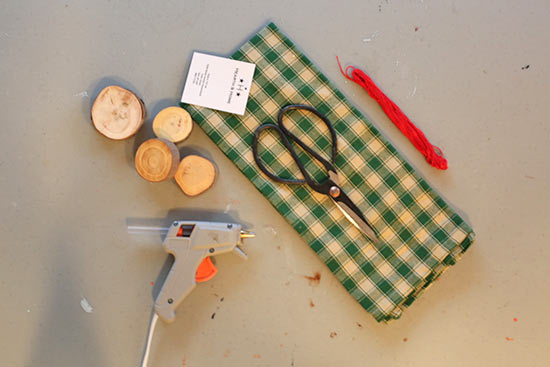
Things you’ll need:
Fabric
Scissors
Hot glue gun and glue sticks
Four wood slices
Embroidery floss
Things to do:
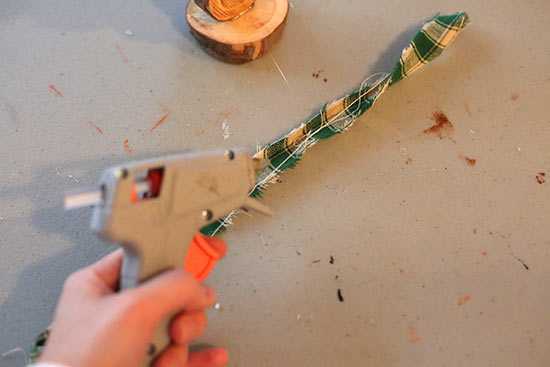
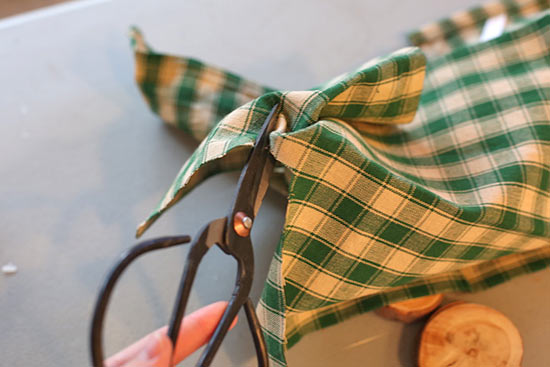
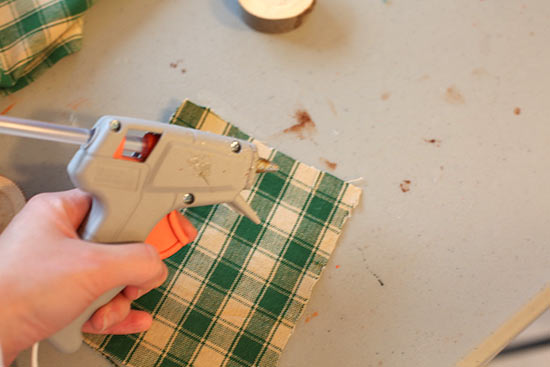
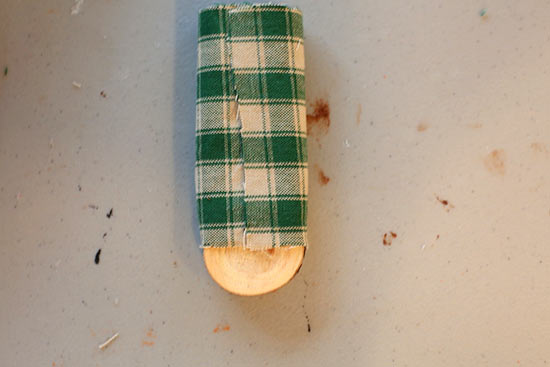
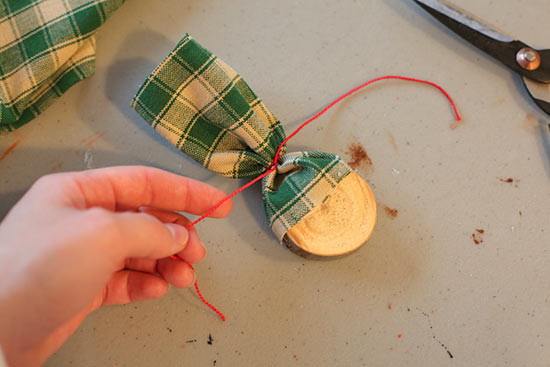
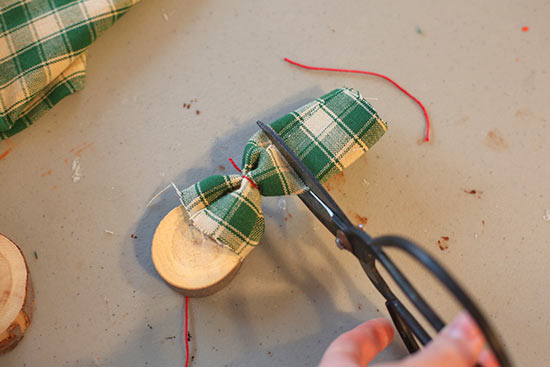
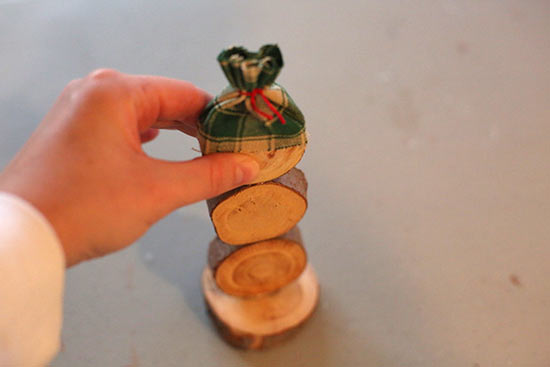
1. The first step is making the hat for your snowman. Cut a 5 x 5 inch piece of fabric and use hot glue to attach the sides. Knot a piece of embroidery floss around the top and trim any excess fabric. Use hot glue to attach it to the head of your snowman.
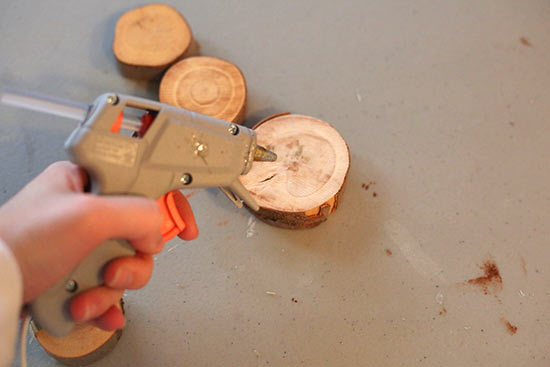
2. Next, it’s time to build your snowman! Lay one log slice as a flat base and use hot glue to stack the remaining log slices on top of each other.
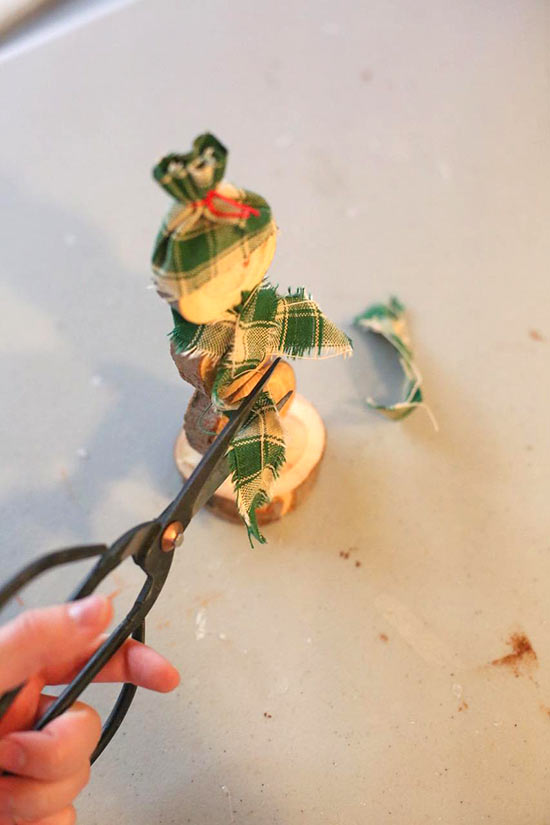
3. The final step is adding a scarf! Cut a strip of fabric and use hot glue to attach it around the neck of your snowman. Trim the edges, so they’re even.