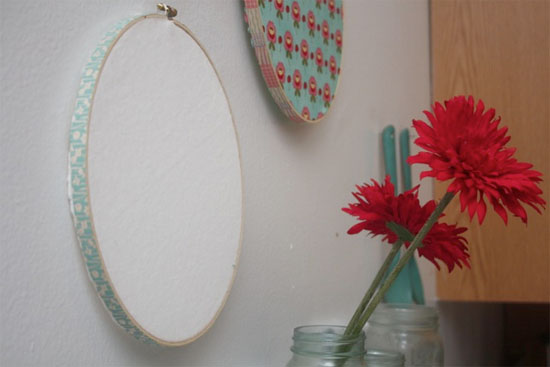
While I’m not the best when it comes to actual embroidery (I’m working on it though) I do use embroidery hoops to display pretty fabrics around my house and as much as I love the simplicity of a hoop, sometimes they can look a little plain. A little washi tape, however, is just the thing to turn those basic hoops into something spectacular.
Things you’ll need:
Washi tape
Embroidery hoops
Bone folder
Things to do:
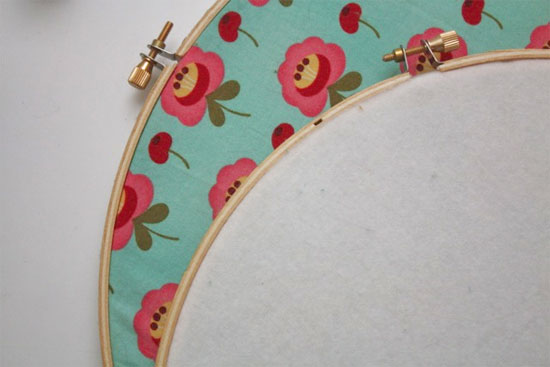
1. Cut the end of the tape neatly and tuck it under the screw so that the edge lines up with the front edge of the hoop and butts up against the screw bracket.

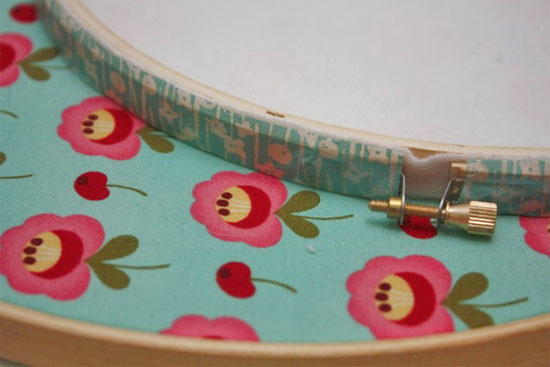
2. Smooth the tape on, continuing to keep the edge lined up neatly with the front edge of the hoop, until you have made it all the way around the hoop. But the tail end up against the screw bracket on the other end the same way you did the first.

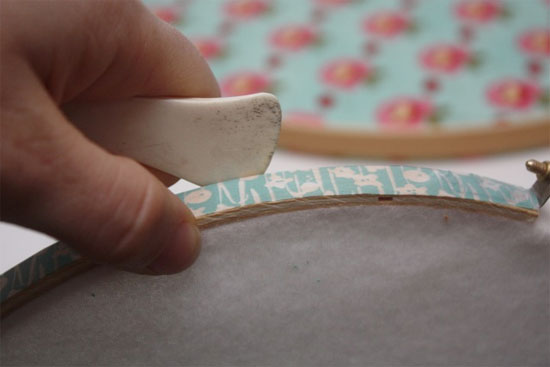
3. Rub down the tape, working out any bubbles and then use the bone folder to smooth the excess to the inside of the hoop, pressing down firmly.

This project is best for hoops that already have fabric mounted in them rather than for in progress projects.