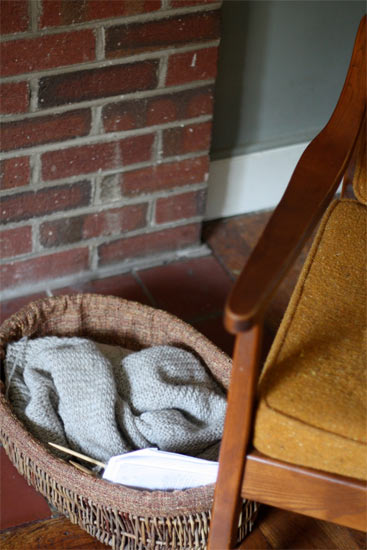
I don’t know about you, but my varied projects, especially my knitting and sewing projects, seem to wind up all over the house, and they are never where I think they are going to be. In order to help tame my crafts a little and keep things in one place. I decided I needed a work basket that can have its home right next to my favorite chair.
I rescued just the right size basket from a pile on the curb the other day and decided to give it new life, and a little makeover, and turn it into some much needed craft storage. If you have a tired old basket hanging around one of your closets and an overflow of crafts, why not fashion a work basket of your own?
Things you need:
Basket
Burlap Fabric or Scrap Fabric – at least twice as much as the size of the bottom of your basket
Spray Paint – the color of your choice (optional)
Sewing machine
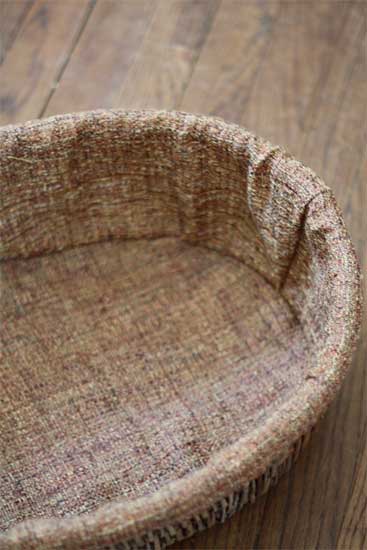
Scissors
Needle, thread and pins
Buttons and ribbon or elastic scraps (optional)
Things to do:
1. Begin by giving your basket a good cleaning. Even a basket that is new or is in regular will be a little dusty, and that dust will prevent the paint from adhering well to the basket material and make your fabric dirty. Wipe with a sponge dipped in warm soapy water and rinse. Allow the basket to dry completely before proceeding.
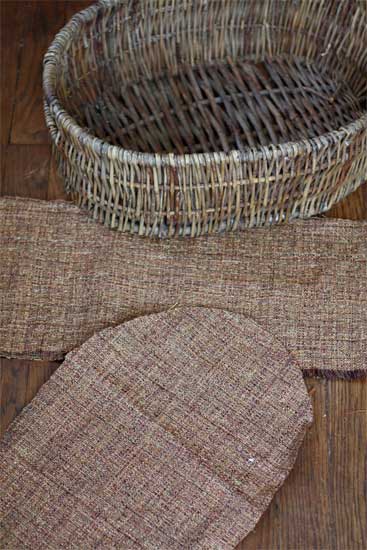
2. Set your fabric on a work table. With the bottom of the basket down, trace around the base and cut the shape out. This will create the bottom of your basket liner.
3. Cut strips from the remaining fabric three inches wider than the depth of the basket to build the sides of the basket.

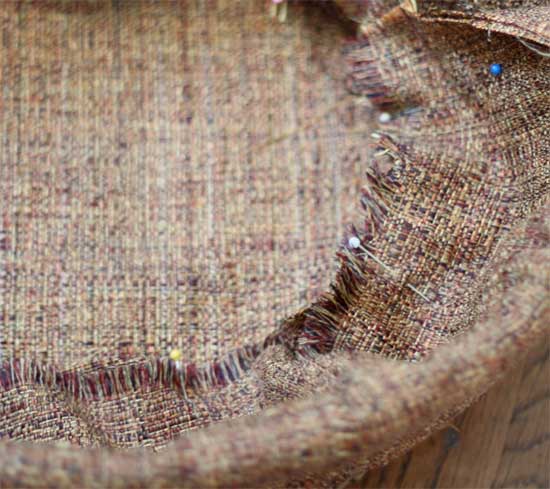
4. Drape the strips around the inside walls of the basket with the wrong side of the fabric facing out to determine the length and placement of the sides of the liner. Drop in the bottom piece in and pin the sides to the bottom. Angled sides can be compensated for by creating small tucks or folds where the side strips meet the bottom piece. The liner does not need to be tight, just fitted enough to cover the inside of the basket without a bunch of excess fabric for your tools to get lost in.

5. Remove the pinned fabric and stitch the sides and the bottom. Hem the top edge to keep it from fraying.
6. If your basket is faded or the color is not what you want, a coat of spray paint is a fast fix. In a well ventilated area, spray your basket with paint using light, thin passes. It’s better to have several thin coats than one thick one that is likely to drip. Allow the paint to dry between coats and paint both the inside and out of your basket.
7. Insert the liner, folding the top edge over the side of the basket to keep it in place. If you want to add small tool storage, attach buttons for cable needles and sewing needle cases to hang from and lengths of ribbon and elastic to tuck spools of thread, knitting needles or small scissors into to keep them handy.
