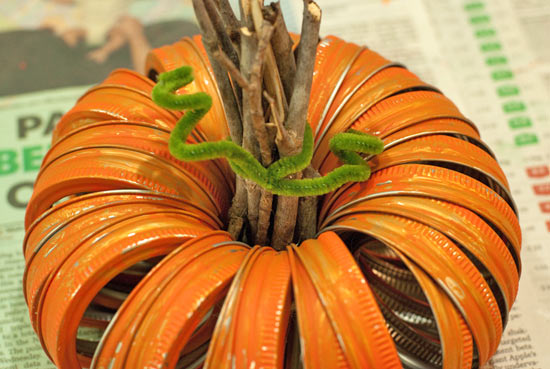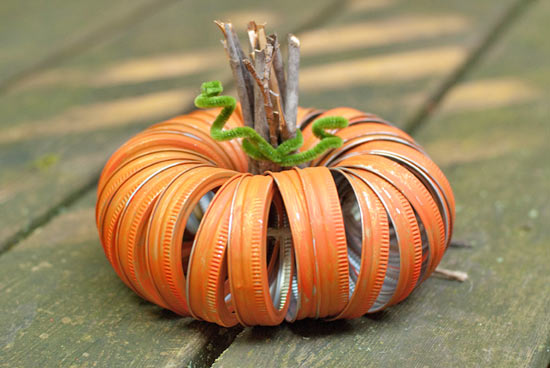
A little bit whimsy, a little bit country – this adorable canning lid pumpkin will look just as at home on the porch as it will look on the mantel! Painting it orange is the fast way to make this look its best – but don’t worry about leaving it out to rust a little – it will have more interest and dimension that way. After all, rust is orange!
Difficulty level: Easy
Time required: 2 hours (includes drying time)
Age range: 10+
Things you’ll need:
Canning jar replacement lids
Orange acrylic paint
Paint brush
Jute twine
Green pipe cleaners
Twigs (found in your yard or elsewhere)
Hot glue gun and hot glue
Scissors
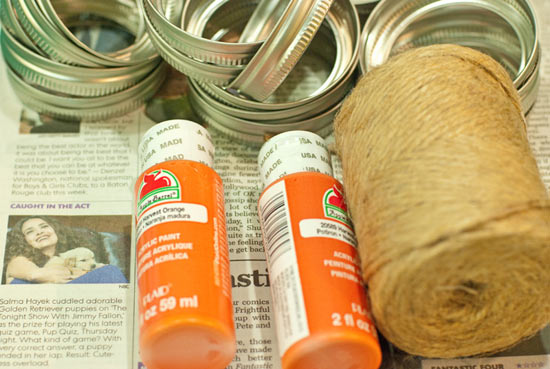
Things to do:
1. Select about 30 lids. Separate the screw top portions from the flat lids, and set the flat lids aside. We won’t be using them for this project. Paint the outside of the screw top lids (we’ll call these lids” for the remainder of the project) with orange paint.
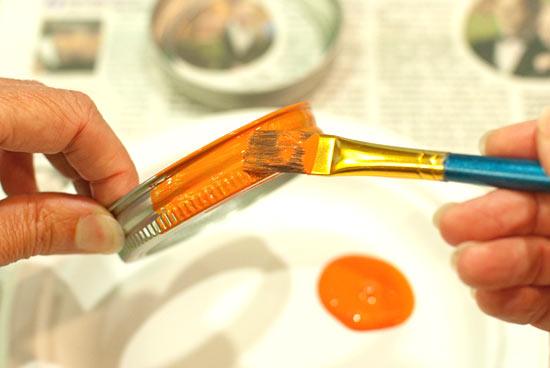
2. Allow the lids to dry.
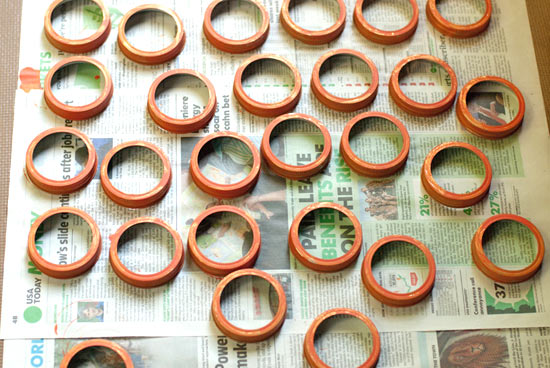
3. Cut a piece of jute twine about 36″ long. You can trim it later. Slide the lids onto the twine.
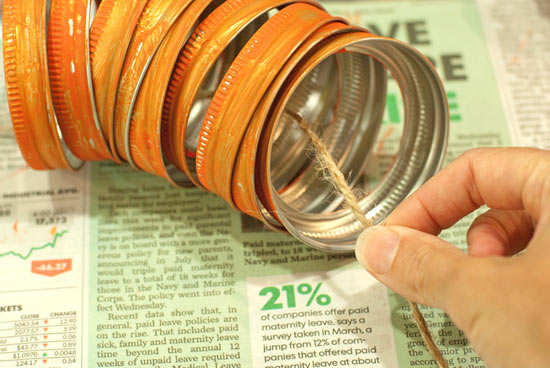
4. Once you’ve loaded up about 30 lids, make a circle with them to make sure the pumpkin is as full as you want it to be. You can always add a few more lids.
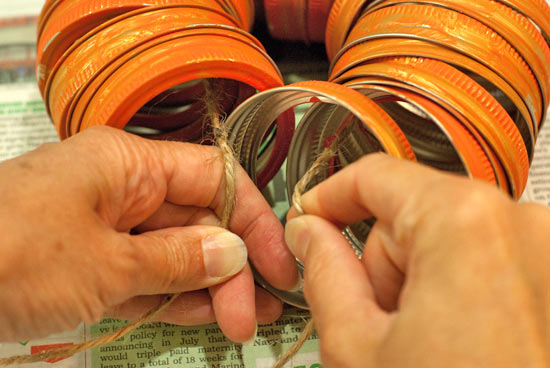
5. Tightly tie the jute so the lids remain in a close circle.
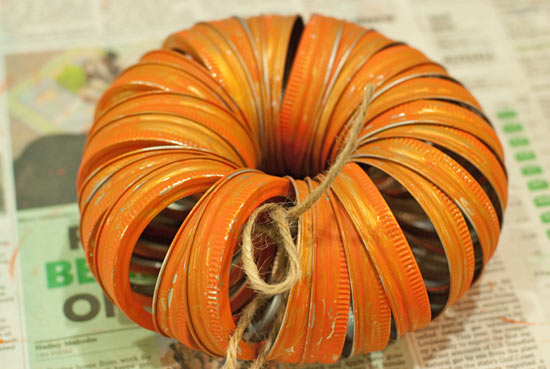
6. Warm up your hot glue gun. Snap your twigs into a manageable size that will go into the middle of the pumpkin but still stick out like a stem.
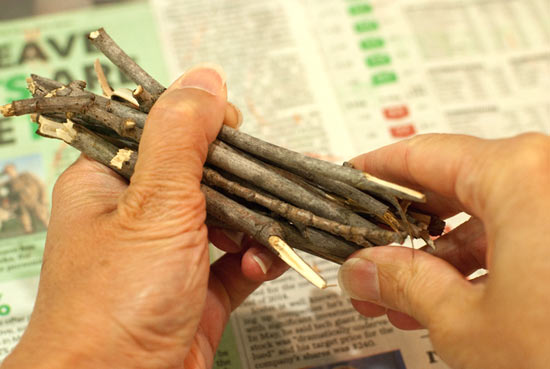
7. Glue the twigs together and then tie” with the pipe cleaner.
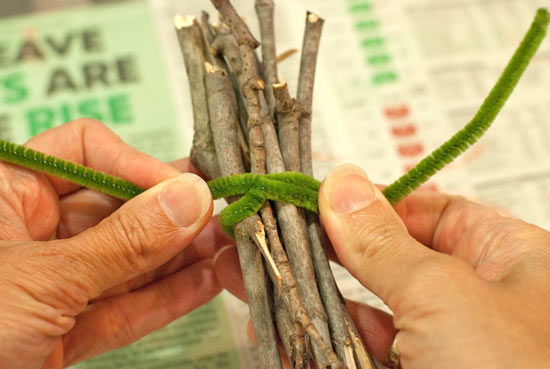
8. Set the twigs into the pumpkin to see if you like the height of the stem.
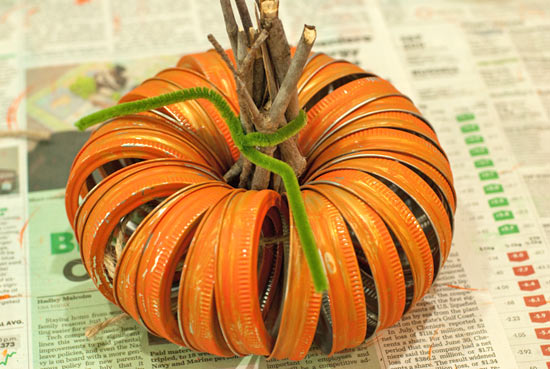
9. Twirl the pipe cleaner to give it a whimsical look.
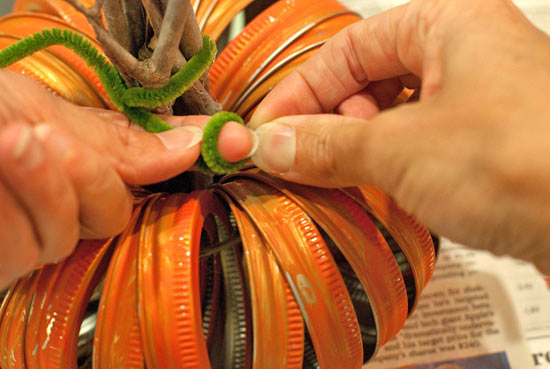
10. The twirls should spiral like this – and they’ll look just like tendrils. Enjoy your canning lid pumpkin!
