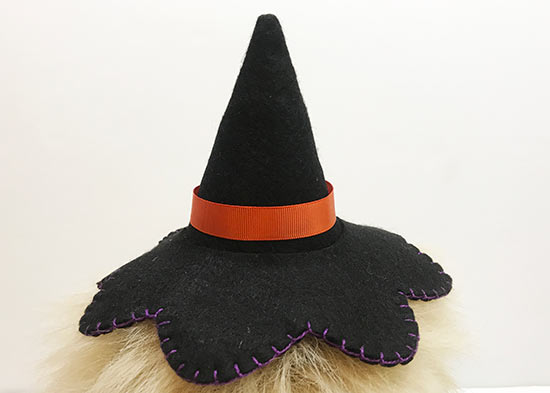
Make these felt witch hats to add to your Halloween decor. Or, use them for dress up with your favorite stuffed animals!
Difficulty level: Intermediate
Time required: 2 hours
Age range: 8+
Things you’ll need:
Felt
Ribbon
Embroidery thread
Hot glue
Hot glue gun
Scissors
Needle
Template 1
Template 2
Things to do:
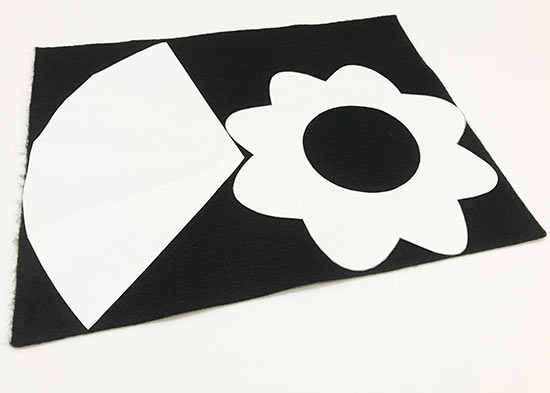
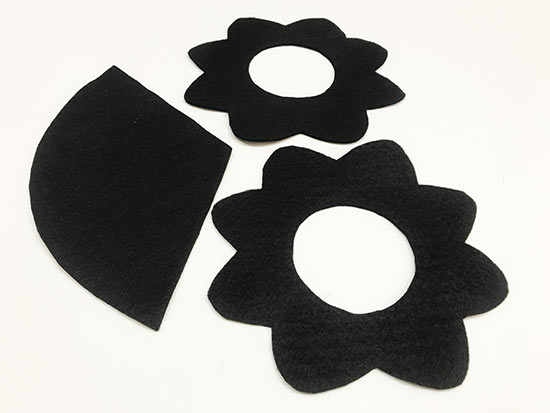
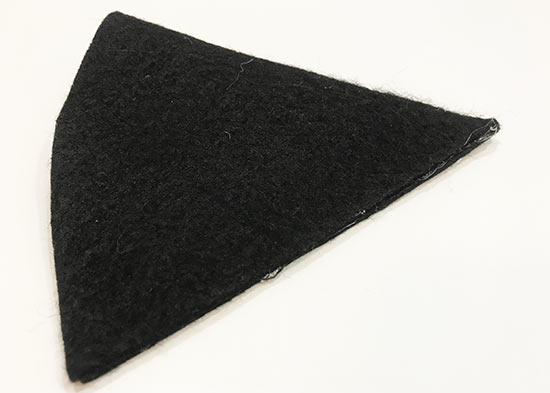
1. Using the template, cut the hat pieces from black felt. You will need one of the triangular/cone shape and two of the flower/circle shape.
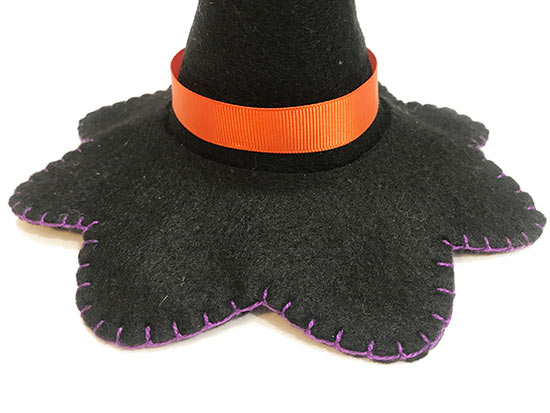
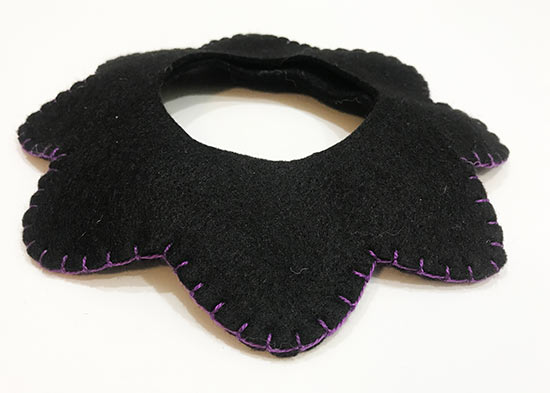
2. Line up the two circular/flower shapes and sew around the edges using embroidery thread to create the brim of the hat. Use a contrasting color for an extra pop!
3. Apply a line of glue along one flat edge of the triangular piece and fold the other flat edge over on top of the glue. Hold firmly until the glue hardens.
4. Flip the cone inside out. The “seam” will be on the inside. (Note: Make sure the glue is completely hardened/dry before flipping this piece or the seam will come undone.)

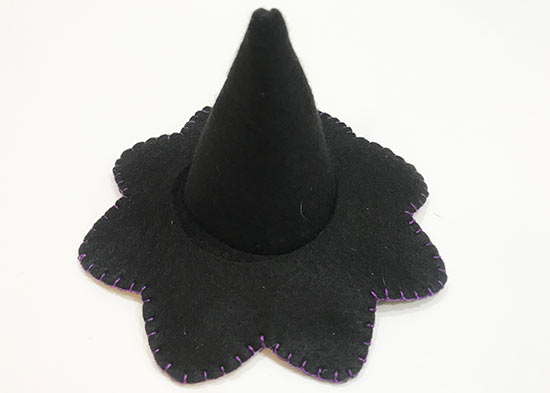
5. Slide the cone through the center hole of the hat brim. Glue in place on the under side of the hat, as desired, to hold the two pieces together.
6. Cut a length of ribbon long enough to wrap around the base of the hat. Glue the ribbon in place at the back of the hat, along the seam.