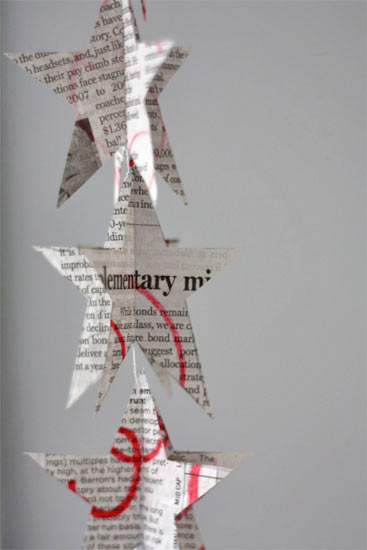
Here’s a little project that’s perfect for a rainy (or snowy) day inside with the kids (or even just you!) If you’ve got a sewing machine, scissors and yesterdays newspaper, you’re all set to go. The shape is really up to you as well, hearts or flowers or butterflies would all be lovely, but in the spirit of the season, we went with stars and added a little holiday color to make them extra special.
Things you need:
Newspaper
Scissors
Pens and pencils
Scrap of cardstock
Sewing machine and thread
Things to do:
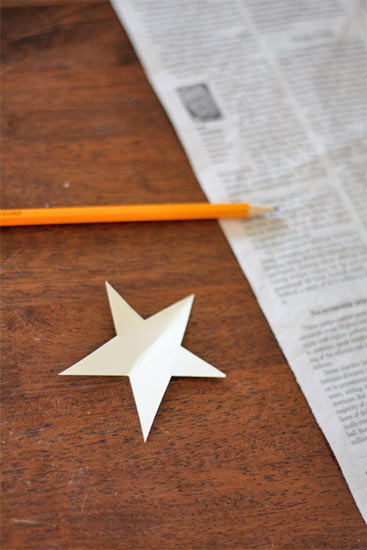
1. Begin by deciding what shape you want included in your garland and cut that shape out of the cardstock, this will work as your template for the rest of the project.
2. Trace the shape onto the newsprint, you’ll need two layers at least for each piece on the garland so to determine how many you need figure out how long you want your garland, divide that by the length of your shape and multiply by two. Or just wing it and trace until you run out of paper or patience!
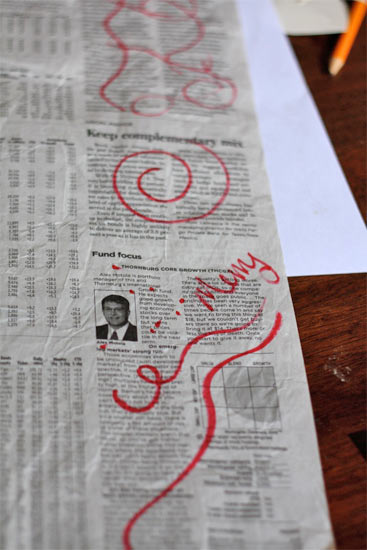
3. If you want to add splashes of color, this is the time to do it. Write messages across the paper with markers, doodle or stamp images here and there. The colored bits don’t need to fall entirely inside any of the shapes, just write away and see what you end up with when the pieces are cut. You can always add more later.
4. Cut out all of your shapes. Try to keep as close to the lines as possible, you’ll want the edges of the shapes to line up with each other for a clean looking finished garland.
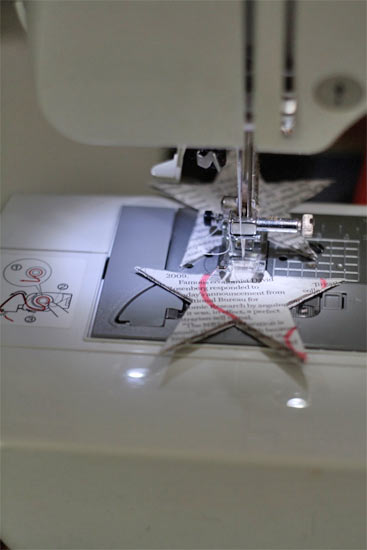
5. Stack the shapes up in piles of twos (or threes). Holding one pile under the foot of the sewing machine, start stitching down the center of the shapes. Allow for a few stitches a the end and then feed the next pile through. Repeat until all of the shapes have been used or your garland is as long as you want it.
6. Knot and trim the bottom strings of the garland and tie off the top for hanging.
7. Press open each set of shapes to create a 3-d look, creasing at the stitch line (you can use a bone folder here but your fingers work well too!)
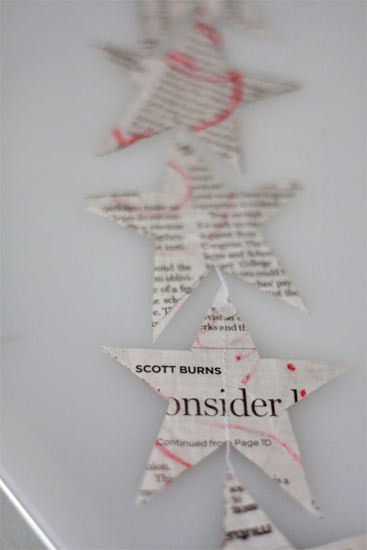
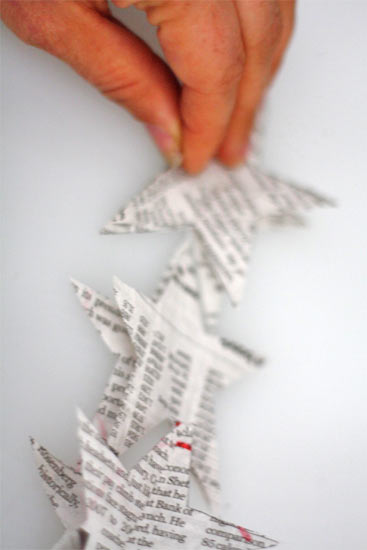
8. Hang and enjoy!