Difficulty level: Beginner
Time required: 1 hour
Age range: 12 and up
Things you’ll need:
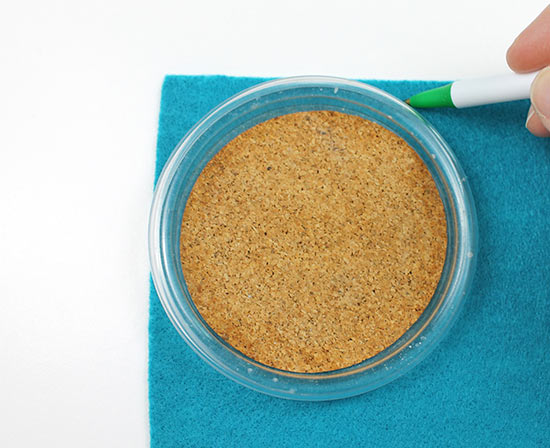
Circle template such as a coaster
Felt
Scissors
Unfinished wood pallet canvas
Hot glue gun and glue sticks
Things to do:
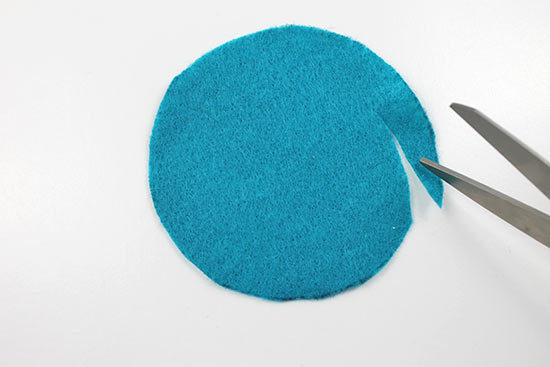
1. Place the circle template onto the felt. (Note that the larger your round object is, the larger the flower will be.) Using a pen or other tracing tool, trace a circle onto the felt.
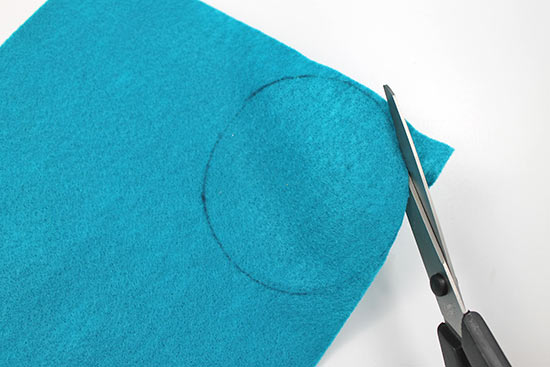
2. Cut out the circle using scissors.
3. Begin cutting the circle into a spiral by first clipping the edge of the circle.
4. Make your way around the entire circle, cutting as you turn the felt.
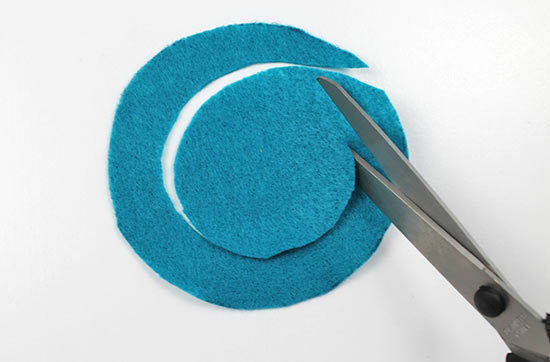
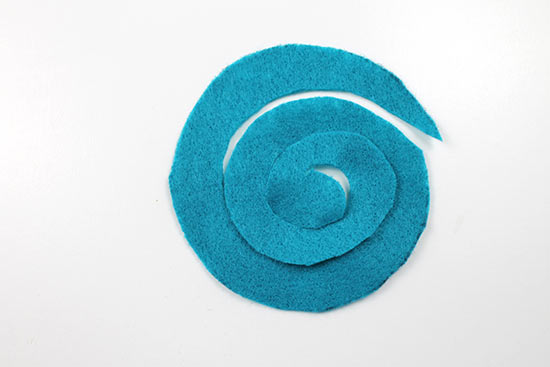
5. When you reach the center of the felt, stop cutting, leaving a small circle in the center. You should now have one spiral all the way around the circle of felt.
6. Starting on the outside edge of the spiral, begin tightly rolling the felt, keeping the bottom layers even as you roll.
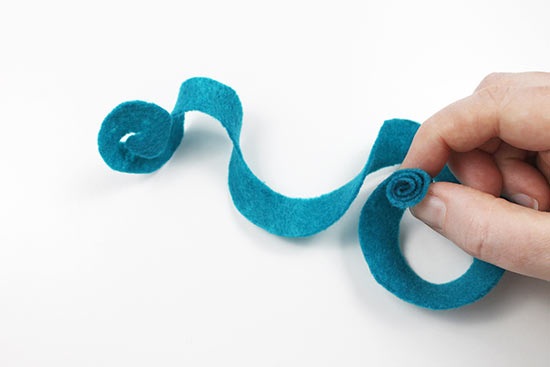
7. After you’ve rolled an inch or two, pause to place a dot of hot glue on the flower.
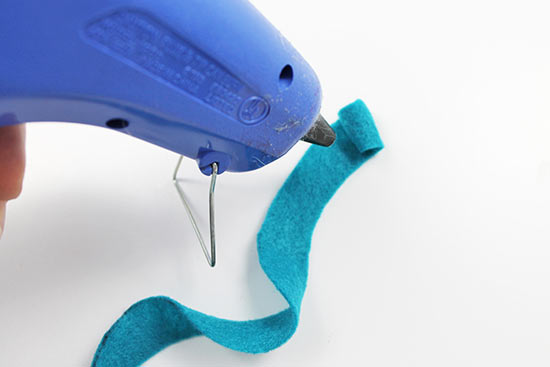
8. Continue rolling until the entire flower is rolled up. Place a dot of hot glue on the outside of the flower, then glue the outermost layer of the flower to the glue, leaving the small center circle free.

9. Place a dot of glue onto the bottom of the flower where all the layers meet. Grab the center circle.
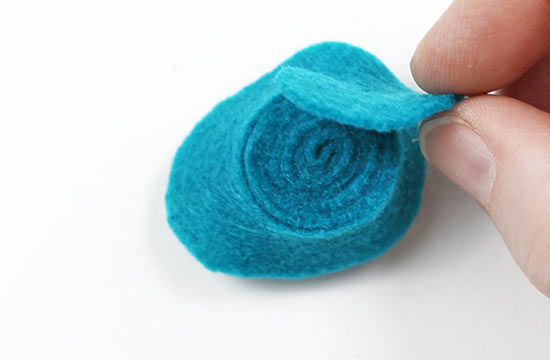
10. Press the center circle over onto the bottom of the flower.

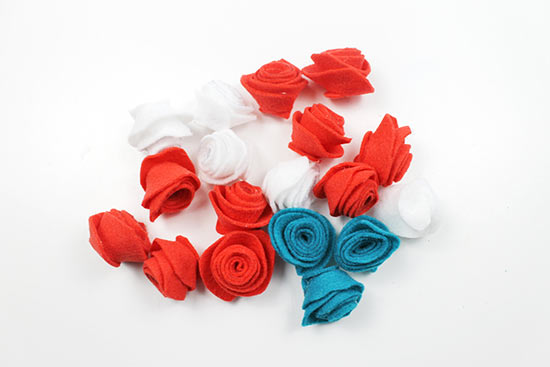
11. Repeat steps 1-10 to make several flowers. We made a total of 18 flowers but only used 16. Don’t worry if you don’t have enough; you can always make more if you need them.
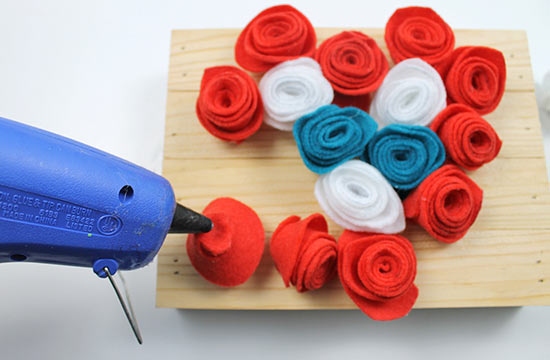
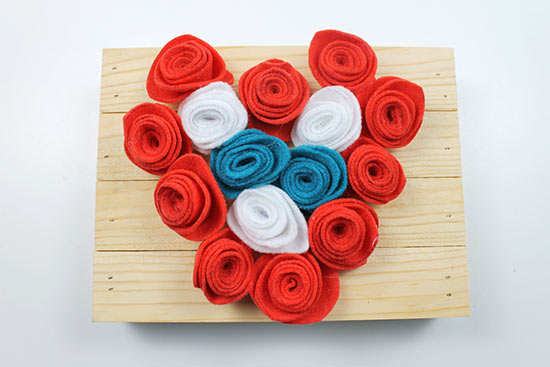
12. Place the wood pallet canvas on your work surface, then plan out your heart-shaped design. We outlined the heart in the same color, then filled the center with the other two colors.

13. Once you’re happy with your design, begin hot gluing the flowers one at a time to the pallet until each flower has been attached. Hang your pallet or just display it on a table.