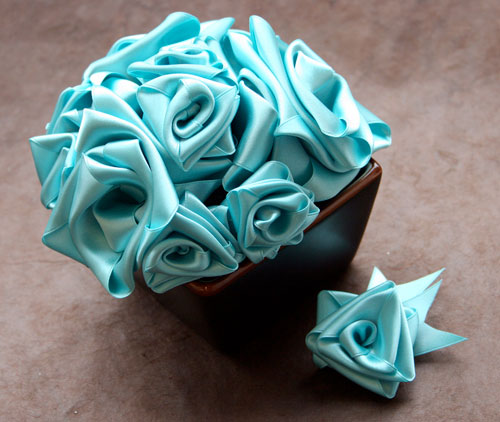
A rose is always special, but a handmade rose is so much more! Here is another “how to” for ribbon roses, but this style is so incredibly easy and quick to make. You will soon find yourself making any excuse to make these. Ribbon roses are beautiful embellishments and can be used on practically anything. Ribbon roses can be seen a lot in weddings. They make perfect embellishments for favors, place settings, and wedding bouquets. Ribbon roses can also be used for embellishing hats, creating head pieces, corsages, and boutonnieres. These could also be used for gift wrapping and even kissing balls. These ribbon roses are easy, look great and will work with any width of ribbon.
Things to do:
 1. Cut your length of ribbon. If you are using a narrow ribbon, you will want a shorter length than you would want for a thicker width. Fold your choice of ribbon in half and then make an upside down “L” shape.
 2. Now take the length of ribbon that is pointing down and bring it up to the edge of the ribbon length that is pointing left. Your ribbon length should now be pointing up.
3. Next, take the ribbon length that is pointing left and fold it over to the edge of the ribbon length pointing up. Your ribbon length should now be pointing to the right.
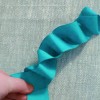
4. Keep alternating the ribbon ends and folding the ribbon on top of itself. Keep repeating this process until you have reached the end of the ribbon. As you are folding the ribbon over itself be sure to keep it pinched, it can become springy when you are getting close to the end.
 5. Keep the loose ends of your ribbon pinched in one hand and release the rest. It should have a long accordion shape to it. While holding both ends of the ribbon, carefully start pulling on one of end of the ribbon. Be sure to not let go of the pinched section as you are pulling the one end. It should gather up at the end and look like a beautiful rose. Don’t panic when one end of the ribbon is way longer than the other. This can be easily be fixed with a few snips. I would recommend stitching the center a few times just so that it will keep its shape. You can also consider sewing in a bead or charm in the center for unique, fun look. Remember when you trim the ends of your ribbon to apply a few dabs of fray-check or clear finger nail polish. You can also use a lighter to seal the ends. Just be sure to not burn the edges.
Project Notes:
Use a more narrow ribbon to create a smaller, more delicate ribbon rose. The narrow ribbon will also take a little more time to fold.
If you wish to just create a small bud and not a full blown rose, just fold the ribbon less and then pull.
Instead of sewing the ribbon together, you can also just fold the ends in a knot, or use a little bit of floral wire to secure it at the bottom.
Photo Credits: Broadway Paper
5 Comments
beautiful.. look easy too.. will try 🙂
when i pull through it just falls to pieces (
I made these years ago. I am so happy to be re-educated in this method again.To those who have problems, pull gently and slowly. You will be able to watch each petal form. Check that you are folding the ribbon correctly.
I loved this wreath..tks for sharing with us..