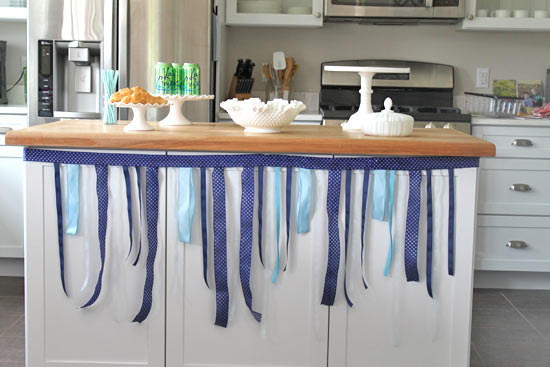
This craft tutorial shows you have to create a beautiful ribbon garland. Customize this garland for any party or occasion by choosing ribbon colors and patterns than match your decor. This simple tutorial is a no sew tutorial that you can finish in minutes!
Difficulty level: Intermediate
Time required: 1 hour
Age range: 7 and up (supervision required with the hot glue gun)
Things you’ll need:
Hot glue gun
Hot glue sticks
3-4 different rolls of ribbon
Scissors
Things to do:
1. Choose one ribbon to be your garland base, this should be your widest spool of ribbon. Measure and cut to desired length. I cut mine to 5 feet to fit my 4 foot table (leaving 6 extra inches on either side for hanging).
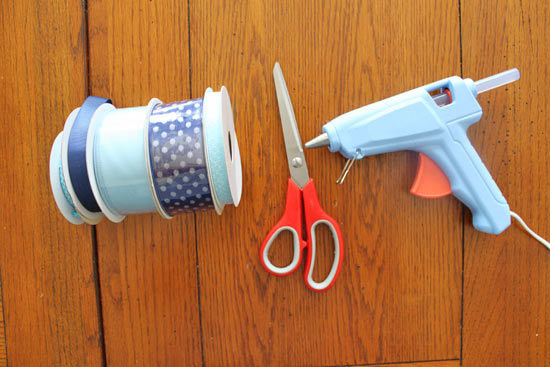
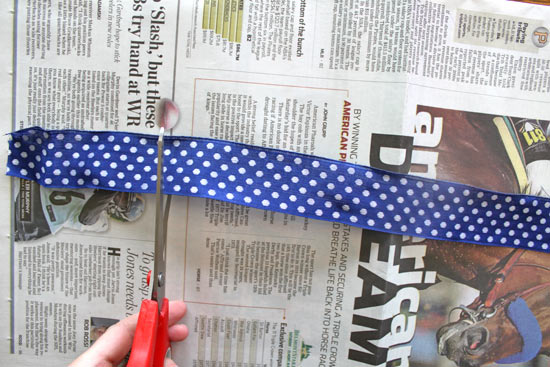
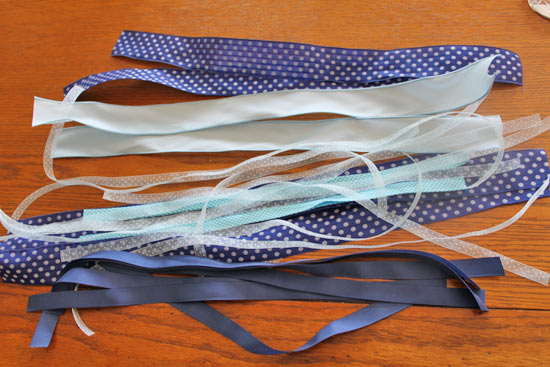
2. Then cut 10 smaller pieces of ribbon from each spool ranging from 12″-18″ long.
3. Plug in your hot glue gun and let it warm up.
4. Flip your ribbon garland base over. You will attach the smaller ribbons to the back side of your ribbon.
5. Begin arranging the smaller ribbons 6″ in from the garland end. The ribbons should be about two inches apart on the base ribbon and one by one hot glue them to the base ribbon. You will only need a small dab of hot glue. Press and set straight into position.
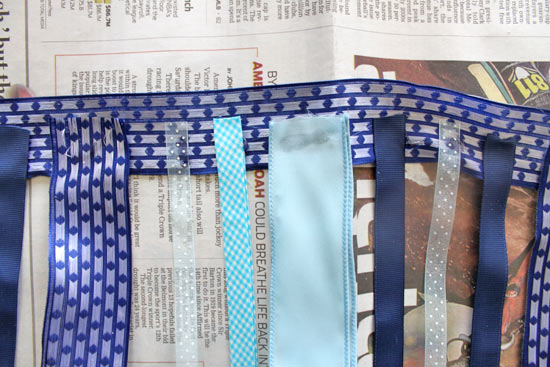
6. Continue on step 5 until all the ribbons have been added to the garland. End the ribbons 6″ from the end of the garland ribbon base.
7. Remove all hot glue strings from the ribbon garland. Your garland is now ready to hang!
1 Comment
This is a great idea, you could also use some wire-edged ribbon and make some spirals either single or with another ribbon hanging on the inside. Instead of just doing a straight cut at the end of the ribbon you could cut it into a V, makes it a little prettier.