Difficulty level: Beginner
Time required: 15 minutes
Age range: 8 and up
Things you’ll need:
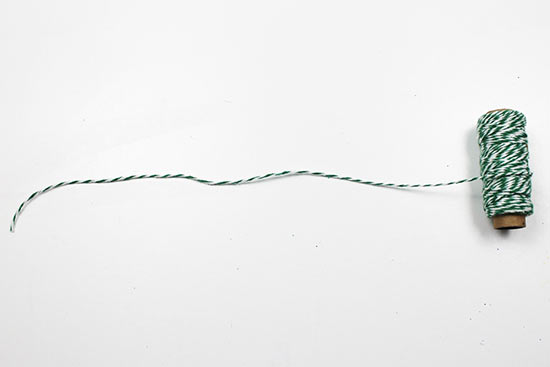
Bakers twine
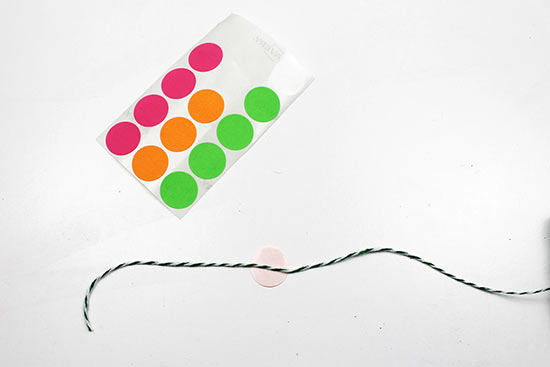
Circle office stickers
Ruler
Scissors
Glue (optional)
Things to do:
- Roll out several inches of baker’s twine in the color of your choice.
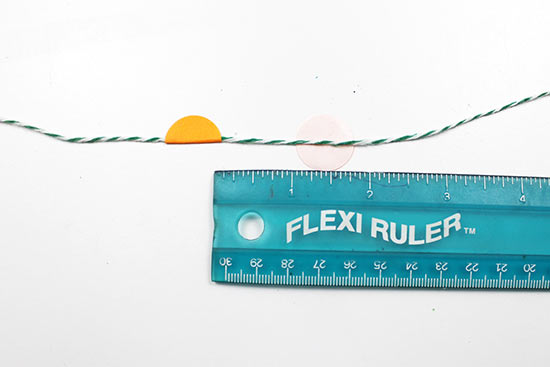
- Place a circle sticker face down on the work surface. Lay the baker’s twine across the center of the sticker about 4″ from the edge of the twine.
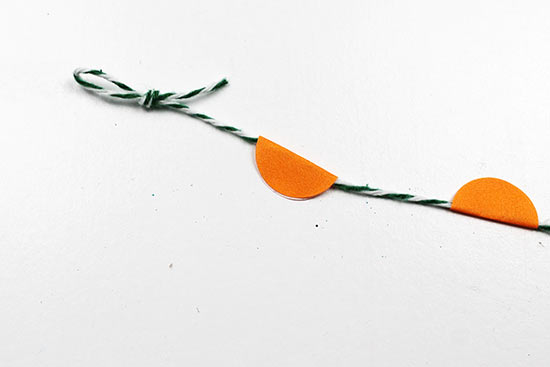
- Fold the circle sticker over the twine, matching up the edges of the circle sticker as evenly as possible.
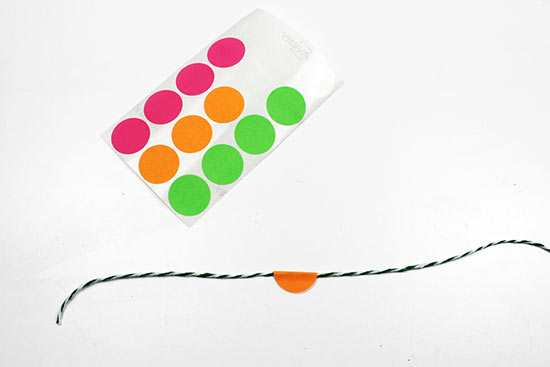
- Using a ruler, measure about 1″ from the edge of the previous sticker. Place a second sticker face up at the 1″ mark, then fold the sticker over the twine.
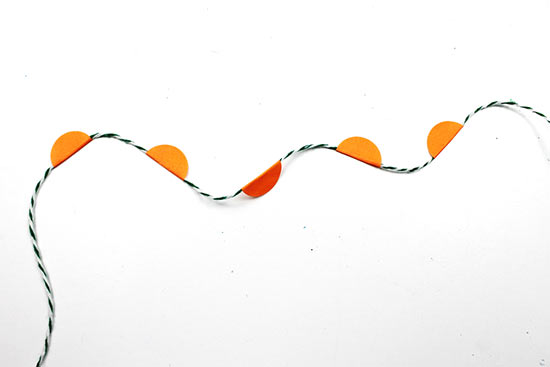
- Continue to add stickers to the twine, spacing them about 1″ apart, until your garland is the desired length.
Tip: If the stickers are popping open and not sticking together, add a dot of glue to the sticker, then fold it over to secure it.
- Cut the baker’s twine about 4″ from the last sticker. Fold the end of the twine over, then tie an overhand knot to create a loop for hanging.
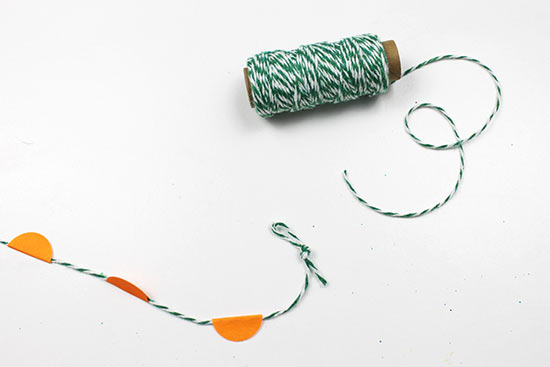
- Fold the opposite end of the twine over, then tie an overhand knot in that end to create a second loop. To hang the garland, slip the loops onto pushpins or nails in the wall.